Consumer Electronics
•04 min read

<p>Danger can overpower you at any time and your voice will not be enough in such situations to get the required aid. The amazing new <strong>Juvo PSB01 Personal Alarm</strong> is crafted for all ages and is a necessary precaution from all kinds of danger. It rings a very loud alarm at 120 dB as well as flashes the torch to warn people nearby about a danger. Whether you have a medical emergency or you are attacked by predators your voice may not be heard but this alarm will be enough to deter attackers or draw attention of people close by to give you the immediate assistance required.</p> <p><strong>Extremely Easy To Use</strong></p> <p>The <strong>Juvo PSB01 Personal Alarm</strong> is small and portable, can be attacked to even a keychain if you want. To start the siren all you need to do is separate or pull the metal key chain from the main black unit. The siren may go on for 1 1/2 hours in case nobody heard it in the first minutes. This is very important for girls returning home alone at night as it acts as a security anti-attack panic alarm that is sure to scare off a molester. Its easy portability accentuates its use.</p> <p><strong>Lights Your Way</strong></p> <p>The little and portable <strong>Juvo PSB01 Personal Alarm</strong> also features a small LED torch that helps you find your way in the dark. Don’t be scared of dark alleys when you have this with you because it is equipped to save you from all dangers.</p>
Have you ever plugged in your headset with high hopes of enjoying your favourite music or video call, only to be met with frustrating silence or a missing mic? You’re not alone. This post will help you understand why your headset may not be working on your laptop, offering simple steps and tips to identify and fix the issue so you can quickly get back to enjoying your tech.
Sometimes the problem might be as simple as a faulty audio jack or damaged cables. There are cases where the headset itself might not be fully compatible with your laptop’s audio port. Whether the issue is structural damage or inherent incompatibility, it’s important to check these first.
Outdated or missing audio drivers often prevent your headset from being recognised. Similarly, if your laptop’s sound settings are not adjusted properly, it could lead to issues such as no sound or a previously detected device suddenly disappearing from your system settings. Regular updates can help mitigate these issues.
It is surprisingly common that the issue lies with how the headset is connected. A loose plug, headphones not inserted fully into the port, or even volume settings turned too low can all contribute to your laptop audio problems. Double-checking these can sometimes resolve the issue without any technical intervention.
Begin by examining the audio jack and the headset cable. Look for signs of wear and tear. If you see any visible damage, that might be the culprit behind the connection problem. Additionally, try connecting your headset to another device to see if the issue persists.
One of the first steps on the software front is updating your audio driver. Using tools such as the Device Manager can help here. If you’re running a Windows system, consider running the in-built audio troubleshooter. Modern laptops often host robust tools that can auto-detect and resolve common driver issues, ensuring your headset gets the chance it deserves.

<p style="margin-left:0cm; margin-right:0cm">Keep away from breathing in harmful germs, dust and pollution by using the <strong>Arctic Fox N95 Gold Series</strong> <strong>Face Respirator Mask.</strong> The mask is designed specially ensuring that it fits comfortably on your face and covers all the essential parts of your face. The soft ear loops ensure the comfort-ability for longer use. It has a 3 mm foam material for comfort fit and air seal.</p> <p style="margin-left:0cm; margin-right:0cm">The <strong>Arctic Fox N95 Gold Series</strong> <strong>Face Respirator Mask</strong> is super breathable because of the comfortable fabric and is also splash resistant.</p> <p style="margin-left:0cm; margin-right:0cm">Whether you are travelling or for that matter, moving out of your house, wearing the <strong>Arctic Fox N95 Gold Series</strong> <strong>Face Respirator Mask </strong>will ensure security to your health by helping you keep the dust and germs out from inhaling it.</p>
Once you’re sure that the physical connection is secure, adjust your laptop’s sound settings. Ensure your headphones are set as the default playback device. Disabling any audio enhancements that might be interfering with the natural sound background can also make a significant difference.
If your headphones are plugged in yet remain silent, it’s time to inspect volume mixer settings. Often, the default playback device might be set incorrectly so that even if connected, the system won’t channel audio through the desired output. Make sure that the correct playback device is actively selected, and there are no muting options applied.
Sometimes headphones with an integrated microphone do not work due to privacy settings restricting access. It’s crucial to verify that not only is the headset connected correctly but also that your laptop settings permit microphone use. Experiment with configurations in your sound settings menu to ensure that the mic is active and responsive.
At times your laptop may not even recognise the headset as an audio device. In such cases, restarting critical Audio Services via the control panel can reset many configurations. If restarting does not help, uninstall and reinstall your audio driver. This clean setup can resolve many lingering connection problems.
A dust-clogged audio jack can lead to poor connectivity. Using a can of compressed air or a gentle cotton swab can help clear away dust and debris. This simple maintenance step can sometimes bring your headset back to life.
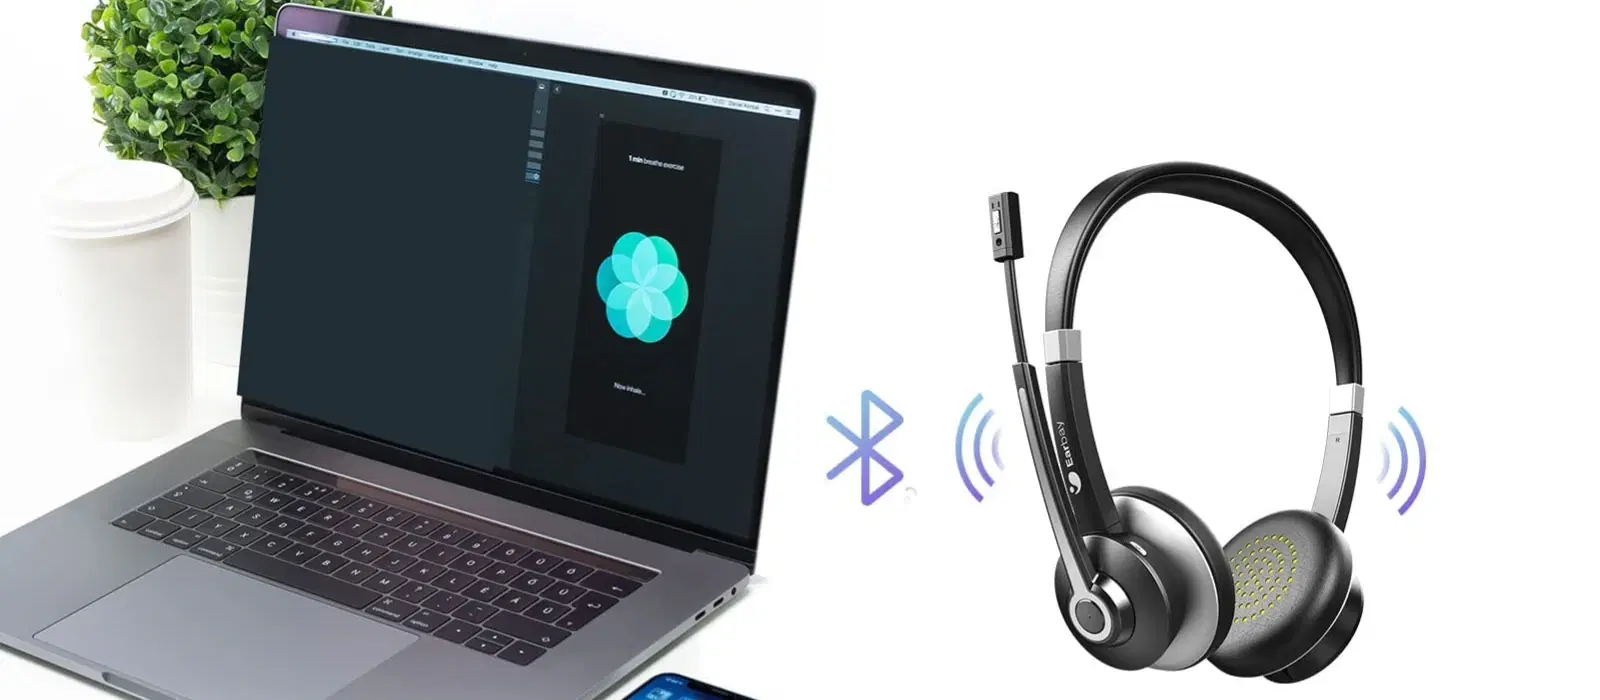
Before diving into complex fixes, ensure that your headset is fully compatible with your laptop. For wireless headsets, check that you have correctly paired the device with your laptop via Bluetooth. Compatibility issues may sometimes be resolved by confirming your device settings and compatibility for your operating system version, be it Windows 10 or Windows 11.

<p><strong>Why buy Environics Enviroglobe Anti Radiation Ball for House & Car</strong></p> <p> </p> <ul> <li><strong>Provides E-Smog and Radiation Protection</strong> for healthier homes and families</li> <li><strong>It Covers A Radius</strong> of 250 sq.ft protect you and your loved ones from harmful radiation</li> <li><strong>Clinically Tested EMF Harmonizer</strong> that provides us 360-degree protection from radiation sources that are beyond our control</li> </ul> <p> </p> <p>Buy the <strong>Environics Enviroglobe Anti Radiation Ball for House & Car</strong> which is based on Envirochip’s radiation protection technology that helps you protect you and your loved ones from harmful radiation within an area of 250 sq. feet. You can extend the range of protection by placing multiple Enviroglobes at equal distances from one another. It is a clinically tested EMF harmonizer and provides us 360-degree protection from radiation sources that are beyond our control. Electromagnetic Radiation (EMR) refers to the constant waves of the electromagnetic field (EMF) produced by wireless communication devices such as mobile phones, laptops, Wi-Fi routers, and other sources such as mobile towers and high-tension wirelines, etc. However, The human body is accustomed to random waves and hence the constant exposure to electromagnetic radiation causes serious biological disorders such as higher stress and fatigue, irritation, headache, weakened immunity, cancer, fertility issues to name a few. The technology used in Enviroglobe changes the nature of electromagnetic radiation from constant to random waveform making it human body-friendly.</p> <p> </p> <p>When you get <strong>Environics Enviroglobe Anti Radiation Ball for House & Car</strong> online, you also get awesome companion for your home. It comes with Internationally tested and certified technology. No need of batteries or adaptors, you can simply charge by placing it under the sunlight, for only a couple of minutes every week. Enviroglobe is simple to use. Simply place it at your desk, table, living room, bedroom, car, office space, absolutely wherever you want, and get a radiation protected zone of up to 250 sq. feet. It provides e-smog and radiation protection for healthier homes and families. Purchase <strong>Environics Enviroglobe Anti Radiation Ball for House & Car</strong> online, now!</p>
Keeping your laptop updated may sound elementary, but it is a critical step. Installing all available system updates helps maintain compatibility with various hardware devices such as headsets. Remember to check for optional updates pertaining to sound drivers as these might include fixes specifically for audio connectivity issues.
Insight Corner: "Did You Know?"
Many headset issues on laptops are traced back to something as simple as outdated drivers or incorrect sound configurations. Regular visits to your system settings and timely driver updates can pre-empt most problems, ensuring a smooth and enjoyable audio experience.
Go to your sound settings, select your headphones as the default playback device, and ensure they are properly connected.
This could be due to a loose connection, a damaged audio jack, or incorrect sound settings. It's best to check the physical connection first, and if that seems fine, review your audio settings.
Verify if your headphones are compatible with your laptop. For Bluetooth devices, ensure they are properly paired and that Bluetooth is enabled on your laptop.
Check your volume mixer settings and ensure that the correct playback device is active. It is also a good idea to disable any unnecessary audio enhancements that might affect the sound output.
Review your microphone privacy settings and verify that it is enabled in your sound settings. Testing it with a recording application can also help diagnose the issue.
In summary, resolving why your headset is not working on your laptop is often a matter of following a series of simple steps. Whether the issue is related to hardware faults, software setbacks, or even user errors, taking the time to troubleshoot can often lead to a quick fix. By examining your physical connections, updating your drivers, and tweaking sound settings, you stand to resolve most common problems, ensuring a seamless audio experience with your device. With the added benefits of earning NeuCoins for your smart shopping on Tata Neu, you can even treat yourself while staying tech-savvy and informed. The trust and ease of use offered by Tata Neu extend beyond shopping to every part of your digital life, helping you make well-informed decisions and enjoy the rewards along the way.
