Consumer Electronics
•05 min read
Buy Novoo 7-in-2 USB 3.0 Type C to USB 3.0 Type C, USB Type A, SD Card Slot, MicroSD Card Slot, HDMI USB Hub (4K Video Resolution, Grey) online at best prices from Croma. Check product details, reviews & more. Shop now!
Reformatting Windows 7 can seem intimidating, but with the right tools and guidance, it’s easier than you think. In this step-by-step tutorial, you will learn how to create a bootable USB, reformat your PC, and perform a clean installation of Windows 7. Whether you are looking to reset your system for better performance or simply want a fresh start, this guide is designed to provide clear and concise instructions to make the process straightforward.
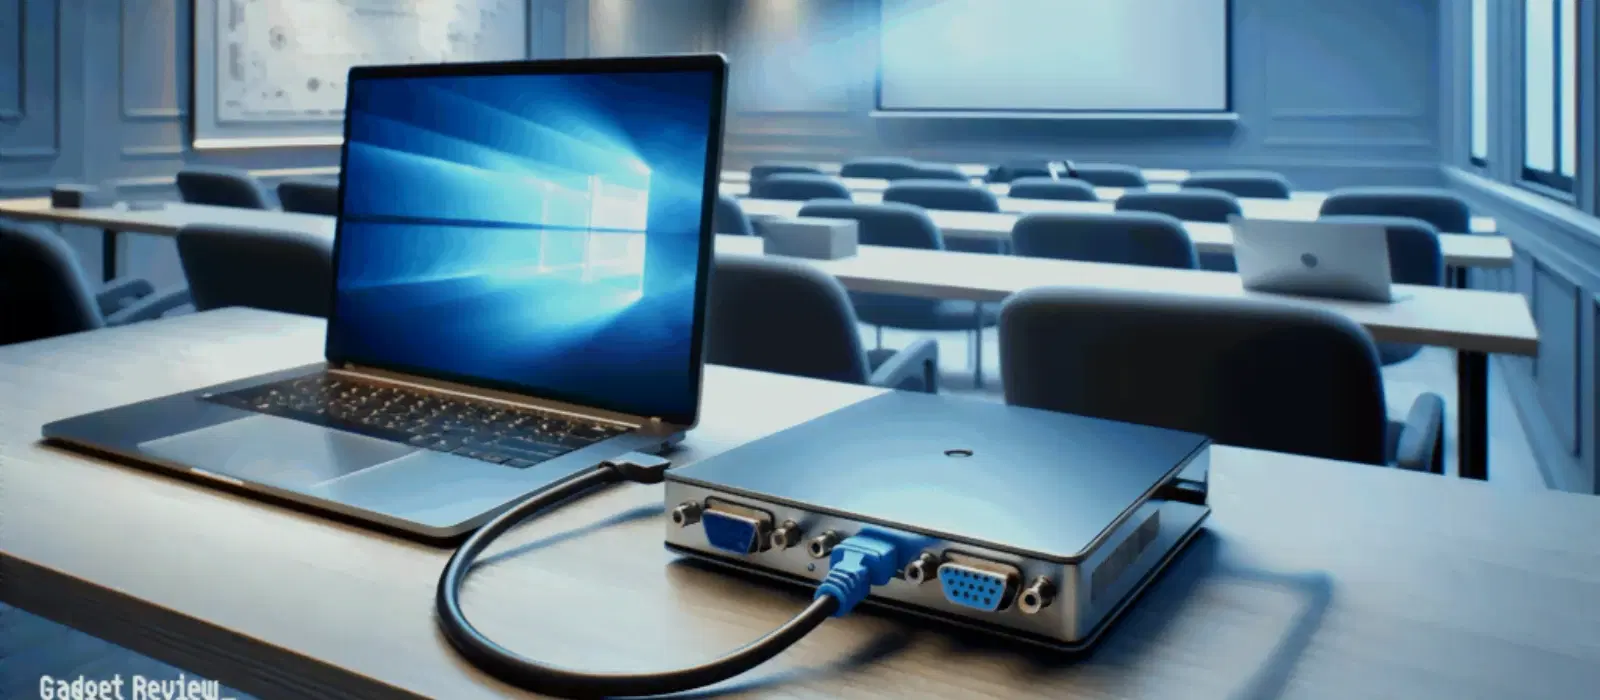
USB drives simplify the reformatting process compared to traditional CDs or DVDs. The portability and speed of USBs mean you can quickly transfer the Windows 7 installation files, making the entire process more efficient. Using a USB also reduces the risk of physical damage associated with optical media.
Before proceeding, gather the following essentials: a USB drive with a minimum storage of 4GB, a legitimate Windows 7 ISO file, and reliable software to create a bootable USB such as Rufus or UNetbootin. It is also advisable to back up all important data to avoid any loss during the reformatting process.
The first step involves downloading a valid Windows 7 ISO file from a trusted source. Ensure that you verify the integrity of the ISO file using checksums so you can be confident that the file is complete and uncorrupted.
With the Windows 7 ISO file secured, it’s time to turn your USB drive into a bootable media. Launch your chosen software, such as Rufus or UNetbootin, and follow these steps:
Select your USB drive from the list of available devices.
Choose the Windows 7 ISO file you downloaded.
Configure the bootable USB settings. Typically, you will have to set the partition type to MBR (Master Boot Record) and select the appropriate file system (usually NTFS for Windows installation).
Click on the start button and wait while the software creates your bootable drive.
After completion, it is important to test whether the USB boots correctly. Restart your device and access the boot menu (using keys such as F2, F12, or ESC) based on your computer’s manufacturer instructions. Check that the drive is recognised and ready for installation.

Buy Apple USB Type C to USB Type A, VGA Port, Thunderbolt 3 USB C Multi-Port Adapter (Sync & Charge, White) online at best prices from Croma. Check product details, reviews & more. Shop now!
If the bootable USB is correctly configured, your computer should recognise it as a boot option. In cases where issues arise, double-check the BIOS settings and ensure that the USB is listed as the primary boot device. Minor troubleshooting might be required if the USB does not boot as expected.
Pro Tip: Did You Know?
A bootable USB can also be used to install other versions of Windows, such as Windows 10, making it a versatile tool for system recovery and upgrades. By using NeuCoins earned with Tata Neu on various technologies, you can always invest in the tools that make your digital life easier.
To begin the reformatting process, you must configure your computer’s BIOS settings. Restart your computer and enter the BIOS by pressing the appropriate key (commonly F2, F10, or DEL) during the startup. Once inside the BIOS menu, navigate to the boot configuration section and set the USB drive as the primary boot device. Remember to save these changes before exiting.
With your BIOS set to boot from the USB, insert your bootable USB drive and restart your computer. The system should detect the USB drive and load the Windows Setup interface. This interface will guide you through the installation, and you might need to select your language, time, and keyboard settings soon after booting.
When you reach the partition selection screen, choose the partition you wish to format. If you desire a completely fresh start, you can opt for a clean installation by deleting existing partitions and creating a new one for Windows 7. However, it is important to note that this action will remove all data on that partition, so ensure you have backed up all critical information beforehand.
After formatting the desired partition, the installation process can commence. Follow the prompts provided by the Windows Setup. You will need to confirm settings such as language, time, and keyboard configuration. An important part of this process is entering your product key when prompted to authenticate your Windows copy. The on-screen instructions will help guide you through each step.
Once Windows 7 is installed, there are a few post-installation steps to ensure the best performance of your new system. First, install the necessary drivers and perform any available updates. This might include software for graphics, sound, and network devices. Lastly, restore your previously backed-up data if needed. A well-configured system will make daily operations smoother and more efficient.
Buy Novoo 6-in-1 USB 3.0 Type C to USB Type C, USB 3.0 Type A, SD Card Slot, TF Card Reader, HDMI Type A USB Hub (5 Gbps Data Transfer Rate, Grey) online at best prices from Croma. Check product details, reviews & more. Shop now!
There might be instances where your USB drive does not boot as expected. If this occurs, revisit your BIOS settings to confirm that the USB drive is set as the primary boot device. Additionally, verify that the USB drive is fully compatible with your computer and that the bootable creation software did not report any errors during the process.
Occasionally, you may encounter errors such as missing drivers or incomplete installations during the process. These issues usually stem from compatibility or formatting problems. If the Windows Setup crashes or fails to proceed, recheck your USB configuration and ensure that the ISO file is intact and correctly loaded. Patience and careful adherence to the steps can resolve most issues.
Follow the step-by-step instructions in this guide: create a bootable USB, adjust your BIOS settings, and proceed with the Windows Setup to reformat your computer.
By creating a bootable drive with a Windows 7 ISO file, you can easily reformat your PC. Ensure that your BIOS is set to boot from the USB and follow through the installation prompts.
Access the Windows Setup via the bootable USB, choose the hard drive partition you wish to format, and select the format option during installation. Make sure to back up data beforehand.
Insert your bootable USB, set your BIOS to boot from the USB drive, and restart your computer to begin the reformatting process.
Through this comprehensive guide, reformatting Windows 7 using a USB drive has been broken down into manageable steps. This approach not only facilitates a clean installation but also equips you to troubleshoot common issues effectively. Embracing technology with tools such as a bootable USB can transform how you manage your digital life. Much like how smart shopping on Tata Neu enables you to earn NeuCoins for rewards and special benefits, this guide equips you with techniques to make your system more efficient and your tech life more streamlined. The trustworthiness and convenience associated with Tata Neu parallel the reliability of reformatting your computer with care and precision.
With a clear plan, the process of resetting or reinstalling your Windows 7 has never been more accessible. The skills learned here will not only provide a renewed system but also offer insights that can be applied to various tech challenges, ensuring a smooth experience in your everyday digital interactions.
