Consumer Electronics
•04 min read

<p>Danger can overpower you at any time and your voice will not be enough in such situations to get the required aid. The amazing new <strong>Juvo PSB01 Personal Alarm</strong> is crafted for all ages and is a necessary precaution from all kinds of danger. It rings a very loud alarm at 120 dB as well as flashes the torch to warn people nearby about a danger. Whether you have a medical emergency or you are attacked by predators your voice may not be heard but this alarm will be enough to deter attackers or draw attention of people close by to give you the immediate assistance required.</p> <p><strong>Extremely Easy To Use</strong></p> <p>The <strong>Juvo PSB01 Personal Alarm</strong> is small and portable, can be attacked to even a keychain if you want. To start the siren all you need to do is separate or pull the metal key chain from the main black unit. The siren may go on for 1 1/2 hours in case nobody heard it in the first minutes. This is very important for girls returning home alone at night as it acts as a security anti-attack panic alarm that is sure to scare off a molester. Its easy portability accentuates its use.</p> <p><strong>Lights Your Way</strong></p> <p>The little and portable <strong>Juvo PSB01 Personal Alarm</strong> also features a small LED torch that helps you find your way in the dark. Don’t be scared of dark alleys when you have this with you because it is equipped to save you from all dangers.</p>
Ever found yourself with a Windows 7 installation dilemma because your laptop or PC lacks a DVD drive? In today’s tech-savvy world, creating a bootable USB drive for Windows 7 is not only practical but essential. This guide will help you convert your Windows 7 DVD into a bootable USB drive step by step, ensuring that you can install or repair the operating system with ease on devices that don't have an optical drive.
A bootable USB drive offers a faster installation compared to traditional DVDs while providing unmatched portability. Modern devices increasingly omit DVD drives, making a USB bootable drive a vital tool for troubleshooting and recovery. Not only is it ideal for installing Windows 7 on new hardware, but it also serves as a reliable backup media.
There are several situations where converting your installation media is a smart decision. Whether you need to install Windows 7 on a device that lacks an optical drive or want a universal setup that works across multiple systems, a bootable USB drive fits the bill perfectly. It is a practical solution for tech enthusiasts, families, and young professionals who value efficiency and reliability in their installations.
Before you begin, ensure you have a Windows 7 ISO file or DVD at hand, a USB drive with a minimum of 4GB storage, and a reliable bootable USB tool such as Rufus or the Windows 7 USB/DVD Download Tool. These tools simplify the process and help create a bootable drive seamlessly.
Start by formatting your USB drive to eliminate any existing files and prevent compatibility issues. Verify that your chosen USB drive works well with your preferred bootable tool. This preparation step sets the foundation for a smooth conversion process.

<p><b>HEUV Technology</b><br/><br/>Thanks to the HEUV technology, the SVARAS Home X2 Pro UV Steriliser effectively targets and eliminates a wide range of viruses and bacteria, including those responsible for illnesses such as the coronavirus. As a result, you can have peace of mind knowing that you can effectively protect yourself and your family from potential health threats.<br/><br/><br/><b>Enhanced Sterilisation</b><br/><br/>This rechargeable UV steriliser provides optimal sterilisation capabilities, which eliminates harmful germs. This high level of effectiveness makes it an ideal choice for homes, offices, and shops, ensuring that surfaces remain clean and safe. Thus, you can trust this steriliser to protect your health and the health of your loved ones by efficiently disinfecting various surfaces.<br/><br/><br/><b>User-Friendly Functionality</b><br/><br/>This home steriliser boasts convenient features that enhance its usability. It includes a voice alarm that signals when the sterilisation process is complete, ensuring you never forget to turn it off. Additionally, the device offers a safe automatic power-off feature, which enhances safety during operation. Convenient charging capabilities further simplify the user experience, which makes it easy to keep the steriliser ready for action.<br/><br/><br/><b>Eco-Friendly Design</b><br/><br/>Designed with sustainability in mind, this SVARAS steriliser promotes an eco-friendly lifestyle. It operates without mercury or harsh chemicals, which makes it safe for both users and the environment. This design choice allows you to maintain a clean living space while reducing your ecological footprint. Moreover, the sleek, modern appearance of the steriliser ensures that it complements any decor.</p>
Download and install the Windows 7 USB/DVD Download Tool. Insert your Windows 7 DVD into your optical drive or load the ISO file if your system doesn’t have a DVD drive. Choose your USB drive as the destination and simply follow the on-screen instructions. This method is very user-friendly and perfect for those who prefer a guided experience.
Rufus is a popular choice among tech enthusiasts. Begin by downloading Rufus and installing it on your system. Open Rufus and load your Windows 7 ISO file. Adjust the settings such as the partition scheme and file system if necessary, then let the tool work its magic. This method is excellent for those who enjoy a bit more control over the process.
If you feel comfortable using command lines, the Command Prompt method allows for a customised setup. Open the Command Prompt as an administrator and use diskpart commands to format and prepare your USB drive. Then, manually copy the Windows 7 installation files to the USB drive. Although this method requires more technical know-how, it offers a deeper insight into the process.
Pro Tip: Optimize Your USB Drive for Faster Installation
Did you know formatting your USB drive to NTFS instead of FAT32 can significantly speed up the installation process? NTFS supports larger file sizes and faster data transfer rates, making it ideal for bootable media creation.
Once your bootable USB is ready, insert it into your device and access the BIOS or UEFI settings. Set the USB drive as the primary boot device and ensure that the system loads the Windows 7 installer. This test confirms the integrity and readiness of your newly created bootable drive.
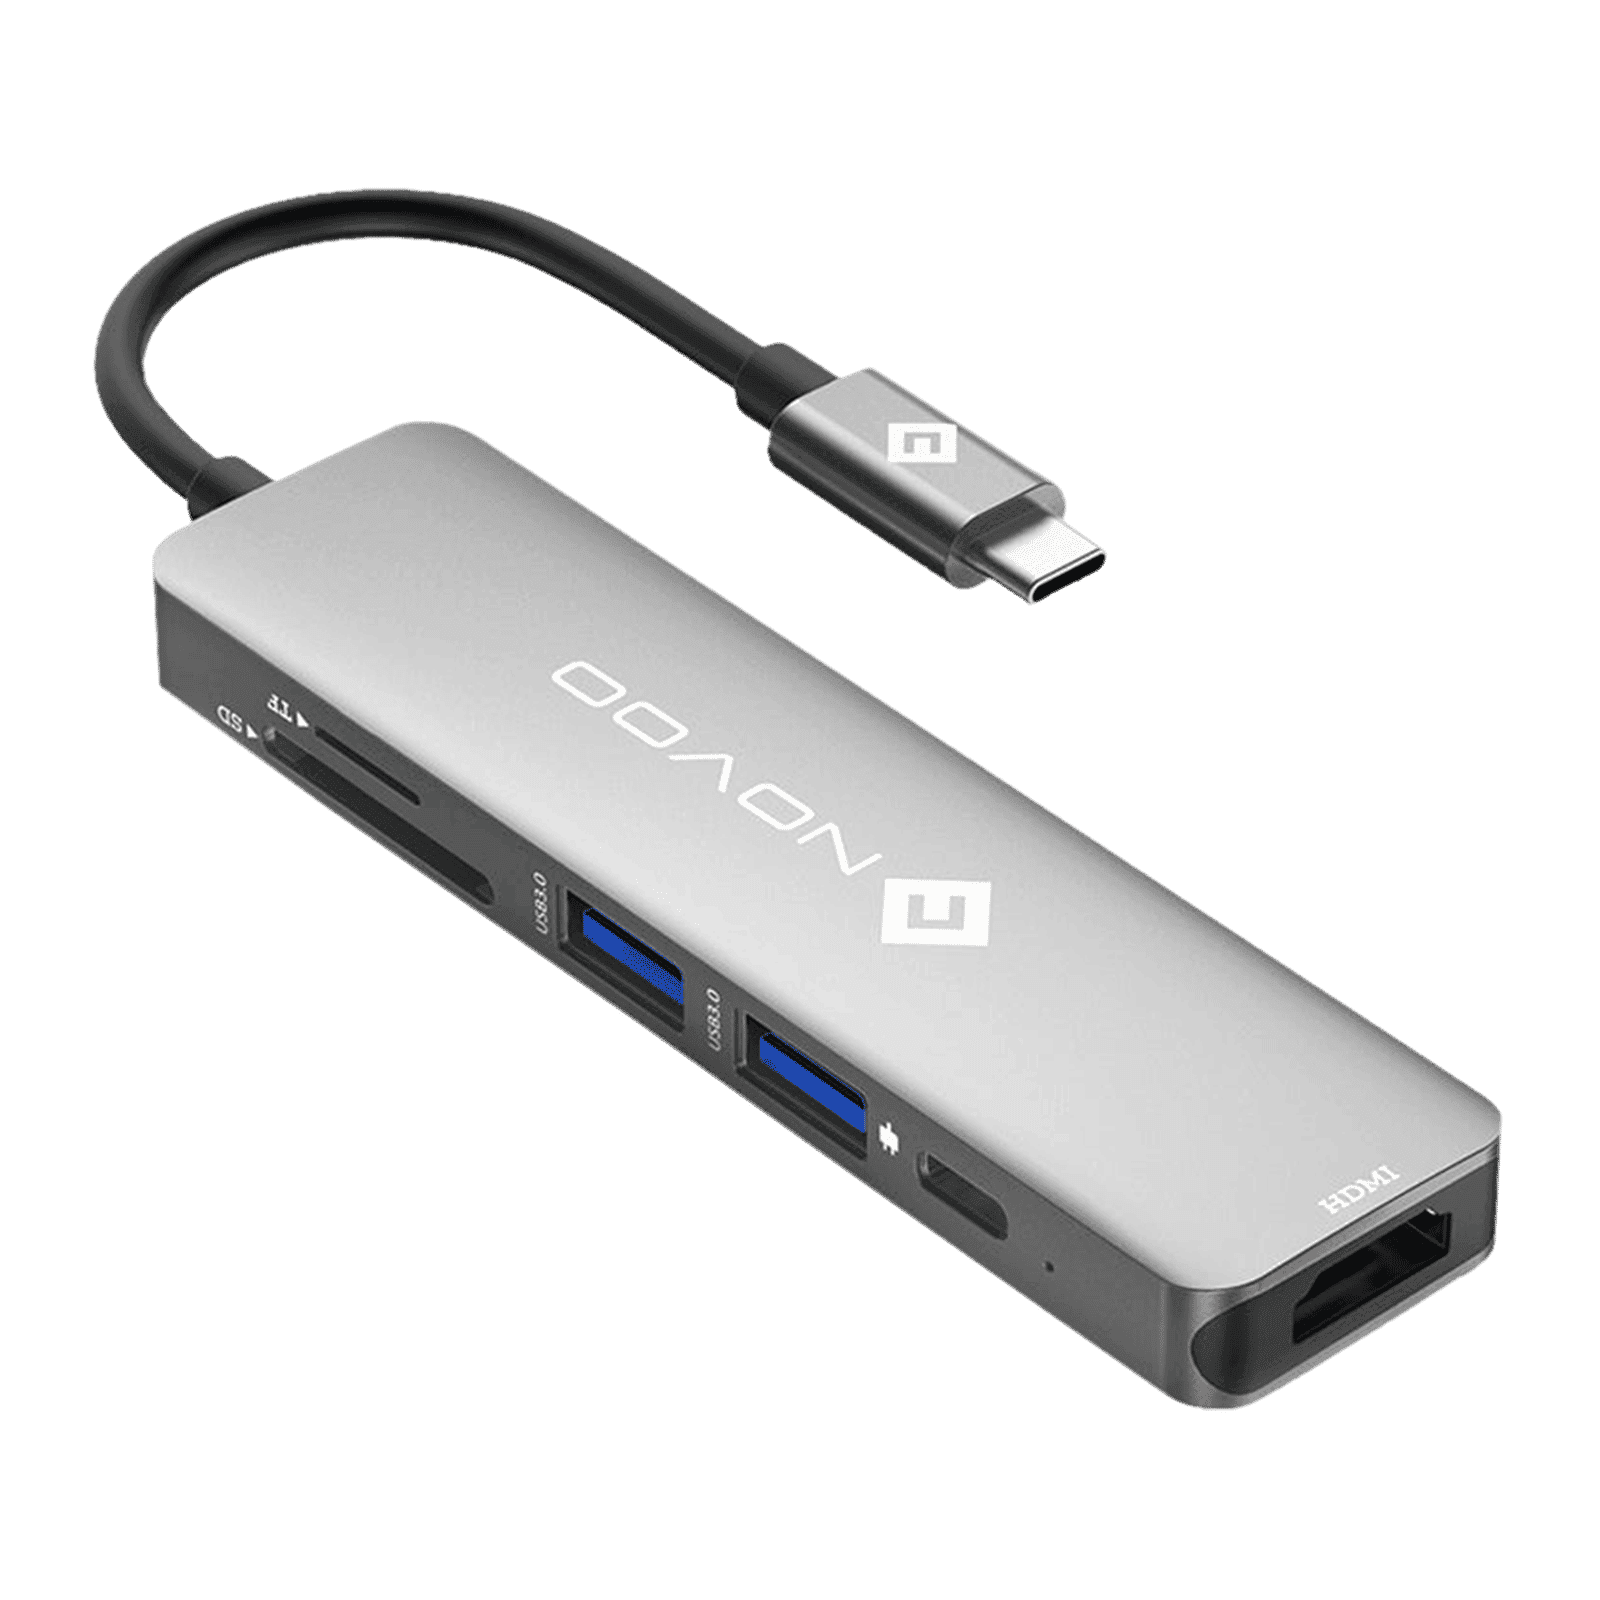
Buy Novoo 6-in-1 USB 3.0 Type C to USB Type C, USB 3.0 Type A, SD Card Slot, TF Card Reader, HDMI Type A USB Hub (5 Gbps Data Transfer Rate, Grey) online at best prices from Croma. Check product details, reviews & more. Shop now!
With your verified bootable USB in place, installing Windows 7 is the next step. Simply follow the on-screen prompts once the system boots from the USB drive. If you encounter any installation issues, consider checking USB compatibility or repeating the process carefully. This reliable method is beneficial for users who value a hassle-free installation experience.
Use tools like Rufus or the Windows 7 USB/DVD Download Tool to directly convert your Windows 7 DVD or ISO file into a bootable USB drive.
Insert the DVD, access BIOS/UEFI settings, set the DVD drive as the primary boot device, and restart your PC.
Use a USB bootable tool to convert your Windows 7 CD/DVD into a bootable USB drive, then boot from the USB drive to commence installation.
Convert your Windows 7 ISO file using tools like Rufus or the Windows 7 USB/DVD Download Tool, ensuring the file includes universal drivers for broader device compatibility.
Converting a Windows 7 DVD to a bootable USB drive is a forward-thinking solution tailored to modern technology needs. Whether you are setting up a new device or repairing an existing one, following these clear steps helps you overcome common challenges with ease. The process, which can be executed using popular tools like Rufus or the Windows 7 USB/DVD Download Tool, or even via the Command Prompt for the more experienced, demystifies the installation procedure without overwhelming you with technical jargon.
As you embark on this journey, remember that seamless shopping experiences, such as those offered on platforms like Tata Neu, emphasise convenience and customer-first values. With every purchase or tool upgrade, you stand to earn NeuCoins rewards, a benefit that adds extra value to your overall experience. This guide not only equips you with technical know-how but also reinforces the significance of trusted, convenient solutions in your daily tech ventures. Embrace this knowledge and master another tech challenge with confidence.
