%20(Presentation)%20(1600%20x%20600%20px)(475)-38bb14dd-4fbc-4f0e-b335-3ade14e88d69.webp&w=3840&q=75)
Consumer Electronics
•03 min read

Buy Electrolux UltimateHome 700 250W Cordless Dry Vacuum Cleaner with 5 Step Filtration System (Up to 50 Minutes Runtime, Walnut Brown) online at best prices from Croma. Check product details, reviews & more. Shop now!
Are you ready to unlock the power of Ubuntu but unsure how to get started? Installing Ubuntu from a USB drive is one of the most accessible ways to dive into the world of Linux, giving you full control and customisation over your computing experience.
Before you embark on your Ubuntu journey, ensure that you have a USB drive with at least 8GB of storage, a computer ready for a change, and a reliable internet connection. The next step is to download the Ubuntu ISO file, a critical component in creating a bootable USB stick. Choosing the right Ubuntu version can be based on your computing needs – for personal computers that require long-term stability, the LTS version might be most ideal, whereas the latest release offers cutting-edge features for those who enjoy exploring fresh functionalities.
To create a smooth bootable drive, the first step is to format your USB using the built-in tools from your operating system. Whether you are on Windows, macOS, or Linux, ensure you select the correct file system – FAT32 and NTFS are typically recommended.
Once your USB is prepared, download the Ubuntu ISO file. Always ensure you verify its authenticity so that your installation process remains smooth and free from interruptions.
Helper tools such as Rufus for Windows, UNetbootin, or Startup Disk Creator for Ubuntu can translate your downloaded ISO into a bootable medium. These tools guide you through each step by selecting the ISO file, choosing your target USB drive, and then initiating the process. This reliable method ensures that you have a ready-to-go Ubuntu installation drive in no time.
After your USB drive is prepped, you will need to tell your system to boot from it. By accessing your computer’s BIOS or UEFI settings, you can change the boot order to prioritise your USB drive. This is usually achieved by pressing a specific key during startup – commonly F2 or DEL – to enable these changes.
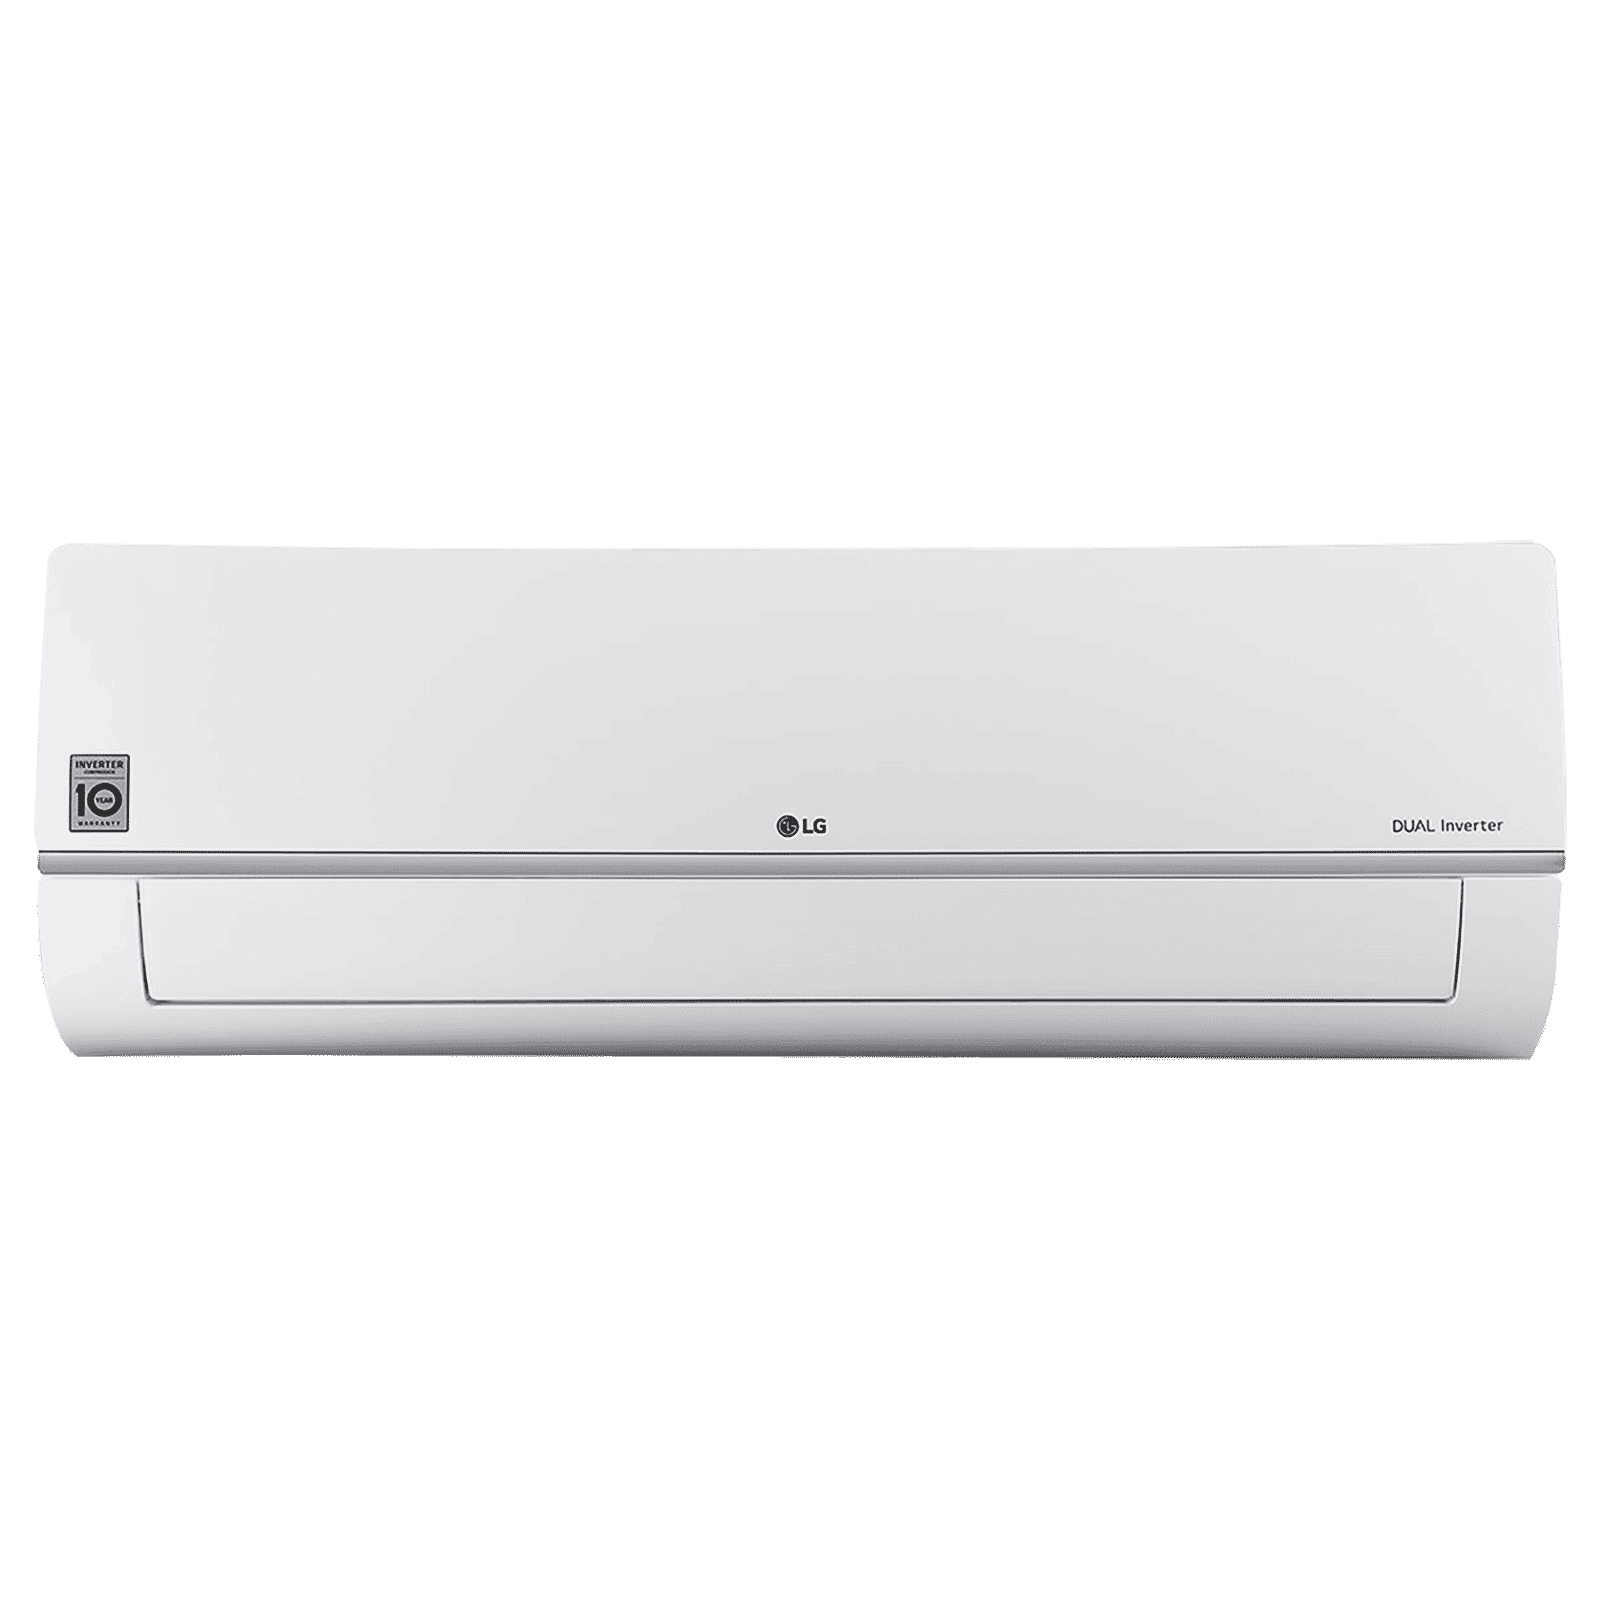
Buy LG 6 in 1 Convertible 1.5 Ton 3 Star Dual Inverter Split AC with 6 Step Fan Speed (2025 Model, Copper Condenser, US-Q19XNXE.ANLG) online at best prices from Croma. Check product details, reviews & more. Shop now!
Within the BIOS/UEFI settings, search for USB boot options. Enabling this can sometimes require disabling security features such as Secure Boot, especially on newer systems. Make the necessary adjustments, then save and exit the settings. Remember to check availability of such settings on your specific system since small differences may exist.
With your system now ready, insert and boot from your USB drive. The Ubuntu installer will automatically launch, guiding you with simple prompts and offering clear directions throughout this transformative process.
The installer provides multiple installation types. Options range from the straightforward approach of "Erase Disk and Install Ubuntu" to more nuanced dual-boot and manual partitioning configurations. When selecting an installation method, consider your own computing needs while maintaining a balance between usability and flexibility.
As you progress, you will need to set up essential details such as your location, time zone, and user credentials. It is important to stay connected to the internet during this phase to ensure that your system downloads any necessary updates instantly. With patience and precision, you will soon reach the finish line.
Once Ubuntu is installed, the next step is to update your system. This can be done using the Software Updater or via the Terminal, ensuring that you keep your new operating system secure and running at peak performance.

Buy VOLTAS 243INV VECTRA ELEGANT Convertible 2 Ton 3 Star Inverter Split AC With 5 Step Adjustable (Copper Condenser, 4504077) online at best prices from Croma. Check product details, reviews & more. Shop now!
After updates, consider installing essential software that will enhance your productivity and allow for effective customisation. Whether you are a tech enthusiast or a casual user, starting with a few well-chosen applications will help tailor your Ubuntu experience to your daily tasks.
Pro Tip: Double-Check Your Bootable USB
Verifying your bootable USB drive before installation can save hours of troubleshooting. Use tools like checksum verification to ensure your Ubuntu ISO file is error-free.
Follow the steps outlined here: download the Ubuntu ISO, create a bootable USB using a recommended tool, adjust your BIOS/UEFI settings, and complete the installer prompts.
Begin with downloading the Ubuntu ISO file, move on to creating the bootable USB, alter your computer’s boot settings, and then proceed with the on-screen installation prompts.
Access the BIOS/UEFI settings on your computer, update the boot order to prioritise USB devices, and disable Secure Boot if necessary to allow the USB to boot successfully.
Make use of Disk Utility on macOS, File Explorer on Windows, or GParted on Linux to format your USB drive to FAT32 or NTFS before creating the bootable drive.
Installing Ubuntu from a USB drive is an empowering experience that opens the door to a world of customisation and control. This step-by-step guide demonstrates how to create a bootable USB, properly configure your computer, and complete the installation with ease. Whether you are venturing into Linux for the first time or upgrading your current setup, this guide has provided a clear path to harness the full potential of your system. Just as Tata Neu is dedicated to providing a seamless shopping experience with added rewards like NeuCoins, this guide intends to empower you with a smooth and rewarding installation process.
