Consumer Electronics
•04 min read
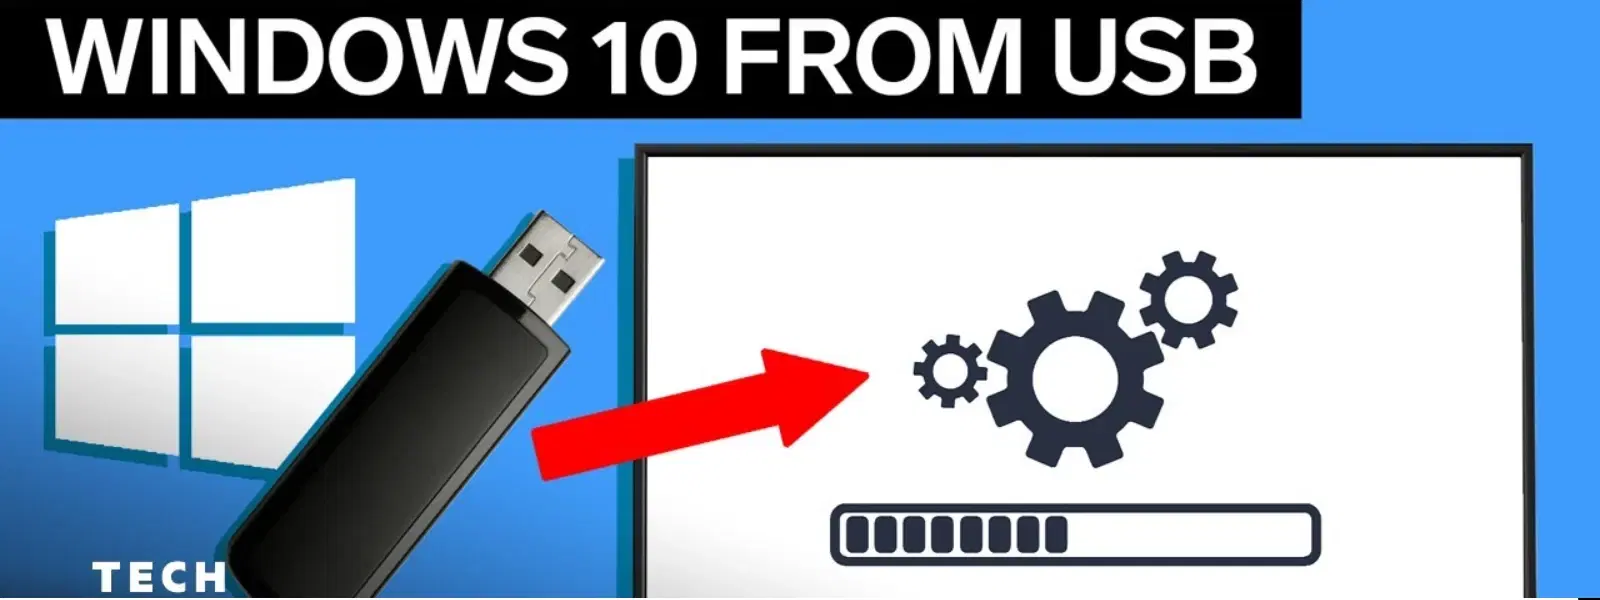
Ever wondered how to install an operating system on your laptop without relying on CDs or pre-installed software? Using your USB drive makes the process not only efficient but also gives you the freedom to explore technology with ease and confidence. In this guide, you will find a detailed, step-by-step walkthrough of how to install an OS in laptop from USB, from initial preparations to troubleshooting common issues along the way.
The USB drive is a modern solution offering several advantages. With faster installation times and easy portability, it suits the lifestyle of today’s customers who expect prompt and reliable service. The approach is particularly handy if you want to install operating system via USB on your laptop without needing bulky discs. This method is popular among tech enthusiasts and young professionals alike for its simplicity and adaptability.
To kick off your OS installation journey, gather the essentials: a USB drive with at least 8GB of storage, your laptop, the operating system ISO file of your choice, and a trusted tool to create a bootable USB, such as Rufus or the Media Creation Tool. Preparing these items in advance will ensure a smooth experience when you decide to format your laptop and install OS.
The first step in a seamless USB bootable OS installation is to properly format your USB drive. Begin by connecting the drive to your computer and using a disk management tool to choose either FAT32 or NTFS format, according to the guidelines of the OS you plan to install. Remember to set the drive as active so that the system recognises it during boot-up.
After formatting, the next task is to transfer the OS ISO file onto your USB. Open your chosen tool—such as Rufus—and follow the on-screen instructions. When you select the ISO file, the tool will do its magic by creating a bootable USB for your laptop. This method is straightforward and ensures that your USB is correctly set up for the upcoming installation process.
Once your bootable drive is ready, the laptop needs to be configured to boot from it. Restart your device and immediately press the required key, such as F2 or DEL, to enter the BIOS/UEFI settings. Within this menu, navigate to the boot options and adjust the boot sequence so that the USB drive is prioritised over other devices.
After entering the BIOS/UEFI setup, select the USB drive as your primary boot device. This step is crucial to ensure that your laptop recognises the USB drive during startup. Careful attention to the settings can avoid delays or issues.
Expert Tip: Troubleshooting Boot Issues
If your laptop doesn’t recognise the USB drive, double-check that it’s properly formatted and securely connected. You might also need to verify that the BIOS settings have USB boot support enabled.
With your laptop configured, the installation process begins on boot. A menu will appear allowing you to select language preferences, choose how to partition your hard drive, and decide on the type of installation. Follow the prompts carefully—each selection is designed to guide you smoothly through the steps of installing your OS via USB.
Once the initial setup concludes, the OS installation continues with further prompts such as entering a product key or adjusting preliminary settings. Use this opportunity to update drivers and take advantage of real-time expert guidance provided through blogs and comprehensive support. This process ensures that you set up not only a fresh operating system but also a well-configured device ready for everyday tasks.
After your operating system is successfully installed, the next step is smoothing your transition into daily use. Check for any available updates, install essential software, and configure your security settings. These final touches guarantee that your laptop is optimised for performance and security. A well-configured system can be the first step toward a more efficient and productive digital life.
Even with a well-prepared approach, you might encounter challenges such as incomplete installations or boot failures. Revisit your settings and ensure that your bootable USB drive is intact. Most issues arise from minor errors that can be quickly corrected by retracing your steps. Keeping calm and methodically resolving these obstacles is the best way to get your system running smoothly.
Follow the steps in this guide to create a bootable USB, adjust your laptop's boot order, and complete the installation smoothly.
Once you boot from the USB, simply follow the on-screen prompts to install the software or operating system, then add any additional programs after the setup.
Access your laptop's BIOS/UEFI settings and modify the boot sequence so that the USB drive is the first device. Restart your laptop to initiate the boot process.
Utilise a disk management tool or trusted software like Rufus to format your USB drive to either FAT32 or NTFS, marking it as active for the OS installation.
This guide has walked you through the entire process—from preparing a USB drive to configuring your laptop and installing a fresh operating system. It’s all designed to simplify tech tasks, so whether you're a student, tech enthusiast, or young professional, you can confidently upgrade your device. While exploring the world of consumer electronics, remember that with every transaction and every tech upgrade on platforms like Tata Neu, you can earn NeuCoins rewards. These rewards add extra value to your purchases and allow you to shop smartly across Tata Neu’s diverse range of brands.
Ensuring that every step is clear and approachable builds trust and enhances your overall digital experience. Enjoy the process of setting up your device and feel confident knowing that you now have the skills to manage your own operating system installations with ease.