


Consumer Electronics
•04 min read

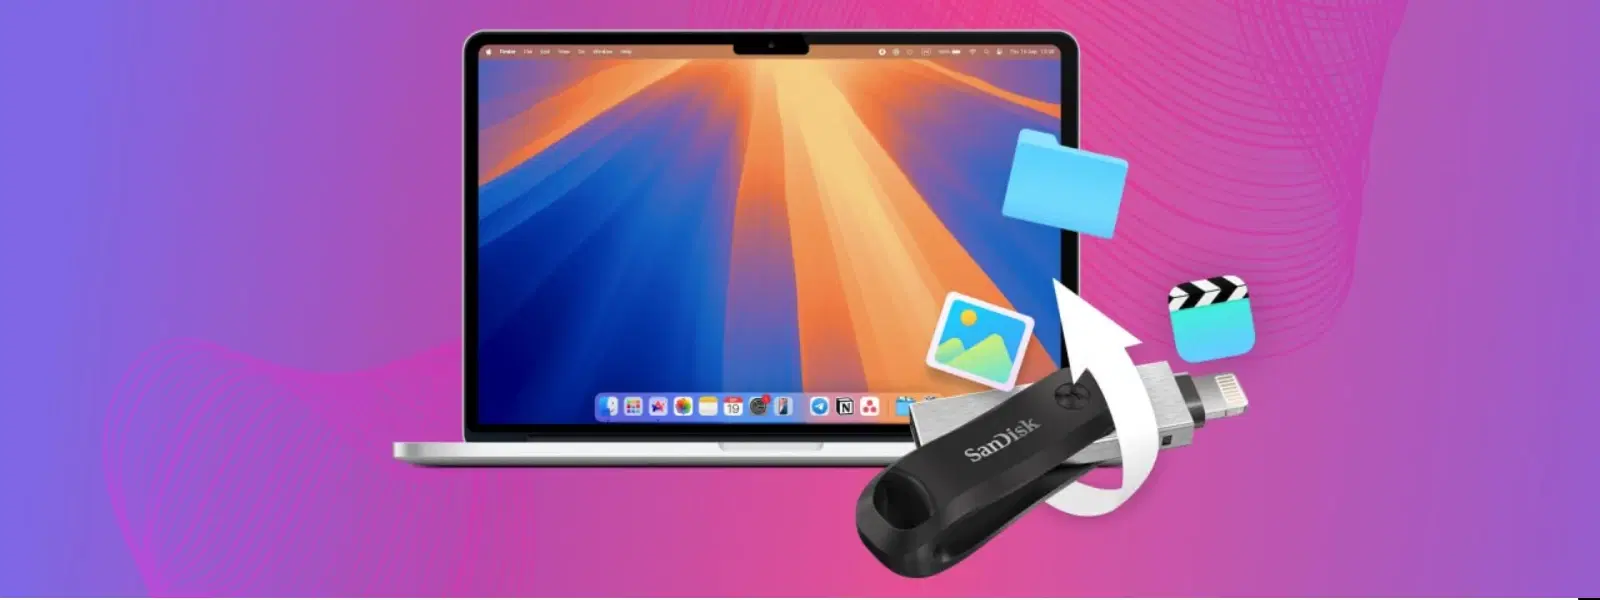
Are you looking to breathe new life into your Mac by installing macOS El Capitan? Whether you're troubleshooting an older Mac or setting up a clean system, this comprehensive guide will walk you through the process step-by-step. With clear instructions and easy-to-follow advice, you'll soon master the technique of creating and using a bootable USB installer to install macOS El Capitan on your device.
Before you begin, it is essential to ensure your Mac is compatible with macOS El Capitan. Generally, Mac models manufactured from 2007 to 2015 are supported. Make sure that your device has the necessary hardware specifications, including adequate disk space and sufficient RAM. Verifying these elements at the start can save you from potential headaches later on.
Backing up your current data is a crucial step to prevent any loss during installation. Use Time Machine to create a backup of your system or transfer important files to external storage. This simple precaution means you can restore your data easily if anything goes wrong while creating a new setup.
The next vital step is to create your bootable macOS USB installer. Start by downloading the complete macOS El Capitan installer from the official Apple source. It is important to ensure that the installer file is the full version to avoid errors during the USB creation process.
Once the download is complete, prepare a USB flash drive with a minimum capacity of 8GB. Open Disk Utility and select the USB drive to format it. Choose the Mac OS Extended (Journaled) file system and setting the partition map as GUID Partition Map. This formatting is essential for the Mac to recognise the USB as a bootable device.
After formatting your USB drive, the next task is to use Terminal to create the bootable installer. Launch Terminal and enter the correct command, usually provided in the installer’s guide. It is critical to type or paste the command accurately to prevent any errors. If you encounter difficulties, recheck the command syntax or try using a different USB drive for troubleshooting. This method not only ensures a smooth process but also demonstrates the efficiency of creating a bootable macOS USB installer.
With your bootable installer ready, it is time to boot your Mac from the USB drive. Restart your Mac and immediately hold down the Option/Alt key to invoke the Startup Manager. From the list of bootable drives, select your USB installer. This step is simple yet vital to begin the installation process.
For a complete and clean installation, use Disk Utility to erase your startup volume. Ensure that you have backed up your important data before proceeding to avoid any data loss. Once erased, follow the on-screen instructions carefully to install macOS El Capitan. This clean installation can improve performance, especially on older Macs, by removing clutter and allowing your system to run more efficiently.
After the installation process, you'll be guided through the initial setup of macOS El Capitan. Start by choosing your language preferences, setting up Wi-Fi connectivity, and creating a new user account. These initial settings pave the way for personalized use, ensuring your Mac is tailored to your needs.
Even with clear instructions, you may occasionally encounter issues. One common problem is when your Mac fails to recognise the bootable USB drive. In such cases, recheck the USB drive's format using Disk Utility, re-run Terminal commands, or simply try using a different device. These basic troubleshooting steps usually resolve the issue quickly.
If you experience installation errors or the process gets stuck – for example, if you see the Apple logo for too long – try booting into recovery mode. Restart your Mac and hold down Command + R during startup. Access Disk Utility from the recovery menu to repair your disk if needed. This approach ensures that you can diagnose and resolve problems without external assistance.
Pro Tip: Speed Up Installation with a High-Speed USB Drive
Did you know? Using a USB 3.0 flash drive can significantly reduce the time required to create and boot your macOS installer. For optimal results, choose a high-speed drive with at least 16GB of storage. This small upgrade can make a big difference in smooth and swift operations.
You can erase your startup volume using Disk Utility and install macOS El Capitan from a bootable USB installer. Access Disk Utility during the installation process by booting your Mac from the USB and selecting the appropriate option from the menu.
Insert the bootable USB installer into your Mac, restart your computer, and hold the Option/Alt key to access the Startup Manager. Then select the USB drive, follow the on-screen instructions, and complete the installation process.
Restart your Mac and immediately hold the Option/Alt key as it powers on. This action opens the Startup Manager, where you can select the bootable USB drive as the startup option.
To boot into recovery mode, restart your Mac and hold down Command + R during startup. This process lets you access essential utilities like Disk Utility to manage and troubleshoot issues with your installation.
Through this guide, we've outlined a clear and straightforward process on how to install macOS El Capitan using a USB drive. Whether you are looking to perform a clean installation to boost your Mac's performance or need to recover your device, following these steps ensures a smoother experience.
By choosing Tata Neu for your digital needs, you also gain access to countless perks as you shop smartly. Enjoy the benefits of NeuCoins rewards every time you transact, be it online or in-store, and discover how Tata Neu creates unique possibilities for tech enthusiasts, families, young professionals, and students alike. With an unmatched blend of trust, convenience, and superior customer service, Tata Neu continues to revolutionize the way you shop. Not only do we offer a fantastic platform for seamless transactions but also expert guidance that can help you along every step of your tech journey.
With careful planning, proper backup, and the use of a high-speed USB drive, installing macOS El Capitan becomes a methodical process that anyone can follow. The detailed procedures outlined above, from creating the installer to troubleshooting common issues, can help restore your Mac to its best performance. Embrace the freedom of a clean installation, optimise your device, and let Tata Neu's rewards system inspire your every transaction.