Consumer Electronics
•05 min read

<p>Danger can overpower you at any time and your voice will not be enough in such situations to get the required aid. The amazing new <strong>Juvo PSB01 Personal Alarm</strong> is crafted for all ages and is a necessary precaution from all kinds of danger. It rings a very loud alarm at 120 dB as well as flashes the torch to warn people nearby about a danger. Whether you have a medical emergency or you are attacked by predators your voice may not be heard but this alarm will be enough to deter attackers or draw attention of people close by to give you the immediate assistance required.</p> <p><strong>Extremely Easy To Use</strong></p> <p>The <strong>Juvo PSB01 Personal Alarm</strong> is small and portable, can be attacked to even a keychain if you want. To start the siren all you need to do is separate or pull the metal key chain from the main black unit. The siren may go on for 1 1/2 hours in case nobody heard it in the first minutes. This is very important for girls returning home alone at night as it acts as a security anti-attack panic alarm that is sure to scare off a molester. Its easy portability accentuates its use.</p> <p><strong>Lights Your Way</strong></p> <p>The little and portable <strong>Juvo PSB01 Personal Alarm</strong> also features a small LED torch that helps you find your way in the dark. Don’t be scared of dark alleys when you have this with you because it is equipped to save you from all dangers.</p>
Imagine cruising down the road with your favourite playlist streaming flawlessly from a newly installed USB port in your car. Gone are the days of fumbling with outdated FM transmitters or dealing with bulky adapters. In this guide, you will learn exactly how to install a USB port in your car for music, simplify your car audio setup, and enjoy high-quality audio along with added convenience. This step-by-step tutorial caters to DIY enthusiasts, tech-savvy individuals, and anyone looking to upgrade their car stereo without the hassle.
Integrating a USB port into your car audio system comes with many benefits. Not only does a USB port provide high-quality audio playback, but it also offers charging functionality and added convenience. When compared to older methods such as using AUX cables, the modern USB port offers a more stable and reliable connection. This ensures your music is not just heard but experienced in the best possible quality.
Older cars with traditional stereos might seem challenging to upgrade, but there are various options available. Whether you choose to install a car USB adapter or replace your existing stereo entirely, the transformation can breathe new life into your in-car experience. Many modern systems come equipped with advanced USB-C support, and these integrated ports often allow for faster data transfer and charging compared to older setups.
Before you start the installation process, preparation is key. Gather all necessary tools and ensure you have a clear workspace. A typical USB port kit for car audio works well with several models, complementing both new and older car systems. Alongside the kit, you will need some essential tools and materials such as screwdrivers, wire cutters, strippers, electrical tape, and a multimeter for accurately testing the connections. If you’re upgrading an older system that lacks inherent USB support, consider also having an interface kit or a decoder board handy.
Your safety is paramount when dealing with car electronics. Always begin by disconnecting the car battery to avoid any electrical hazards. This small step helps protect both you and your vehicle’s electronic system from accidental shorts or other mishaps during the installation process. Moreover, handling the wiring with care and using the proper insulated tools can prevent potential issues later on.
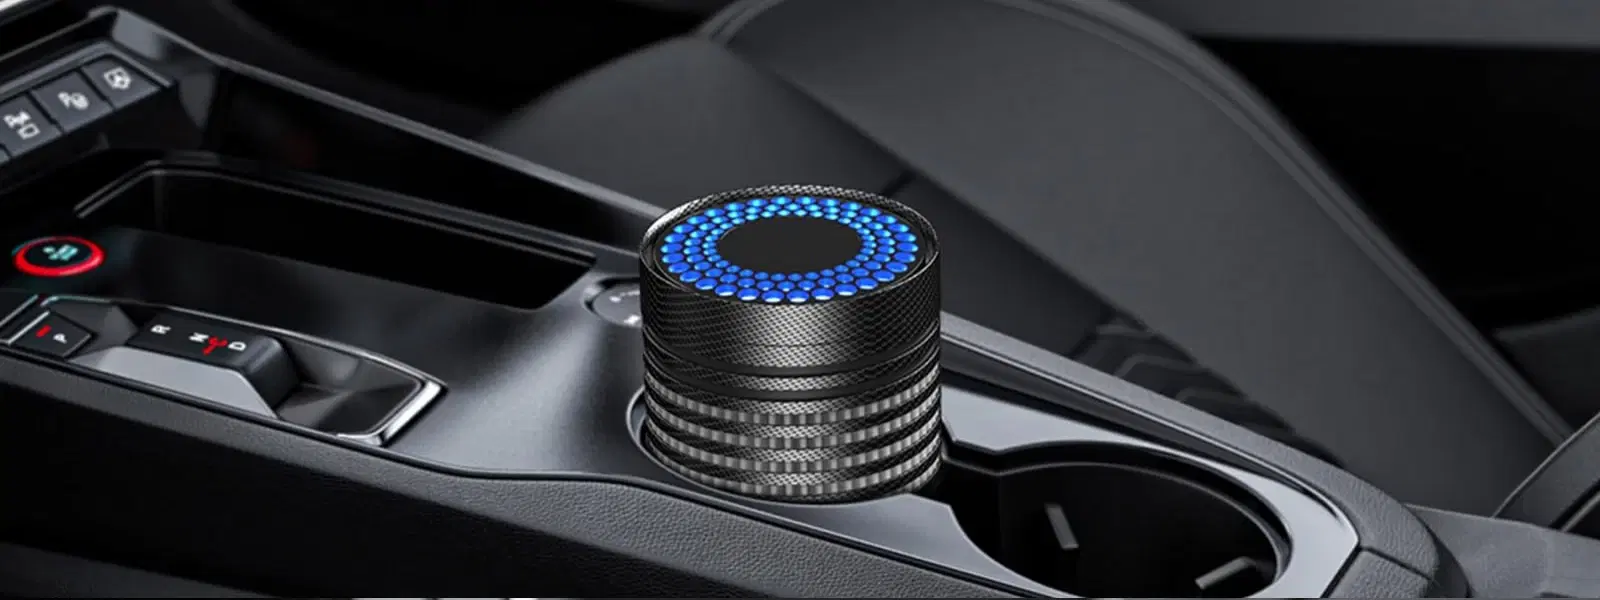
Start by choosing the perfect location for your USB port. Common spots include the dashboard, centre console, or areas near the stereo for ease of access. When selecting a spot, bear in mind the aesthetics of your vehicle’s interior and ensure the chosen location integrates seamlessly with your car's design. A well-placed USB port not only enhances functionality but also complements the overall look of your car.

<p><strong>Why buy Environics Enviroglobe Anti Radiation Ball for House & Car</strong></p> <p> </p> <ul> <li><strong>Provides E-Smog and Radiation Protection</strong> for healthier homes and families</li> <li><strong>It Covers A Radius</strong> of 250 sq.ft protect you and your loved ones from harmful radiation</li> <li><strong>Clinically Tested EMF Harmonizer</strong> that provides us 360-degree protection from radiation sources that are beyond our control</li> </ul> <p> </p> <p>Buy the <strong>Environics Enviroglobe Anti Radiation Ball for House & Car</strong> which is based on Envirochip’s radiation protection technology that helps you protect you and your loved ones from harmful radiation within an area of 250 sq. feet. You can extend the range of protection by placing multiple Enviroglobes at equal distances from one another. It is a clinically tested EMF harmonizer and provides us 360-degree protection from radiation sources that are beyond our control. Electromagnetic Radiation (EMR) refers to the constant waves of the electromagnetic field (EMF) produced by wireless communication devices such as mobile phones, laptops, Wi-Fi routers, and other sources such as mobile towers and high-tension wirelines, etc. However, The human body is accustomed to random waves and hence the constant exposure to electromagnetic radiation causes serious biological disorders such as higher stress and fatigue, irritation, headache, weakened immunity, cancer, fertility issues to name a few. The technology used in Enviroglobe changes the nature of electromagnetic radiation from constant to random waveform making it human body-friendly.</p> <p> </p> <p>When you get <strong>Environics Enviroglobe Anti Radiation Ball for House & Car</strong> online, you also get awesome companion for your home. It comes with Internationally tested and certified technology. No need of batteries or adaptors, you can simply charge by placing it under the sunlight, for only a couple of minutes every week. Enviroglobe is simple to use. Simply place it at your desk, table, living room, bedroom, car, office space, absolutely wherever you want, and get a radiation protected zone of up to 250 sq. feet. It provides e-smog and radiation protection for healthier homes and families. Purchase <strong>Environics Enviroglobe Anti Radiation Ball for House & Car</strong> online, now!</p>
Next, carefully remove the necessary panels to access the stereo wiring. Take your time during this step—using the correct screwdriver and tools ensures that the panels are not damaged. Identify the wiring harness associated with your stereo, as this will be the key point for integrating the USB port into your audio system. Proper handling during this phase guarantees a clean and safe setup.
This is the critical step where the wiring connections are made. Connect the USB adapter to your stereo or directly to a compatible power source within your car. If you are working with an older system without native USB support, incorporating a decoder board or interface kit works wonders to streamline the connection process. Accuracy at this stage is crucial. As you tuck in the new wiring, double-check your connections with a multimeter to ensure proper grounding and wiring integrity. This simple step safeguards your stereo system from potential electrical mishaps.
Before fully reassembling the car panels, test the USB port connection. Insert a USB stick loaded with your favourite music files (formatted in FAT32 or exFAT) and play a track through your stereo system. This testing phase helps identify any issues such as power failure or audio distortion. A smooth playback confirms that all connections have been properly made and that your USB port is functioning as intended.
Once you are satisfied with the performance, carefully reattach the previously removed panels. Ensure that the USB port is secure and that there are no loose wires or exposed connections. A final check of the entire setup ensures that everything is neat and seamlessly integrated. With these final touches, your car is now ready for an enhanced audio experience.
Pro Tip: Avoid Common Pitfalls in USB Port Installation
Did you know improper wiring can lead to audio interference or damage your stereo system? Always use a multimeter to check connections and ensure proper grounding before finalising the installation. Taking this precaution helps maintain the reliability and longevity of your car’s audio system.
After successfully installing the USB port, you may want to further enhance your car’s audio functionality. Upgrading to a modern car stereo with built-in USB ports brings additional benefits. Newer systems often support Bluetooth and offer multi-device compatibility, making it easier to control your music and even earn NeuCoin rewards on Tata Neu when purchasing related electronics. The trusted reputation of platforms like Tata Neu ensures that you can shop smartly while enjoying extra perks.

<p><b>HEUV Technology</b><br/><br/>Thanks to the HEUV technology, the SVARAS Home X2 Pro UV Steriliser effectively targets and eliminates a wide range of viruses and bacteria, including those responsible for illnesses such as the coronavirus. As a result, you can have peace of mind knowing that you can effectively protect yourself and your family from potential health threats.<br/><br/><br/><b>Enhanced Sterilisation</b><br/><br/>This rechargeable UV steriliser provides optimal sterilisation capabilities, which eliminates harmful germs. This high level of effectiveness makes it an ideal choice for homes, offices, and shops, ensuring that surfaces remain clean and safe. Thus, you can trust this steriliser to protect your health and the health of your loved ones by efficiently disinfecting various surfaces.<br/><br/><br/><b>User-Friendly Functionality</b><br/><br/>This home steriliser boasts convenient features that enhance its usability. It includes a voice alarm that signals when the sterilisation process is complete, ensuring you never forget to turn it off. Additionally, the device offers a safe automatic power-off feature, which enhances safety during operation. Convenient charging capabilities further simplify the user experience, which makes it easy to keep the steriliser ready for action.<br/><br/><br/><b>Eco-Friendly Design</b><br/><br/>Designed with sustainability in mind, this SVARAS steriliser promotes an eco-friendly lifestyle. It operates without mercury or harsh chemicals, which makes it safe for both users and the environment. This design choice allows you to maintain a clean living space while reducing your ecological footprint. Moreover, the sleek, modern appearance of the steriliser ensures that it complements any decor.</p>
If you enjoy DIY projects, installing a USB port can be a rewarding experience that adds a personal touch to your car audio setup. However, if you encounter any uncertainties during the process or if your stereo requires more complex wiring, consulting a professional might be the safest option. Weighing the cost of a DIY installation versus professional help can help make an informed decision. For a project like this, estimated material costs typically range modestly, and investing in professional services may be worthwhile if you value a hands-off, expert touch.
Yes, you can add a USB port to most car stereos using a USB adapter, decoder board, or interface kit. Compatibility depends on your stereo model and wiring setup.
Simply transfer audio files to a USB stick formatted in FAT32 or exFAT. Plug the USB stick into your car’s USB port, and select the USB input on your stereo to play music.
Yes, installing a USB port in a car is possible by either replacing the stereo with one that includes USB functionality or adding an adapter or kit to your existing setup.
DIY installation costs can range from approximately Rs. 1,500 to Rs. 3,500 for materials, while professional installation may cost between Rs. 7,500 to Rs. 15,000, depending on your car and stereo type. These figures are indicative and may vary.
Basic tools like screwdrivers, wire cutters, electrical tape, and a USB adapter kit are essential. A multimeter is also recommended for testing connections, making your installation process smoother and more secure.
To sum up, installing a USB port in your car is a practical upgrade that not only elevates your car audio experience but also provides a modern solution for charging and syncing devices. With a carefully laid out step-by-step process, you are now well equipped to take on this DIY project with confidence. By understanding your car's compatibility, preparing adequately, and following safety guidelines, the integration becomes straightforward and manageable. Enjoy the benefits of high-quality music playback and the added convenience of modern car audio technology, all while staying true to the trusted and rewarding shopping experience that Tata Neu offers. Explore more about advanced car electronics and additional smart upgrades by checking out valuable resources tailored to meet your needs, ensuring your car stays up-to-date with the latest innovations.
