
Consumer Electronics
•05 min read

<p style="margin-left:0cm; margin-right:0cm">Keep away from breathing in harmful germs, dust and pollution by using the <strong>Arctic Fox N95 Gold Series</strong> <strong>Face Respirator Mask.</strong> The mask is designed specially ensuring that it fits comfortably on your face and covers all the essential parts of your face. The soft ear loops ensure the comfort-ability for longer use. It has a 3 mm foam material for comfort fit and air seal.</p> <p style="margin-left:0cm; margin-right:0cm">The <strong>Arctic Fox N95 Gold Series</strong> <strong>Face Respirator Mask</strong> is super breathable because of the comfortable fabric and is also splash resistant.</p> <p style="margin-left:0cm; margin-right:0cm">Whether you are travelling or for that matter, moving out of your house, wearing the <strong>Arctic Fox N95 Gold Series</strong> <strong>Face Respirator Mask </strong>will ensure security to your health by helping you keep the dust and germs out from inhaling it.</p>
Ever faced the frustration of needing to install Windows 10 but lacked a bootable USB? In today’s fast-paced world, having the right tools at your fingertips is essential for troubleshooting and upgrading your computer systems. This guide provides an easy-to-follow walkthrough on how to create a bootable USB from an ISO file, complete with practical tips and troubleshooting advice. By the end of this guide, you will be well-equipped to set up your own USB boot drive for Windows 10 installations.
A bootable USB is a portable storage device that contains all the necessary files to install an operating system like Windows 10. It serves as a simple and efficient solution that works across various modern PCs, allowing you to bypass traditional installation methods. Whether you are upgrading your system or recovering from a critical error, a bootable USB is an essential part of your tech toolkit.
An ISO file is essentially a digital copy of the contents of a DVD, often used for system installations. For creating bootable media, the ISO file contains the full Windows 10 operating system image. It is crucial to download the correct and most recent Windows ISO file from an official source to ensure maximum compatibility and security.
Installing Windows 10 from a bootable USB brings several benefits. The process is typically faster than using DVDs, and the portability of the USB makes it easy to move between devices. Whether you’re on the go or working from a home office, this method ensures a hassle-free installation with clearly defined steps that accommodate urgent needs.
Before you get started, ensure you have all the necessary items at hand. You will need a USB flash drive with a minimum capacity of 8GB, the Windows 10 ISO file, and reliable ISO-to-USB software tools such as Rufus, Windows Media Creation Tool, or even PowerISO for those who prefer advanced control over the process.
There are a few popular software options available for creating bootable USBs. Rufus is a favourite for its speed and ease of use. The Windows Media Creation Tool not only helps to create a bootable USB but can also directly download the ISO if required. For advanced users, PowerISO offers detailed settings for greater control over the bootable media creation. Each option has its advantages and some minor drawbacks, so choose one that best aligns with your comfort level and requirements.
A correctly formatted USB drive is essential for ensuring compatibility with your PC’s boot sequence. You may use tools like Windows Explorer or Disk Management to reformat your drive. Typically, either FAT32 or NTFS file systems are used, with the choice depending on the device and installation needs. Formatting removes any residual data that might interfere with the bootable process and ensures a clean slate for installation files.

<p>Danger can overpower you at any time and your voice will not be enough in such situations to get the required aid. The amazing new <strong>Juvo PSB01 Personal Alarm</strong> is crafted for all ages and is a necessary precaution from all kinds of danger. It rings a very loud alarm at 120 dB as well as flashes the torch to warn people nearby about a danger. Whether you have a medical emergency or you are attacked by predators your voice may not be heard but this alarm will be enough to deter attackers or draw attention of people close by to give you the immediate assistance required.</p> <p><strong>Extremely Easy To Use</strong></p> <p>The <strong>Juvo PSB01 Personal Alarm</strong> is small and portable, can be attacked to even a keychain if you want. To start the siren all you need to do is separate or pull the metal key chain from the main black unit. The siren may go on for 1 1/2 hours in case nobody heard it in the first minutes. This is very important for girls returning home alone at night as it acts as a security anti-attack panic alarm that is sure to scare off a molester. Its easy portability accentuates its use.</p> <p><strong>Lights Your Way</strong></p> <p>The little and portable <strong>Juvo PSB01 Personal Alarm</strong> also features a small LED torch that helps you find your way in the dark. Don’t be scared of dark alleys when you have this with you because it is equipped to save you from all dangers.</p>
Rufus remains one of the most popular tools for creating bootable USBs due to its simplicity and robust performance. Here is a step-by-step approach for using Rufus:
Insert your USB drive into your computer.
Open Rufus and select your USB drive from the device list.
Load the Windows 10 ISO file by clicking on the "SELECT" button.
Choose the appropriate partition scheme and file system. For most modern systems, the default settings work well.
Click "START" to begin the process. Rufus will burn the ISO file onto your USB drive.
Once the process is complete, your USB drive is ready to be used as a bootable device for installing or repairing Windows 10.
The Windows Media Creation Tool offers a straightforward alternative. After downloading and running the tool, select the option to create installation media for another PC. The tool will either download the ISO file automatically or allow you to locate an already downloaded file. Follow the on-screen instructions to choose your language, edition, and architecture. Finally, write the ISO file to your USB drive. This method integrates downloading and bootable USB creation into one seamless process.
For users seeking more control over the settings, PowerISO provides advanced features. Open the PowerISO software, load your Windows 10 ISO file, and select the "Create Bootable USB" option. This tool is ideal if you need to customize the bootable drive further. Adjust settings like partition scheme or file system if necessary, and then proceed with the burning process. PowerISO offers a more tailored approach which can be beneficial if you frequently engage in creating bootable drives.
Pro Tip: "Always verify the integrity of your ISO file before creating a bootable USB. Tools like Rufus provide a checksum feature to ensure the file hasn't been corrupted during download."
If your PC fails to recognize your USB drive, it may be due to BIOS configurations. Ensuring that USB boot options are enabled in your system's BIOS is a vital step. Restart your device, enter the BIOS settings (usually by pressing keys like F2 or DEL during startup), and make sure that USB boot is supported and prioritized in the boot order. This adjustment can often resolve recognition problems.
Sometimes errors occur during the burning process which may be attributed to a corrupt ISO file or insufficient USB storage space. In such cases, re-downloading the ISO file from the official source or ensuring that your USB drive meets the size requirement can solve the problem. Additionally, running the chosen software as an administrator may help overcome permission-related issues.
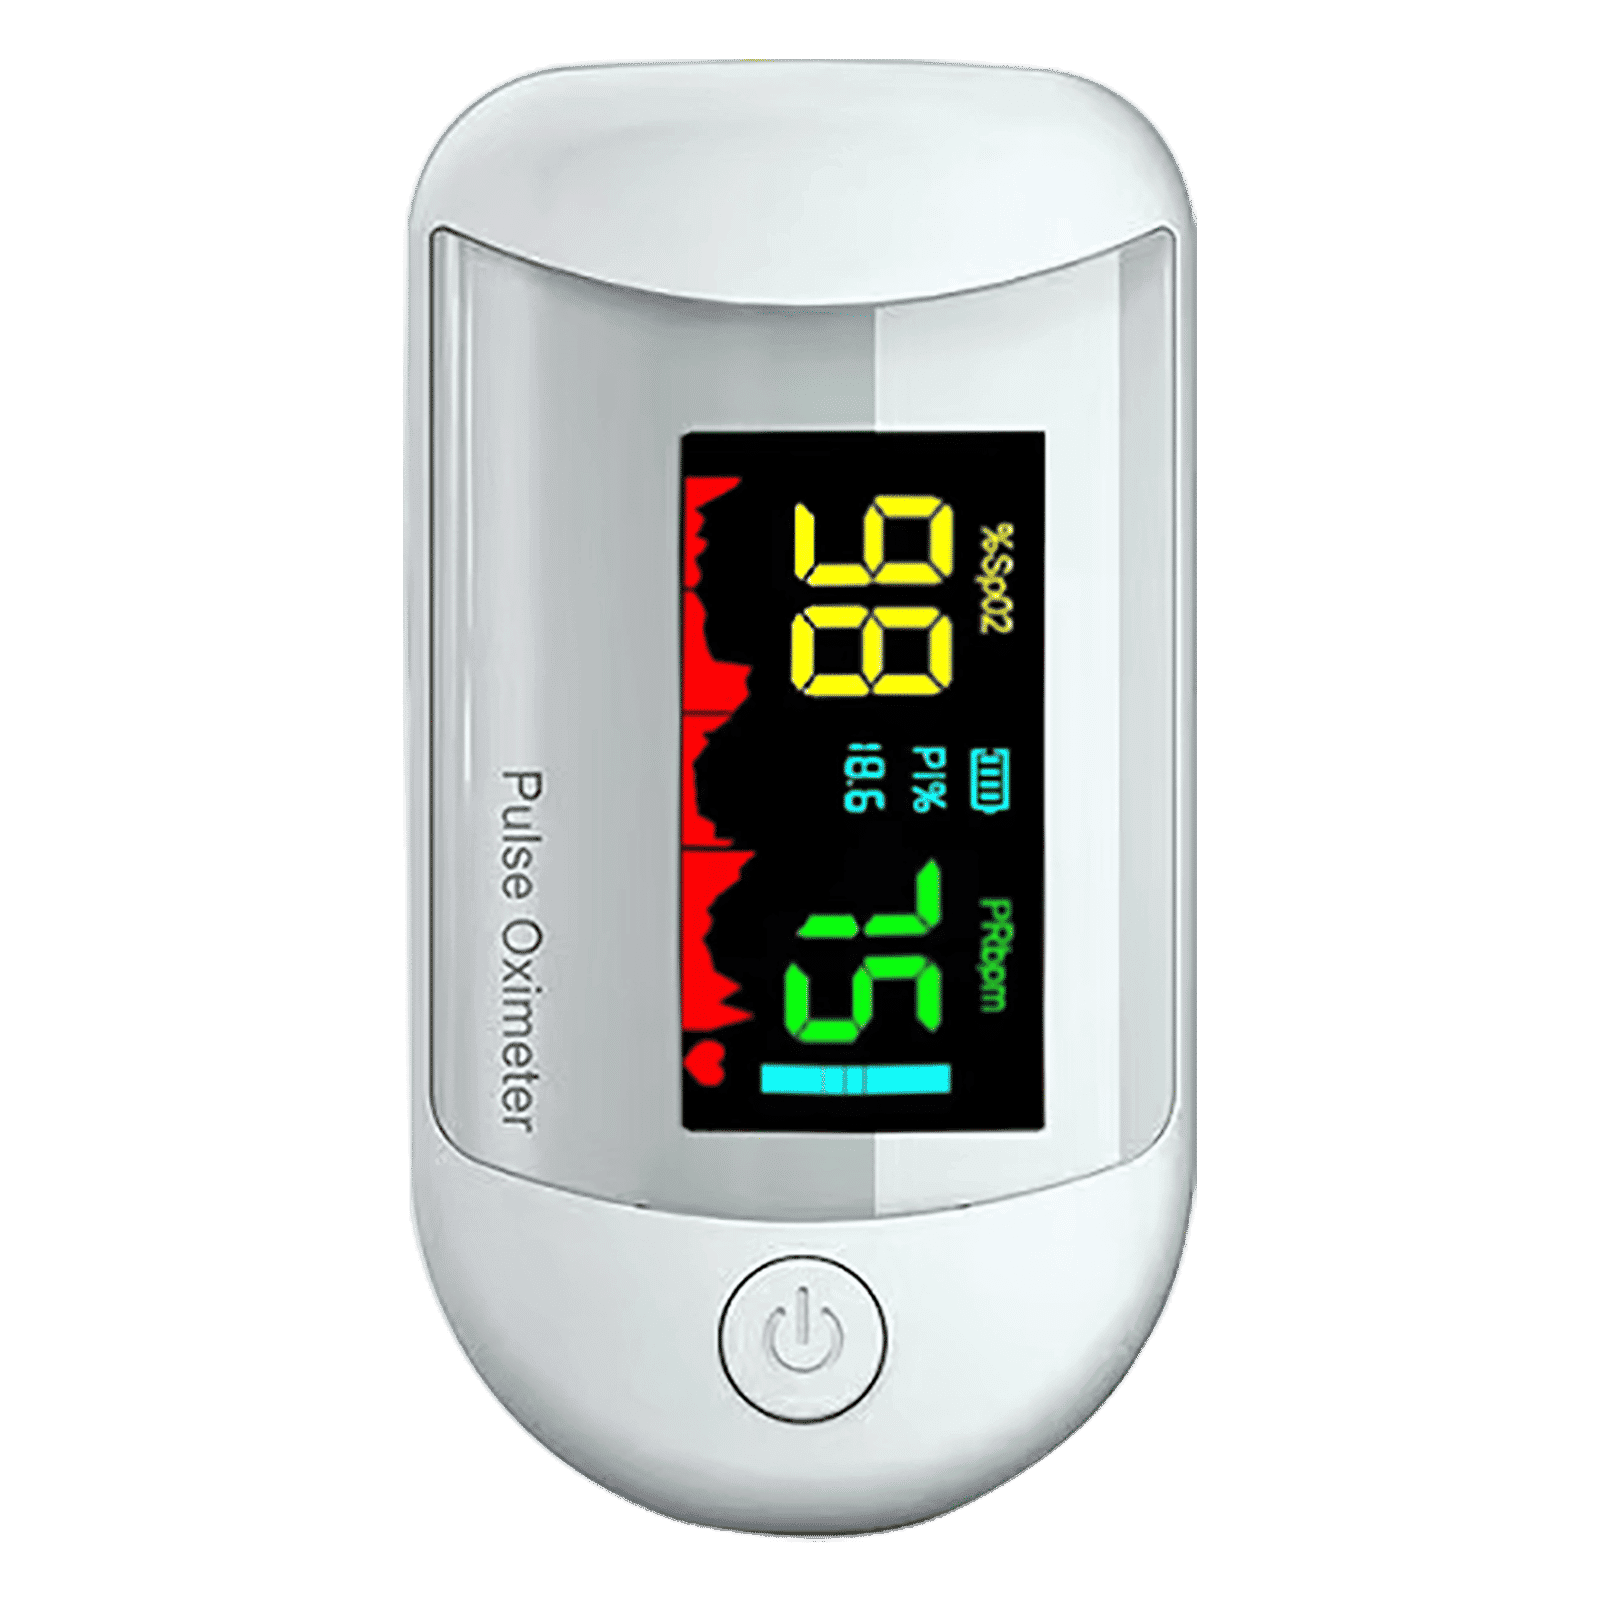
<p><strong>Why buy iGear Health Digital Pulse Monitor/Oximeter</strong></p> <p> </p> <ul> <li><strong>Fast, Reliable Measurement</strong> of Oxygen Saturation (SpO2) and Pulse (PR bpm) within 5-8 seconds</li> <li><strong>Perfusion Index</strong> of 0.3% measures even the weakest of the Pulse</li> <li><strong>Auto Power Off</strong> when not in use</li> <li><strong>4 Direction Display</strong> and Multi-coloured Display for ease of reading</li> <li><strong>Infrared Sensor</strong> for seamless operation</li> </ul> <p> </p> <p>Stay healthy and fit by keeping a regular check of your oxygen level by bringing home the <strong>iGear Health Digital Pulse Monitor/Oximeter</strong>. Although, the Blood pressure monitor may be the most recognizable medical tool in the market, but Pulse Oximeter is a close second for the most-used medical device. Being fast and reliable, the <strong>iGear Health Digital Pulse Monitor/Oximeter</strong> measures the amount of oxygenated blood (Spo2) in your body, giving medical professionals an idea of how much oxygen your body is carrying to vital organs and tissues. It measures Oxygen Saturation (SpO2) and Pulse (PR bpm) within 5-8 seconds. It comes with a measuring range of 0 – 100% (Oxygen Saturation) and 25 – 250 bpm (Pulse Rate). It has accuracy in readings of Oxygen Concentration in the Blood range 0-100% (+/- 2%) and Pulse rate range 25-250 bpm (+/- 2 bpm). It comes with a Perfusion Index of 0.3%, which can measure even the weakest of the Pulse.</p> <p> </p> <p>Having the <strong>iGear Health Digital Pulse Monitor/Oximeter</strong> at home allows the patients to monitor vital signs with an extra layer. These tools give you a better view of your health and allow you to coordinate with your healthcare provider. If you have a condition that affects your blood oxygen levels -think sleep apnea, chronic obstructive pulmonary disease (COPD), asthma, lung cancer, or heart failure, among many other conditions you may benefit from an at-home Pulse Oximeter. It comes with Infrared Sensor that seamlessly records all the readings. The One-click measurement of the device makes it convenient to operate. Viewing the readings will no longer be a struggle. Thanks to the 4 direction display and multi-colored display that makes viewing the reading simple and easy. Being battery operated, it offers long-lasting usage having an auto power-off feature. So, wait no more! Order the <strong>iGear Health Digital Pulse Monitor/Oximeter</strong> online, right away!</p>
After completing the bootable USB creation, testing it to make sure that it boots correctly is an important final step. One effective method is using a virtual machine to simulate the boot process, or you could directly attempt to boot on another system. This ensures that every step was executed properly and that you are ready for a seamless Windows 10 installation when needed.
Download a Windows 10 ISO file and use software like Rufus or Windows Media Creation Tool to burn it onto a USB drive.
Install PowerISO, open the ISO file, and use the "Create Bootable USB" feature to write the ISO to your USB drive.
Popular programmes include Rufus, Windows Media Creation Tool, and PowerISO.
Follow the same steps as creating a bootable USB, then use it on the target PC to install Windows 10.
In summary, creating a bootable USB for Windows 10 is a straightforward yet essential skill. It offers a fast and efficient way to upgrade or troubleshoot your system without relying on outdated or cumbersome methods. The process involves understanding the basics of bootable USBs and ISO files, preparing your tools and USB drive, and executing a step-by-step guide using trusted software. Once created, it is important to troubleshoot common issues and test your bootable drive to ensure it functions as expected.
At Tata Neu, we understand the value of seamless and reliable technology solutions that empower you to be more efficient in your daily tasks. Whether you are upgrading your setup or taking proactive steps to maintain your device, the knowledge you’ve gained here is a useful addition to your tech repertoire. With every purchase or transaction, remember that you can earn NeuCoins rewards on Tata Neu, enhancing your experience with savings that truly matter.
Explore more tips and detailed guides on consumer electronics to stay ahead in this ever-evolving digital landscape. Your journey towards smarter shopping and efficient tech setup begins with a single step – and we are here to guide you every step of the way.
