Consumer Electronics
•05 min read

<p><b>Enhanced Cleaning Technology</b><br/><br/>The MILAGROW 24W Robotic Vacuum Cleaner offers reliable wet and dry cleaning capabilities, which makes it an ideal choice for both home and office environments. Equipped with the enhanced NIDEC Brushless Motor, it delivers a powerful suction of 1500Pa, which ensures effective dirt and debris removal across various surfaces.<br/><br/><br/><b>Smart Navigation </b><br/><br/>Utilising cutting-edge Gyro Mapping technology, this robotic vacuum cleaner employs earth's gravity for optimal orientation and navigation. The rotor mechanism accurately measures rotation rates, which enables the device to stabilise and efficiently map out cleaning paths. It features four cleaning modes - smart, wall follow, spiral, and remote control – which allows for versatile cleaning strategies tailored to your space.<br/><br/><br/><b>Reliable Battery Life</b><br/><br/>Powered by a robust 2600mAh battery, this 24W vacuum cleaner boasts an optimum working time of up to 110 minutes. It can cover up to 1800 square feet on a single charge, which ensures comprehensive cleaning throughout your space without frequent interruptions. The 0.6-litre dustbin is designed to handle substantial dirt loads, while the 0.11-litre water tank facilitates effective wet cleaning.<br/><br/><br/><b>Efficient Filter System</b><br/><br/>Featuring a triple filter system which includes HEPA 12 filtration, this vacuum cleaner ensures the removal of most of the airborne particles as small as 0.3 microns. It effectively captures allergens, dust mites, mould spores, and even fine particles like smoke and bacteria, which creates a healthy environment in your home or office.<br/><br/><br/><b>User-Friendly Features </b><br/><br/>The MILAGROW vacuum cleaner affirms its reliability and safety for everyday use. Its user-friendly design allows for effortless operation and maintenance, which makes it an essential cleaning companion. With MILAGROW 9.0 Software Generation, it ensures optimal performance and user satisfaction.</b><br/><br/></p>
Ever wondered how to make a bootable USB to install Windows 7 quickly and efficiently? Whether you are a tech enthusiast or someone looking for a simpler way to handle software installations, PowerISO is an excellent tool for creating bootable USB drives that make the entire process smooth and straightforward. While preparing your system, remember that shopping on Tata Neu rewards you with NeuCoins and exclusive tech benefits, making every upgrade even more rewarding. This guide walks you through a detailed, step-by-step process to create a bootable USB for Windows 7 using PowerISO, ensuring you have a reliable method for all your installation needs.
A bootable USB is a portable device that contains the necessary files to start or install an operating system. It offers several benefits over traditional installation methods, including speed, portability, and efficiency. PowerISO, recognised for its versatility, handles ISO files with ease and allows you to create bootable USB drives, making it an indispensable solution for your installation tasks.
PowerISO is a comprehensive tool that enables you to handle ISO file operations and USB boot setups seamlessly. Its intuitive interface and robust performance ensure that even if you are new to bootable USB creation, you can confidently manage the process with minimal hassle.
Before beginning the process, it is important to ensure that your system meets the minimum requirements for running PowerISO. Ensure you have a computer with a supported operating system and that the hardware specifications are appropriate for viewing and manipulating ISO files. You will need a USB flash drive with a minimum capacity of 4GB, the latest version of PowerISO installed on your machine, and a Windows 7 ISO file ready for use.
Downloading PowerISO is straightforward. Visit the official website and follow the simple instructions to install the software. Once installed, PowerISO becomes your go-to tool for USB boot setups and provides a seamless experience for creating bootable flash drives. Before formatting your USB drive, remember to back up any existing data to prevent data loss.
Launch PowerISO: Start by opening the PowerISO application. Familiarise yourself with its user-friendly layout. The tool is designed to make the process hassle-free, so exploration of its features will give you confidence and clarity in every subsequent step.
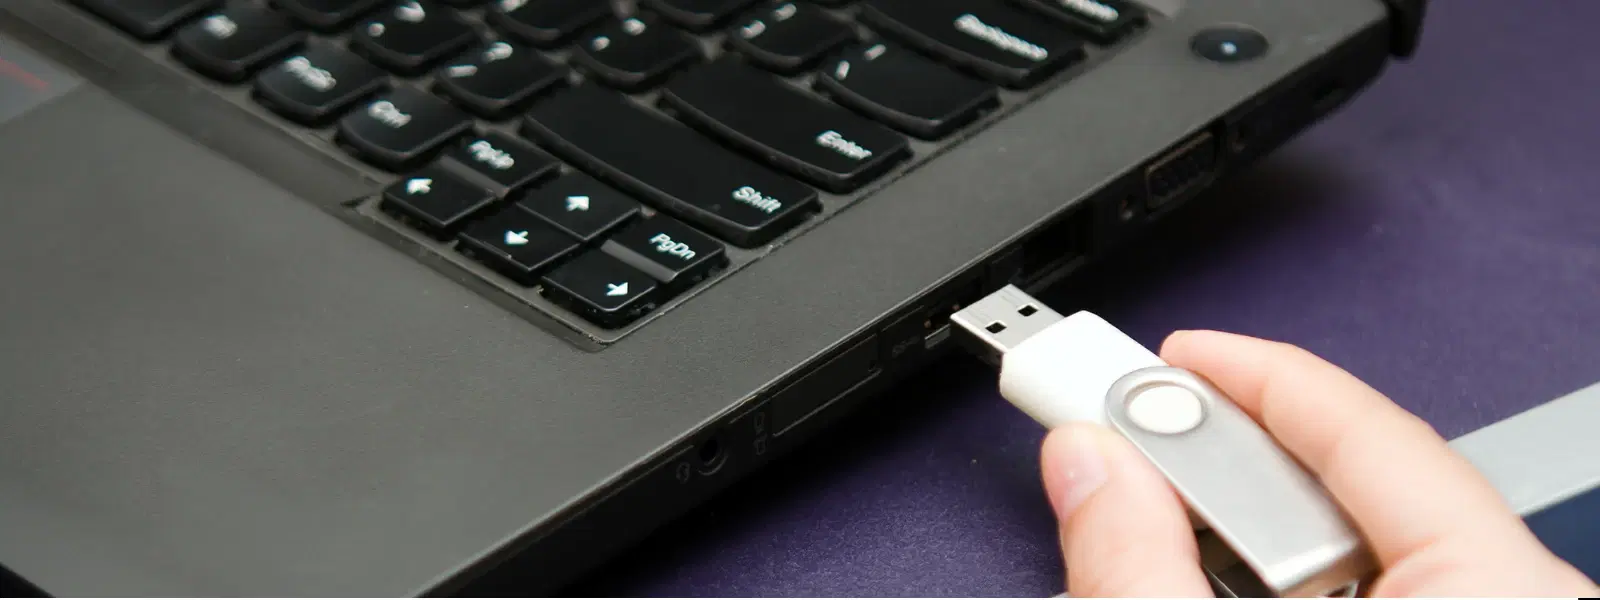
Insert USB Drive: Connect your USB drive to the computer. Confirm that PowerISO recognises the drive. This initial step is crucial to ensure that your flash drive is ready for the upcoming operations without any interruptions.
Load Windows 7 ISO File: With your USB drive detected, browse for the Windows 7 ISO file within the PowerISO interface. Selecting the right file is key since it contains the complete operating system setup needed for a successful installation. The tool provides clear navigation options making the file selection process simple.
Format USB Drive: Formatting your USB drive prior to creating a bootable device is essential. This not only ensures that previous data does not interfere with the installation process but also preps the drive for a clean write operation. Through PowerISO, you can format the USB drive with a few clicks, maintaining a focus on simplicity and efficiency.

<p><strong>Effortless Performance</strong><br /> <br /> The sabichi Mono 24cm Whisk is designed for smooth and efficient whisking. Its polished stainless-steel wires and narrow shape ensure even blending and make it ideal for small bowls or containers. From whipping meringues to beating eggs, this whisk brings ease to every task.<br /> <br /> <br /> <strong>Versatile Whisking Tool</strong><br /> <br /> Whether you're blending batters, keeping lumps out of sauces, or creating airy meringues, this 24cm whisk is up to the challenge. It’s a kitchen essential that adapts to various culinary needs with precision and consistency.<br /> <br /> <br /> <strong>Safe for All Cookware</strong><br /> <br /> The whisk is gentle on all surfaces, including non-stick, ceramic, and metal cookware. You can whisk worry-free without scratching or damaging your kitchenware. This ensures long-lasting durability for your pots and pans.<br /> <br /> <br /> <strong>Ergonomic Design</strong><br /> <br /> Featuring an innovative handle with a soft, comfortable grip, this whisk absorbs pressure for strain-free usage. Its contoured shape ensures a secure hold, even during prolonged whisking tasks, for an effortless cooking experience.<br /> <br /> <br /> <strong>Convenient Storage</strong><br /> <br /> Equipped with a handy hanging loop, the whisk offers easy storage. It’s always within reach while saving counter and drawer space, making it as practical as it is efficient.</p>
Create Bootable USB: Finally, follow the guided process to write the Windows 7 ISO file onto your USB drive. The tool tracks the progress, making it easy to see each step as it completes. Once the process is complete, the software will confirm successful bootable USB creation, leaving you with a functional device ready for any installation purpose.
Pro Tip: Verify Your Bootable USB Before Installation
Did you know? Before using your bootable USB for installing Windows 7, you can test it using virtual machine software like VMware or VirtualBox. This simple step verifies that your USB is fully functional and saves you time troubleshooting issues later.
Even with a straightforward process, you might encounter issues that can be resolved with a few quick fixes. If your USB drive is not recognised by PowerISO, ensure the port and the drive itself are working properly. Sometimes, a simple disconnection and reconnection can resolve recognition issues.
If you face errors during the ISO file loading, the file itself might be corrupt or incompatible. In such cases, re-download the ISO from a trusted official source and try again. Checking file integrity is an essential step to ensure smooth operation.
Should you find that the bootable USB is not working during installation, consider verifying each step of the process. Confirm that the formatting was executed correctly and that the proper bootable image was written to the USB drive. These troubleshooting tips provide a safety net so that you can enjoy a seamless setup experience.
When creating a bootable USB, the choice of the USB drive itself can influence the overall performance. Opt for reputable brands and high-speed USB drives that ensure faster read and write speeds. This is particularly important when you rely on quick installations or need to manage large files without delay. Check availability for express delivery on Tata Neu if you need your tech products urgently.
PowerISO’s versatility extends beyond just Windows 7. You can use this tool to create bootable USBs for Windows 10, Linux, and other operating systems with the same straightforward process. This flexibility allows you to prepare for various installation needs without constantly switching tools.
Enhancing the overall process involves focussing on both speed and compatibility. Ensure that the USB drive you choose has been tested with your device’s hardware to minimise compatibility issues. For any tech enthusiast looking to optimise their setup, these tips can significantly reduce downtime and improve efficiency during system installations.
Creating a bootable USB with PowerISO is a rewarding and empowering process. As you master each step, you gain not only technical skills but also the assurance that your installations will be executed without unnecessary delays or setbacks. Whether it is for personal projects or professional needs, mastering this process gives you a valuable edge in managing system installations.

<p>The <strong>Lyfro Battery Powered Disinfectant Solution Generator</strong> is non-toxic and has no side effects</p> <ul> <li><strong>Free of Chemical Residues</strong> makes it an eco-friendly, cost-effective disinfectant</li> <li><strong>Uses Electrolysis</strong> to produce natural powerful disinfectant</li> <li><strong>300 mAh Battery</strong> with USB recharging facility</li> </ul> <p>Buy <strong>Lyfro Battery Powered Disinfectant Solution Generator</strong> to experience its awesome usages. It is an ultra-portable non-toxic disinfectant maker. It comes with an electrolysed water generator. Useful to sterilize public places as well. Use <strong>Lyfro Battery Powered Disinfectant Solution Generator</strong> which allows you to create your own non-toxic disinfectant in just 3 minutes. Simply add salt and water together. Uses electrolysis to produce natural powerful disinfectants proven to be effective against bacteria, viruses, and mold.</p> <p>When you get <strong>Lyfro Battery Powered Disinfectant Solution Generator</strong> online, you also get an awesome eco-friendly, cost-effective disinfectant for your everyday life. It is equipped with a 300 mAh battery with USB recharging facility. It is usable at home, office, or in transit. It eliminates up to 99.9 percent pathogens. It is free of chemical residues. It is a self-made disinfectant.</p>
You can create a bootable USB for Windows 7 by using PowerISO to load the ISO file, format your USB drive, and execute the bootable USB creation process.
Using PowerISO, simply load the ISO file, format your USB drive, and follow the guided steps provided by the tool to create a bootable USB.
PowerISO allows you to convert an ISO file into a bootable image that can be written directly to a USB drive through its dedicated bootable USB creation feature.
This guide focuses on the process using PowerISO. However, there are other tools available that follow a similar workflow by loading an ISO file and writing it to a USB drive.
Yes, PowerISO supports bootable USB creation for multiple operating systems, including Windows 10, by following nearly identical steps to those used for creating a bootable USB for Windows 7.
In summary, creating a bootable USB for Windows 7 using PowerISO is a straightforward process that simplifies software installations and system setups. This guide has provided you with all the necessary steps, tools, and troubleshooting tips to ensure that your bootable USB creation is seamless and efficient. Embrace the power of PowerISO, and boost your technical proficiency with every installation you undertake.
