Consumer Electronics
•05 min read

<p>Danger can overpower you at any time and your voice will not be enough in such situations to get the required aid. The amazing new <strong>Juvo PSB01 Personal Alarm</strong> is crafted for all ages and is a necessary precaution from all kinds of danger. It rings a very loud alarm at 120 dB as well as flashes the torch to warn people nearby about a danger. Whether you have a medical emergency or you are attacked by predators your voice may not be heard but this alarm will be enough to deter attackers or draw attention of people close by to give you the immediate assistance required.</p> <p><strong>Extremely Easy To Use</strong></p> <p>The <strong>Juvo PSB01 Personal Alarm</strong> is small and portable, can be attacked to even a keychain if you want. To start the siren all you need to do is separate or pull the metal key chain from the main black unit. The siren may go on for 1 1/2 hours in case nobody heard it in the first minutes. This is very important for girls returning home alone at night as it acts as a security anti-attack panic alarm that is sure to scare off a molester. Its easy portability accentuates its use.</p> <p><strong>Lights Your Way</strong></p> <p>The little and portable <strong>Juvo PSB01 Personal Alarm</strong> also features a small LED torch that helps you find your way in the dark. Don’t be scared of dark alleys when you have this with you because it is equipped to save you from all dangers.</p>
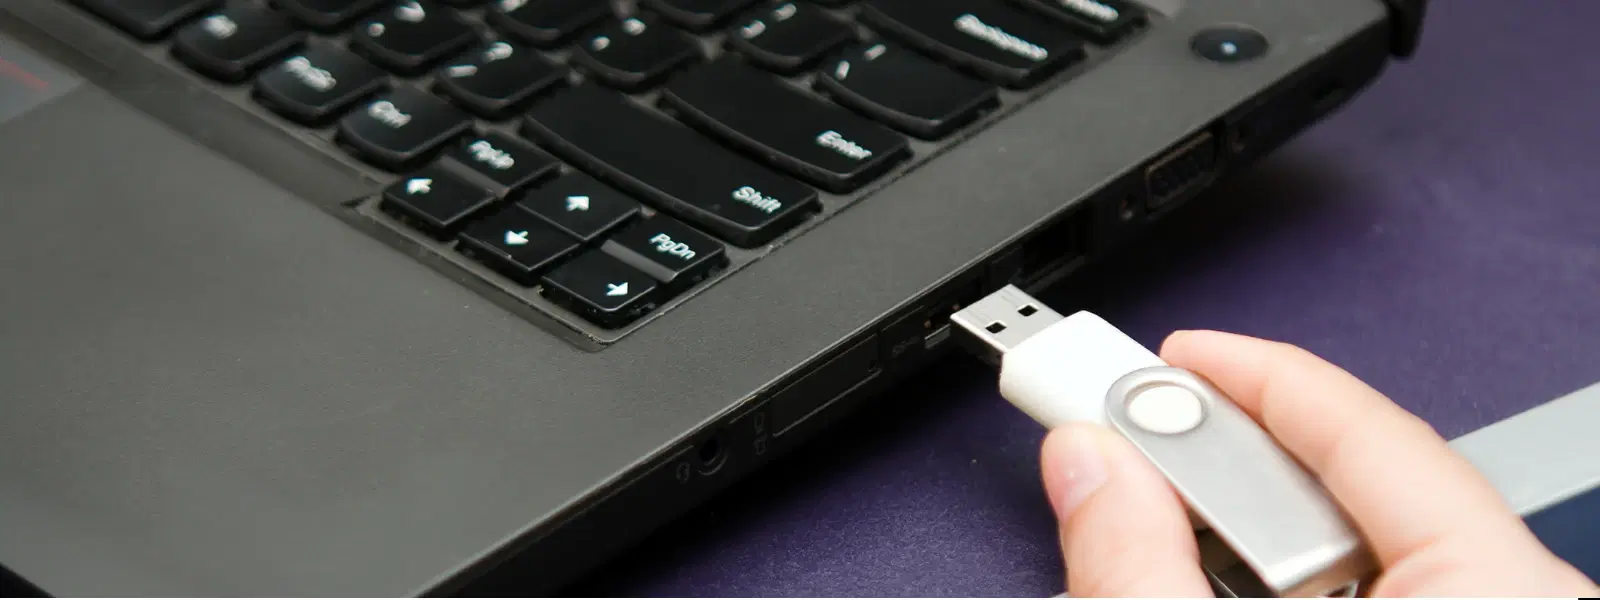
Ever wondered how to troubleshoot your laptop or install a fresh operating system using a USB drive? It's a straightforward process that can save you time and extend the life of your device. In this guide, you'll learn how to get your laptop to boot from USB, a technique that offers a smart solution whether you're setting up a new OS, running diagnostics, or exploring advanced boot options. By following these simple steps, you'll not only configure your laptop to boot efficiently from a USB drive, but you'll also gain confidence in managing your device's BIOS settings and overcoming common USB boot challenges.
USB booting is the process of starting your laptop using a USB drive as the primary boot device. This method is essential for various reasons. It enables you to install new operating systems such as Windows 10, Windows 11, or even Linux distributions, depending on your needs. Additionally, booting from a USB drive is an excellent troubleshooting tool when facing system errors or when you need to run diagnostic tests. This versatility makes bootable USB drives a superior alternative to traditional methods like CDs or DVDs, which are becoming outdated in modern computing environments.
Moreover, this process is a gateway to creating portable work environments. Imagine having an OS on a USB drive that you can use to access your files securely on any computer. As you explore these innovative solutions, you align with platforms like Tata Neu that empower you with smart, value-driven choices backed by reliability and expertise.
The first step in the journey is ensuring your USB drive is up to the task. Selecting the right USB drive is crucial. Look for a drive with a minimum of 8GB storage capacity (more is recommended for larger operating systems) and consider opting for USB 3.0 to benefit from faster data transfer speeds. A high-performing USB drive ensures that your boot process is smooth and efficient.
Next, you need to create a bootable USB drive. Tools such as Rufus or the Microsoft Media Creation Tool make this process user-friendly and effective. Whether you're planning to run Windows, Linux, or macOS, these tools guide you step-by-step to transform your drive into a bootable media. The process involves downloading the necessary files, selecting the ISO image, and following a set of on-screen instructions. Once completed, your USB drive transforms into a powerful tool capable of booting your laptop and performing advanced tasks.
Formatting your USB drive correctly is another key aspect. Understanding the differences between file systems like FAT32 and NTFS is important. FAT32 offers broad compatibility across different systems, while NTFS often works better with larger files. Make sure your drive is clean and properly formatted before moving to the next step, reducing any potential hiccups during the boot process.
Once your USB drive is ready, it's time to prepare your laptop to recognise it during startup. This involves accessing your laptop’s BIOS or UEFI settings—an essential step for configuring boot priorities. Depending on your laptop brand, the key you press during startup might be F2, F12, Esc, or Delete. As you access these settings, remember to check your system's manual if you're unsure which key to use.
Inside the BIOS, look for the boot options menu. Here, you must enable USB boot functionality. Some systems require you to disable secure boot to allow booting from an external drive. Adjusting these settings might sound daunting at first, but the process is organised and can be done easily with a patient step-by-step approach.

<p><strong>Why buy Environics Enviroglobe Anti Radiation Ball for House & Car</strong></p> <p> </p> <ul> <li><strong>Provides E-Smog and Radiation Protection</strong> for healthier homes and families</li> <li><strong>It Covers A Radius</strong> of 250 sq.ft protect you and your loved ones from harmful radiation</li> <li><strong>Clinically Tested EMF Harmonizer</strong> that provides us 360-degree protection from radiation sources that are beyond our control</li> </ul> <p> </p> <p>Buy the <strong>Environics Enviroglobe Anti Radiation Ball for House & Car</strong> which is based on Envirochip’s radiation protection technology that helps you protect you and your loved ones from harmful radiation within an area of 250 sq. feet. You can extend the range of protection by placing multiple Enviroglobes at equal distances from one another. It is a clinically tested EMF harmonizer and provides us 360-degree protection from radiation sources that are beyond our control. Electromagnetic Radiation (EMR) refers to the constant waves of the electromagnetic field (EMF) produced by wireless communication devices such as mobile phones, laptops, Wi-Fi routers, and other sources such as mobile towers and high-tension wirelines, etc. However, The human body is accustomed to random waves and hence the constant exposure to electromagnetic radiation causes serious biological disorders such as higher stress and fatigue, irritation, headache, weakened immunity, cancer, fertility issues to name a few. The technology used in Enviroglobe changes the nature of electromagnetic radiation from constant to random waveform making it human body-friendly.</p> <p> </p> <p>When you get <strong>Environics Enviroglobe Anti Radiation Ball for House & Car</strong> online, you also get awesome companion for your home. It comes with Internationally tested and certified technology. No need of batteries or adaptors, you can simply charge by placing it under the sunlight, for only a couple of minutes every week. Enviroglobe is simple to use. Simply place it at your desk, table, living room, bedroom, car, office space, absolutely wherever you want, and get a radiation protected zone of up to 250 sq. feet. It provides e-smog and radiation protection for healthier homes and families. Purchase <strong>Environics Enviroglobe Anti Radiation Ball for House & Car</strong> online, now!</p>
After enabling USB boot, the next step is to adjust the boot priority settings. This setting determines the order in which your laptop looks for bootable devices. Make sure the USB drive is set as the first device. This step is crucial, as it instructs your laptop to bypass the internal hard drive and start directly from the USB. After making these changes, save your settings and reboot your laptop. If your changes have been set correctly, you should see the boot process initiating from the USB drive.
With the boot priority set, you can now proceed to boot from the USB drive. During system restart, you might have the option of using hotkeys like F12 or Esc that allow you to select the USB drive manually if needed. Once selected, your screen will display the initial steps of the boot process, guiding you towards the next phase.
If you're installing a new operating system, follow the on-screen prompts after booting. Whether you're installing Windows 10 or 11, or running a live Linux distribution, the steps are generally intuitive. With each phase, you're not just setting up new software; you're also developing valuable skills in managing your tech environment efficiently.
Pro Tip
Always keep multiple backups of your important files before booting from USB, especially when installing a new operating system. This ensures you don’t lose valuable data in case something goes wrong during the process.
Even with careful preparation, you might encounter some challenges along the way. Some common issues include the USB drive not being recognised by your laptop, which might stem from compatibility issues or a faulty USB port. In such cases, try a different port or verify that your drive is correctly formatted and contains the proper bootable files.
Another common issue could be BIOS settings not saving. This can sometimes be attributed to outdated firmware or battery issues within the laptop's CMOS. If you face this, make sure your BIOS is updated to the latest version and that the laptop’s battery is in good condition.
For more advanced troubleshooting, diagnostic tools are available that can check the integrity of your USB drive. As a last resort, resetting your BIOS settings to default might help eliminate any configuration errors that are preventing your device from recognising the bootable USB drive.
Each of these troubleshooting steps can help ensure that your laptop boots successfully from the USB drive, paving the way for smooth installations, reliable diagnostics, and overall better device management. This method reflects the thoughtfulness behind the Tata Neu platform, which combines ease of technology use with rewards like NeuCoins for each smart transaction you make, making every step of your tech journey both efficient and satisfying.

<p><b>HEUV Technology</b><br/><br/>Thanks to the HEUV technology, the SVARAS Home X2 Pro UV Steriliser effectively targets and eliminates a wide range of viruses and bacteria, including those responsible for illnesses such as the coronavirus. As a result, you can have peace of mind knowing that you can effectively protect yourself and your family from potential health threats.<br/><br/><br/><b>Enhanced Sterilisation</b><br/><br/>This rechargeable UV steriliser provides optimal sterilisation capabilities, which eliminates harmful germs. This high level of effectiveness makes it an ideal choice for homes, offices, and shops, ensuring that surfaces remain clean and safe. Thus, you can trust this steriliser to protect your health and the health of your loved ones by efficiently disinfecting various surfaces.<br/><br/><br/><b>User-Friendly Functionality</b><br/><br/>This home steriliser boasts convenient features that enhance its usability. It includes a voice alarm that signals when the sterilisation process is complete, ensuring you never forget to turn it off. Additionally, the device offers a safe automatic power-off feature, which enhances safety during operation. Convenient charging capabilities further simplify the user experience, which makes it easy to keep the steriliser ready for action.<br/><br/><br/><b>Eco-Friendly Design</b><br/><br/>Designed with sustainability in mind, this SVARAS steriliser promotes an eco-friendly lifestyle. It operates without mercury or harsh chemicals, which makes it safe for both users and the environment. This design choice allows you to maintain a clean living space while reducing your ecological footprint. Moreover, the sleek, modern appearance of the steriliser ensures that it complements any decor.</p>
Access BIOS settings, enable USB boot, and adjust boot priority to select the USB drive as the first boot device.
Enter BIOS using the designated key during startup, navigate to boot options, and enable the USB boot functionality.
Use hotkeys such as F12 or Esc during restart to access the boot menu and manually select the USB drive.
Create a bootable USB using the Microsoft Media Creation Tool, configure BIOS settings for USB boot, and follow the installation prompts once the system starts from the drive.
Booting your laptop from a USB drive is a valuable skill that offers versatility, whether you need to install a new operating system, resolve emergencies, or simply explore a portable computing environment. This guide has walked you through every step, from preparing a suitable USB drive to configuring BIOS settings and troubleshooting common issues. With clear directions and practical insights, you can now enjoy a seamless process, underscored by the same reliability and customer-first approach that Tata Neu stands for. Embrace this knowledge to manage your tech challenges confidently and experience the convenience of a streamlined, digital lifestyle.
Remember, innovations like these not only improve your daily tech interactions but also align with a lifestyle of smart and thoughtful choices. Explore more insights and upgrade your tech skills as you advance in your digital journey.
