


Consumer Electronics
•04 min read

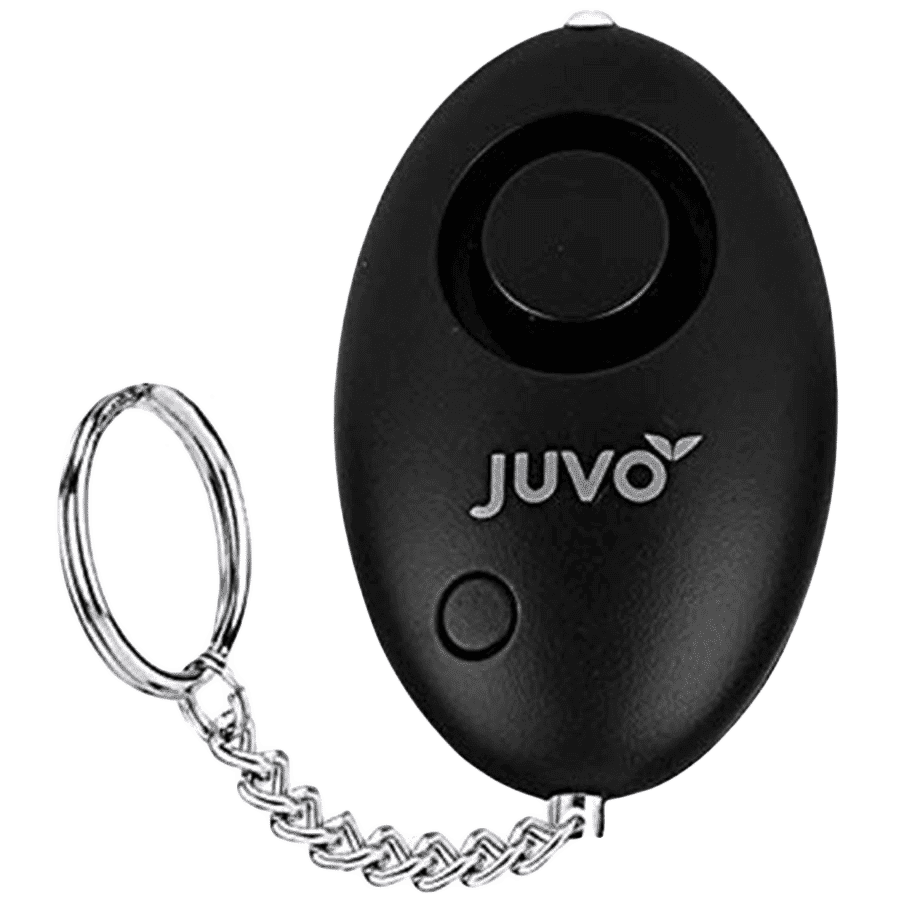
<p>Danger can overpower you at any time and your voice will not be enough in such situations to get the required aid. The amazing new <strong>Juvo PSB01 Personal Alarm</strong> is crafted for all ages and is a necessary precaution from all kinds of danger. It rings a very loud alarm at 120 dB as well as flashes the torch to warn people nearby about a danger. Whether you have a medical emergency or you are attacked by predators your voice may not be heard but this alarm will be enough to deter attackers or draw attention of people close by to give you the immediate assistance required.</p> <p><strong>Extremely Easy To Use</strong></p> <p>The <strong>Juvo PSB01 Personal Alarm</strong> is small and portable, can be attacked to even a keychain if you want. To start the siren all you need to do is separate or pull the metal key chain from the main black unit. The siren may go on for 1 1/2 hours in case nobody heard it in the first minutes. This is very important for girls returning home alone at night as it acts as a security anti-attack panic alarm that is sure to scare off a molester. Its easy portability accentuates its use.</p> <p><strong>Lights Your Way</strong></p> <p>The little and portable <strong>Juvo PSB01 Personal Alarm</strong> also features a small LED torch that helps you find your way in the dark. Don’t be scared of dark alleys when you have this with you because it is equipped to save you from all dangers.</p>

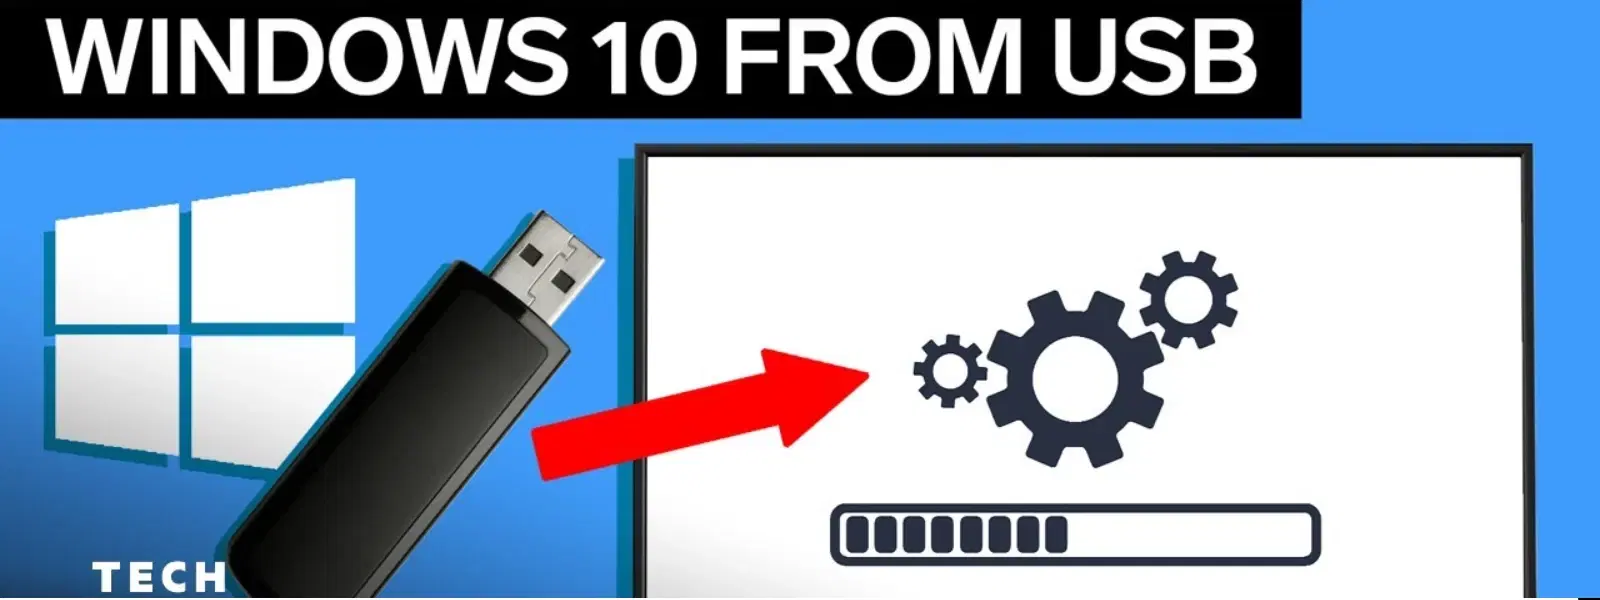
Have you ever needed to install or repair Windows 10 but didn’t know where to start? Booting from a USB drive is a convenient and reliable method for fresh installations, system recovery, or troubleshooting issues. In this guide, you'll learn how to create a bootable USB drive, configure your system's BIOS/UEFI settings, and handle common challenges along the way.
USB booting refers to using a USB drive as the primary medium to start your computer, bypassing the internal storage temporarily so that you can install, repair, or update Windows 10. Compared to CDs or DVDs, USB drives offer faster data transfer speeds and are more readily available, making them ideal for modern computing needs. Whether you're preparing for a fresh install or addressing system issues, booting from a USB drive can save time and provide a smoother experience.
Before you can boot Windows 10 from a USB drive, it's important to prepare the drive correctly. Start by ensuring your USB drive has a minimum capacity of 8GB and is preferably USB 3.0 to benefit from faster performance.
Use built-in Windows tools to format your USB drive. Open the Disk Management tool, locate your USB drive, right-click to select format, and choose the correct file system. For larger ISO files exceeding 4GB, formatting as NTFS is recommended if your target system supports UEFI otherwise opt for FAT32 for broader compatibility.
One of the easiest methods is by using the Windows Media Creation Tool. Download and install the tool, then choose the option to create installation media. Follow the on-screen prompts to download Windows 10 and select the USB drive as the destination. If you prefer, creating a bootable USB using third-party tools such as Rufus can also be effective. These tools allow you to select your Windows 10 ISO file and format and copy the necessary files onto the USB drive.
Expert Tip: Use the Right File System for Compatibility
When creating a bootable USB, always format the drive as NTFS if the ISO file exceeds 4GB, but ensure your target system supports UEFI to avoid compatibility issues.
Once your USB drive is prepared, the next step is to configure your computer's BIOS/UEFI settings to recognise and boot from the USB. Entering the BIOS or UEFI is typically achieved by pressing keys such as Del, F2, or Esc during startup. Each system may vary, so check your system documentation if necessary.
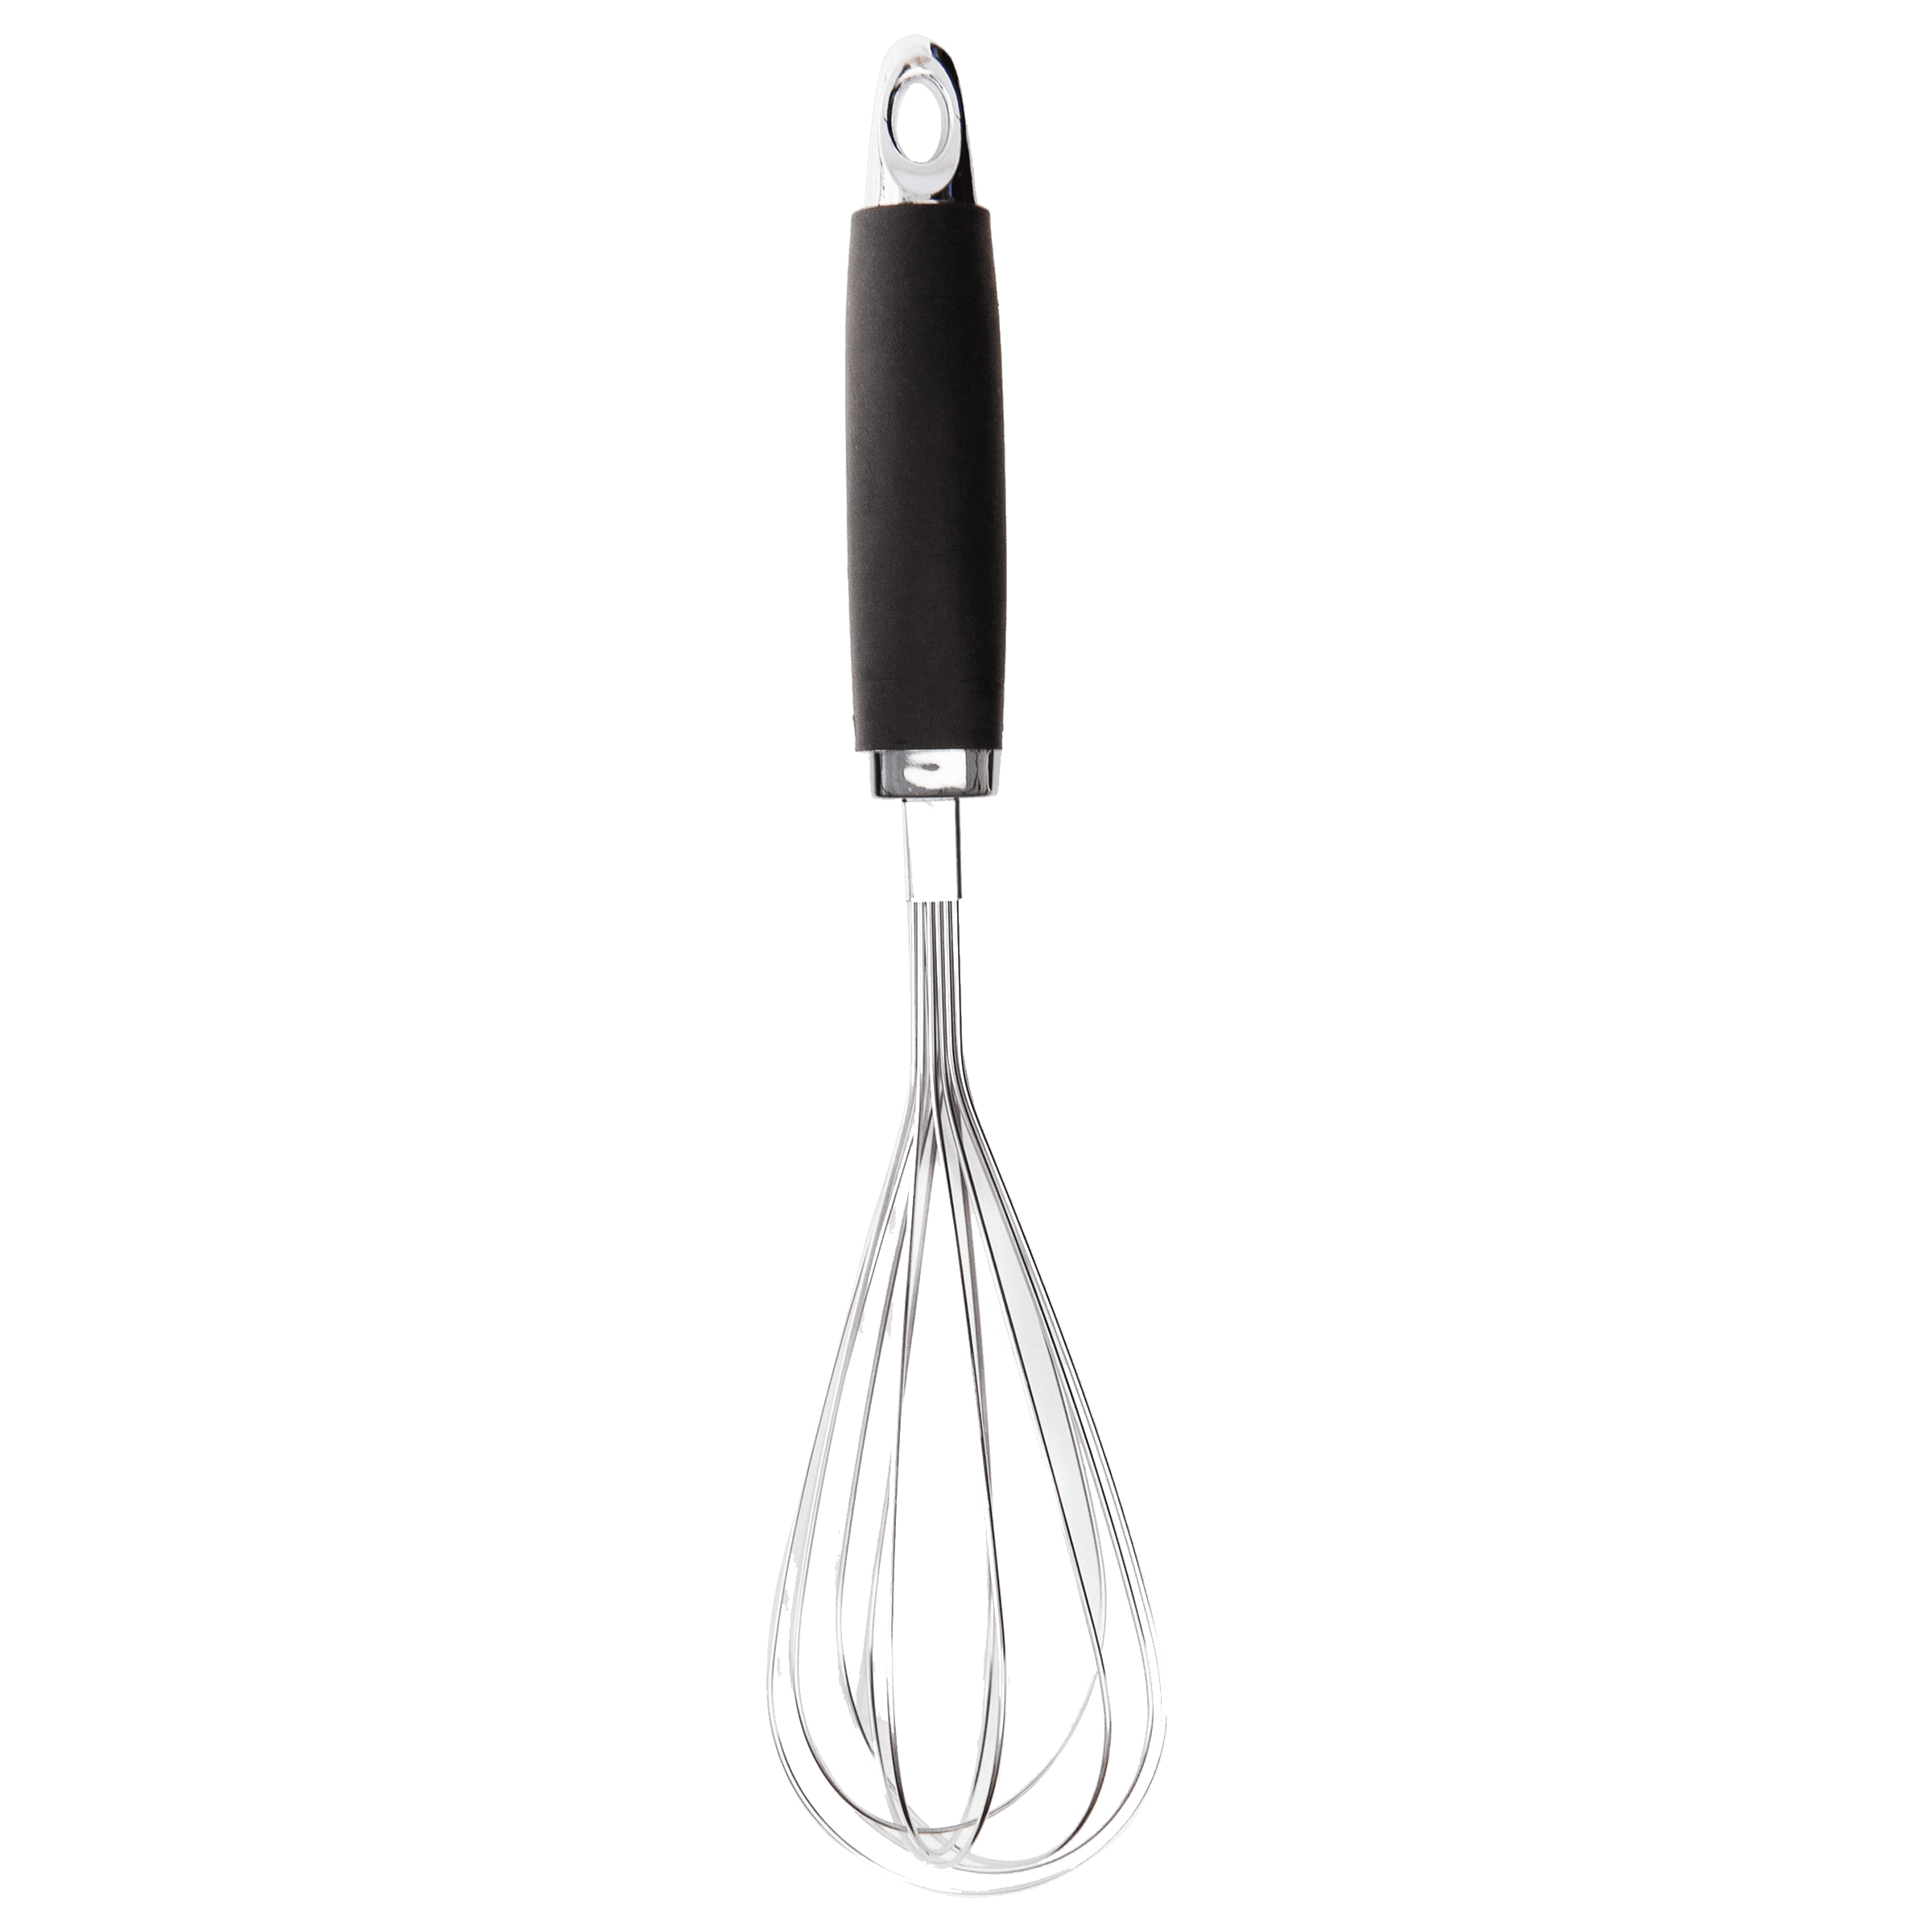
<p><strong>Effortless Performance</strong><br /> <br /> The sabichi Mono 24cm Whisk is designed for smooth and efficient whisking. Its polished stainless-steel wires and narrow shape ensure even blending and make it ideal for small bowls or containers. From whipping meringues to beating eggs, this whisk brings ease to every task.<br /> <br /> <br /> <strong>Versatile Whisking Tool</strong><br /> <br /> Whether you're blending batters, keeping lumps out of sauces, or creating airy meringues, this 24cm whisk is up to the challenge. It’s a kitchen essential that adapts to various culinary needs with precision and consistency.<br /> <br /> <br /> <strong>Safe for All Cookware</strong><br /> <br /> The whisk is gentle on all surfaces, including non-stick, ceramic, and metal cookware. You can whisk worry-free without scratching or damaging your kitchenware. This ensures long-lasting durability for your pots and pans.<br /> <br /> <br /> <strong>Ergonomic Design</strong><br /> <br /> Featuring an innovative handle with a soft, comfortable grip, this whisk absorbs pressure for strain-free usage. Its contoured shape ensures a secure hold, even during prolonged whisking tasks, for an effortless cooking experience.<br /> <br /> <br /> <strong>Convenient Storage</strong><br /> <br /> Equipped with a handy hanging loop, the whisk offers easy storage. It’s always within reach while saving counter and drawer space, making it as practical as it is efficient.</p>
After accessing the BIOS/UEFI, navigate to the boot settings. Adjust the boot order to set the USB drive as the primary boot device. This may involve using arrow keys to rearrange boot priorities. Remember, the interface may differ slightly between manufacturers, but the general process remains consistent.
Once you have set the USB drive as the primary boot device, save your changes and exit the BIOS/UEFI interface. This will usually be done by pressing F10 or selecting the 'Save & Exit' option, and then confirming your choice. Your system should now restart, launching from the USB drive if everything is configured correctly.
There are two primary methods to boot Windows 10 from the USB drive. The first involves using a hotkey during startup that brings up a boot menu where you can choose the USB drive. Depending on your system, keys such as F12 or F9 may be used. Alternatively, if you are already in Windows 10, you can utilise the Advanced Startup Options. Access these via Settings or the power menu, where you can select the USB drive from the recovery options, and initiate the boot process.
Once you successfully boot from the USB, the Windows 10 setup process begins. Follow the on-screen instructions to install Windows, which will include selecting your language, time, and keyboard settings, followed by entering a product key if required, and then the installation process commences.
If your system fails to boot from the USB drive, there are several common problems to check. First, ensure that your USB drive is properly formatted and meets the necessary requirements. If the drive is not recognised, try using another USB port, as some ports may have compatibility issues. Additionally, double-check that the boot order in the BIOS/UEFI is correctly set to prioritise the USB device.
Sometimes, the bootable USB drive might become corrupted. In this case, recreating the USB using the Windows Media Creation Tool or another reliable method often solves the issue. For those who like to experiment further, consider setting up multi-boot USB drives when you need access to multiple operating systems or persistent storage options for live usage environments.

<p><strong>Why buy Environics Enviroglobe Anti Radiation Ball for House & Car</strong></p> <p> </p> <ul> <li><strong>Provides E-Smog and Radiation Protection</strong> for healthier homes and families</li> <li><strong>It Covers A Radius</strong> of 250 sq.ft protect you and your loved ones from harmful radiation</li> <li><strong>Clinically Tested EMF Harmonizer</strong> that provides us 360-degree protection from radiation sources that are beyond our control</li> </ul> <p> </p> <p>Buy the <strong>Environics Enviroglobe Anti Radiation Ball for House & Car</strong> which is based on Envirochip’s radiation protection technology that helps you protect you and your loved ones from harmful radiation within an area of 250 sq. feet. You can extend the range of protection by placing multiple Enviroglobes at equal distances from one another. It is a clinically tested EMF harmonizer and provides us 360-degree protection from radiation sources that are beyond our control. Electromagnetic Radiation (EMR) refers to the constant waves of the electromagnetic field (EMF) produced by wireless communication devices such as mobile phones, laptops, Wi-Fi routers, and other sources such as mobile towers and high-tension wirelines, etc. However, The human body is accustomed to random waves and hence the constant exposure to electromagnetic radiation causes serious biological disorders such as higher stress and fatigue, irritation, headache, weakened immunity, cancer, fertility issues to name a few. The technology used in Enviroglobe changes the nature of electromagnetic radiation from constant to random waveform making it human body-friendly.</p> <p> </p> <p>When you get <strong>Environics Enviroglobe Anti Radiation Ball for House & Car</strong> online, you also get awesome companion for your home. It comes with Internationally tested and certified technology. No need of batteries or adaptors, you can simply charge by placing it under the sunlight, for only a couple of minutes every week. Enviroglobe is simple to use. Simply place it at your desk, table, living room, bedroom, car, office space, absolutely wherever you want, and get a radiation protected zone of up to 250 sq. feet. It provides e-smog and radiation protection for healthier homes and families. Purchase <strong>Environics Enviroglobe Anti Radiation Ball for House & Car</strong> online, now!</p>
While the basic steps usually suffice, advanced users may explore creating a multi-boot USB drive that hosts several operating systems, or implement persistent storage to save changes in a live environment. These techniques cater to tech enthusiasts eager to expand their digital toolbox and provide even more flexibility when troubleshooting or experimenting with different systems.
Restart your PC, enter BIOS/UEFI, set the USB drive as the primary boot device, and save changes. Restart to boot from the USB.
Use tools like the Windows Media Creation Tool or Rufus to create a bootable USB from a Windows 10 ISO file.
Enter BIOS/UEFI, navigate to the boot settings, and ensure USB booting is enabled. Adjust the boot order if necessary.
Utilise Disk Management or the command prompt to format the USB drive, mark it as active, and then transfer the Windows installation files.
Troubleshoot by trying a different USB port, ensuring the drive is formatted correctly, and confirming USB boot is enabled in BIOS.
This guide has provided a step-by-step walkthrough of creating a bootable USB drive, configuring BIOS/UEFI settings, and troubleshooting issues for a smooth Windows 10 installation process. With the right tools and careful setup, you can handle this task with ease, paving the way for a more seamless computing experience. Tata Neu stands committed to making technology accessible and rewarding, whether through innovative tools or by offering benefits like NeuCoins every time you choose smart shopping. Explore more tech tutorials to continue enhancing your digital life.