


Consumer Electronics
•05 min read


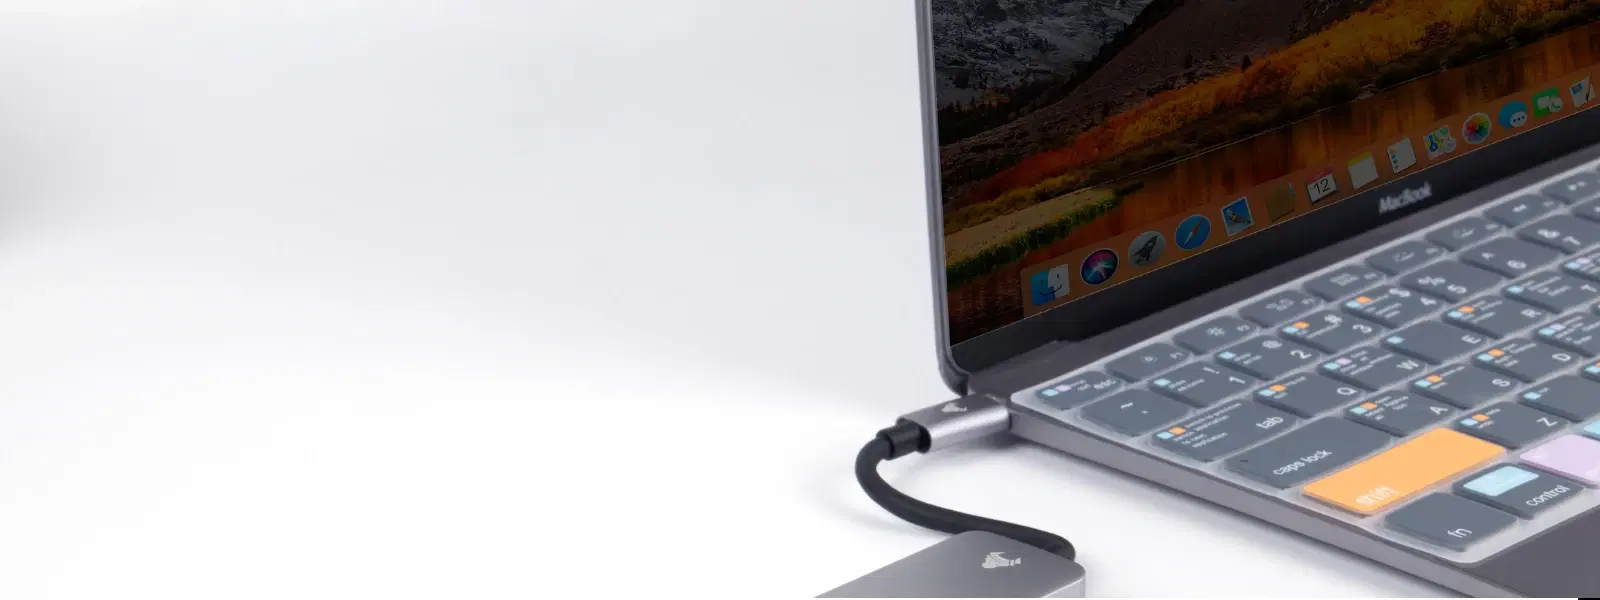
Buy WD Elements 1TB USB Type-A (3.0, 3.2) Portable Hard Disk Drive (Effortless Expandability, Black) online at best prices from Croma. Check product details, reviews & more. Shop now!

Have you ever wondered how to make my USB bootable to install an operating system or troubleshoot PC issues? In today’s tech-savvy world, transforming your USB into a versatile tool is easier than you might think. This tutorial will walk you through the process, ensuring that even beginners can confidently create a bootable USB drive. Whether you need it for installing a new OS, repairing a system, or even running diagnostic tools, you'll find clear, step-by-step guidance and useful tips throughout this guide. Plus, when you shop for USB drives on Tata Neu, you can earn NeuCoins that can be redeemed across our curated brands for added convenience and savings.
A bootable USB drive is a portable storage device that has been configured to boot a computer directly from it. This means that you can run an operating system or utility directly from the USB without having to install it on your hard drive. Compared to traditional bootable CDs or DVDs, USB drives are not only faster but also more reliable and easier to carry around.
There are several reasons to create a bootable USB. For instance, if you're installing Windows, Linux or macOS, a bootable drive allows you to bypass the need for physical discs. It’s also an excellent tool for repairing corrupted systems or running live systems to diagnose hardware or software issues. The flexibility and ease it brings to troubleshooting and installing OSes make it a must-have for tech enthusiasts and everyday users alike.
Before creating a bootable drive, it is essential to format your USB. This step wipes any existing data and ensures that the drive is clean and ready for the bootable image. You can format your USB using Windows Disk Management or the Command Prompt. First, back up any important files and then proceed with the following:
Open Disk Management, locate your USB drive, right-click, and select the formatting option. Alternatively, in the Command Prompt, use commands like format to prepare your drive.
The file system you choose matters. FAT32 is widely supported, especially for older BIOS systems, while NTFS offers advantages on newer systems that feature UEFI. If you’re unsure, check your system’s compatibility in its BIOS or UEFI settings. This decision will impact how the USB drive interacts with the device, ensuring a smooth boot process.
One of the simplest methods to create a bootable USB is by using reliable software tools. Popular choices include Rufus, UNetbootin, and the Windows Media Creation Tool. Rufus, in particular, is favoured for its user-friendly interface. Here’s a brief walkthrough using Rufus:
Download and launch Rufus, then insert your formatted USB drive. Select the drive in the tool, choose your ISO file, and click 'Start'. Follow the prompts to let Rufus write the bootable image to your USB.
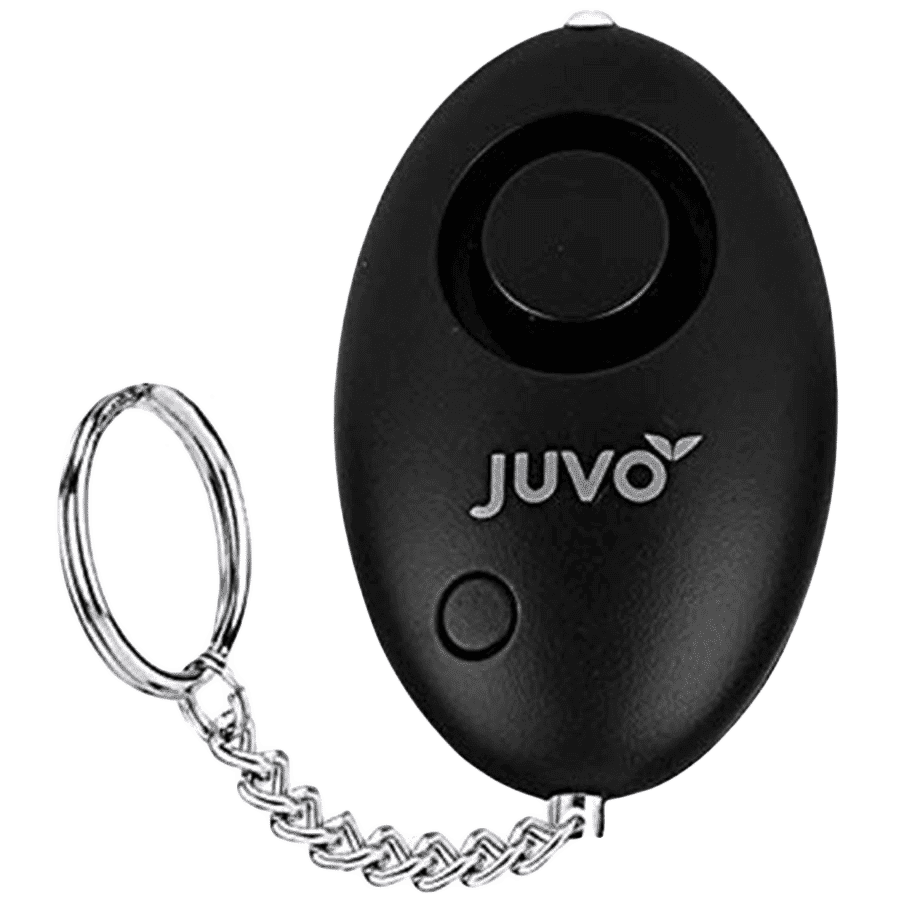
<p>Danger can overpower you at any time and your voice will not be enough in such situations to get the required aid. The amazing new <strong>Juvo PSB01 Personal Alarm</strong> is crafted for all ages and is a necessary precaution from all kinds of danger. It rings a very loud alarm at 120 dB as well as flashes the torch to warn people nearby about a danger. Whether you have a medical emergency or you are attacked by predators your voice may not be heard but this alarm will be enough to deter attackers or draw attention of people close by to give you the immediate assistance required.</p> <p><strong>Extremely Easy To Use</strong></p> <p>The <strong>Juvo PSB01 Personal Alarm</strong> is small and portable, can be attacked to even a keychain if you want. To start the siren all you need to do is separate or pull the metal key chain from the main black unit. The siren may go on for 1 1/2 hours in case nobody heard it in the first minutes. This is very important for girls returning home alone at night as it acts as a security anti-attack panic alarm that is sure to scare off a molester. Its easy portability accentuates its use.</p> <p><strong>Lights Your Way</strong></p> <p>The little and portable <strong>Juvo PSB01 Personal Alarm</strong> also features a small LED torch that helps you find your way in the dark. Don’t be scared of dark alleys when you have this with you because it is equipped to save you from all dangers.</p>
For advanced users looking to avoid third-party software, the Diskpart method via Command Prompt is an excellent alternative. Open Command Prompt as an administrator and sequentially input the following commands:
list disk – Step 1: Identify your USB drive.
select disk [number] – Step 2: Replace [number] with the appropriate disk number.
clean – Step 3: This command clears any existing partitions.
create partition primary – Step 4: Prepare a new partition.
format fs=fat32 quick – Step 5: Format the partition as FAT32 for broad compatibility.
active – Step 6: Mark the partition as active.
If you’re new to command-line tools, take your time to follow each step carefully. Once these steps are completed, your USB drive is ready for bootable image transfer.
Pro Tip: Always use a high-quality USB drive with sufficient storage space (at least 8GB) for creating a bootable device. Avoid using older drives that may have compatibility or reliability issues.
To install an operating system using your bootable USB, you must configure your computer’s BIOS or UEFI settings. Restart your computer and enter the BIOS/UEFI menu by pressing the required key (commonly F2, F12, or Del). Once inside, locate the boot order settings and set your USB drive as the primary boot device. This adjustment is essential for both older BIOS systems and newer UEFI systems. Remember, our Express Delivery service ensures fast shipping for orders placed before 6pm – check availability in your area.
With your BIOS/UEFI configured, insert the USB drive and reboot your computer. The system should boot from the USB, launching the OS installation process. Follow on-screen instructions, choose the appropriate partitions, and complete the installation. Each operating system might have slight variations in the process; however, the fundamental steps remain consistent. Ensure you have all necessary drivers and follow the installation prompts carefully.
If your USB isn’t recognised during boot-up, there might be issues with the file system or the ISO image. It’s advisable to verify that the ISO file is intact and not corrupted. Additionally, if you encounter errors during boot, recheck the commands entered (if using Diskpart) or the settings in your USB creation tool. These straightforward fixes can often resolve boot failures.
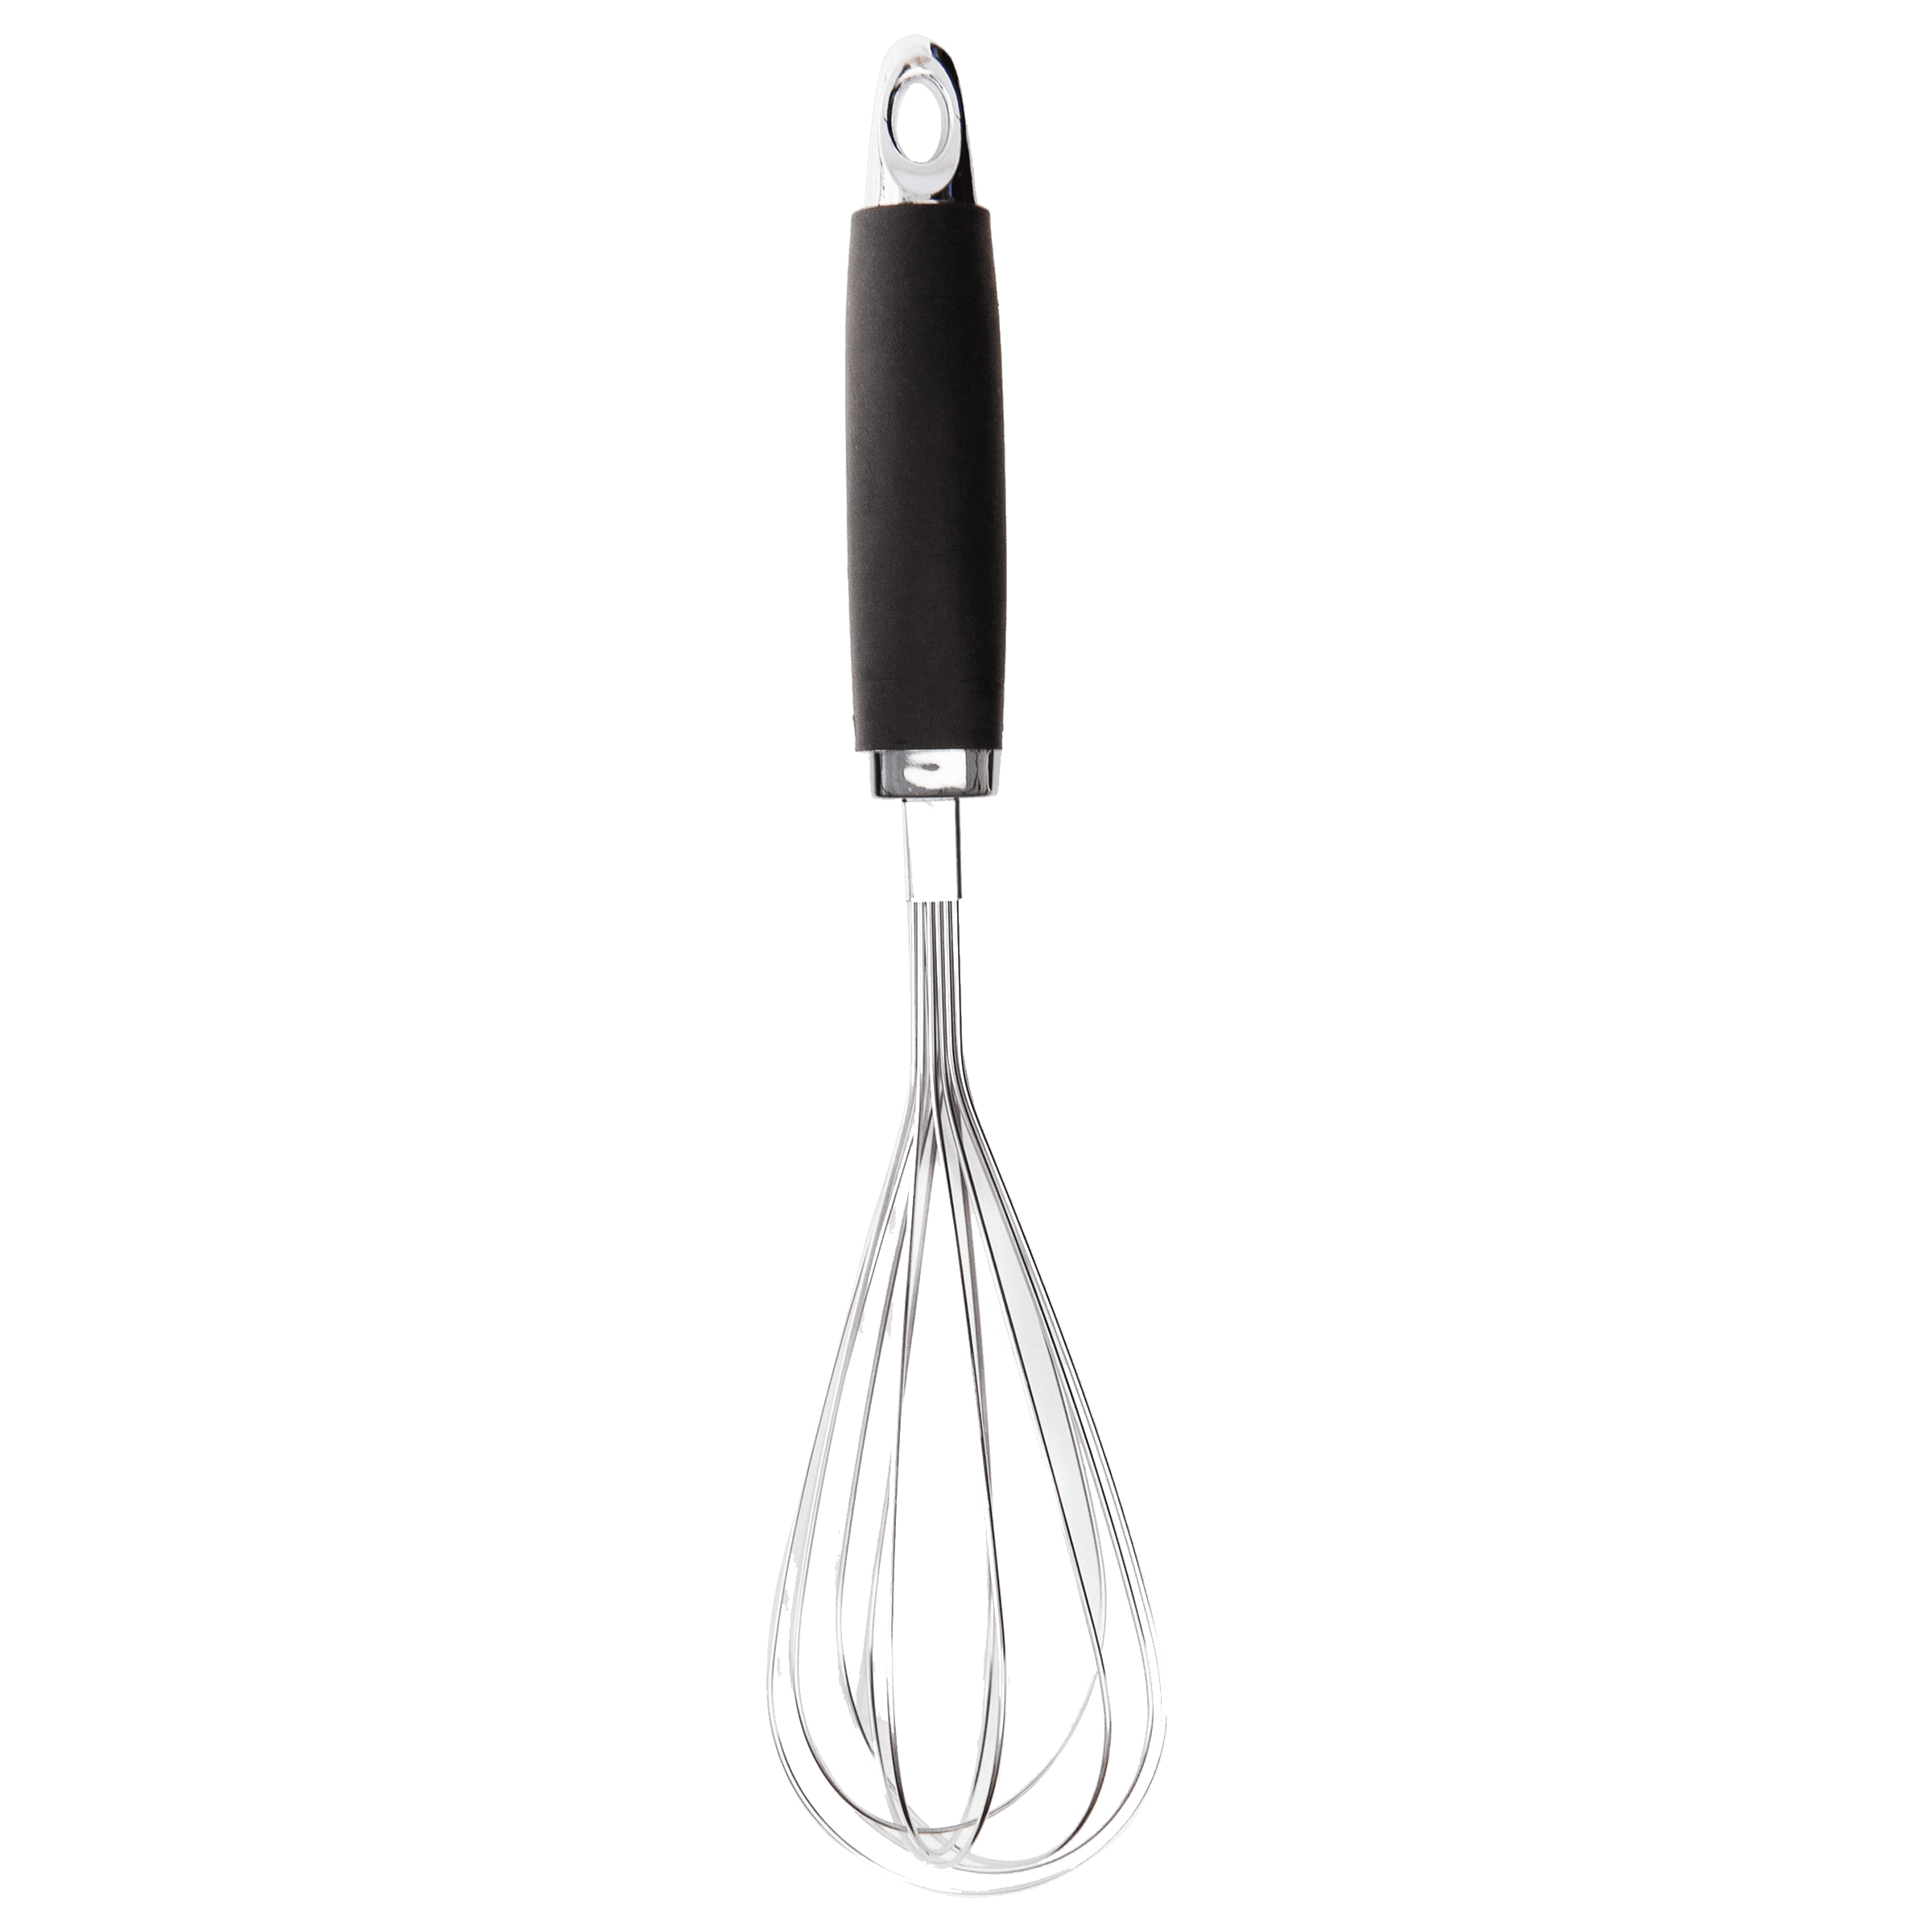
<p><strong>Effortless Performance</strong><br /> <br /> The sabichi Mono 24cm Whisk is designed for smooth and efficient whisking. Its polished stainless-steel wires and narrow shape ensure even blending and make it ideal for small bowls or containers. From whipping meringues to beating eggs, this whisk brings ease to every task.<br /> <br /> <br /> <strong>Versatile Whisking Tool</strong><br /> <br /> Whether you're blending batters, keeping lumps out of sauces, or creating airy meringues, this 24cm whisk is up to the challenge. It’s a kitchen essential that adapts to various culinary needs with precision and consistency.<br /> <br /> <br /> <strong>Safe for All Cookware</strong><br /> <br /> The whisk is gentle on all surfaces, including non-stick, ceramic, and metal cookware. You can whisk worry-free without scratching or damaging your kitchenware. This ensures long-lasting durability for your pots and pans.<br /> <br /> <br /> <strong>Ergonomic Design</strong><br /> <br /> Featuring an innovative handle with a soft, comfortable grip, this whisk absorbs pressure for strain-free usage. Its contoured shape ensures a secure hold, even during prolonged whisking tasks, for an effortless cooking experience.<br /> <br /> <br /> <strong>Convenient Storage</strong><br /> <br /> Equipped with a handy hanging loop, the whisk offers easy storage. It’s always within reach while saving counter and drawer space, making it as practical as it is efficient.</p>
To safeguard your bootable USB process, always test the USB drive on multiple systems. This not only validates the boot setup but also ensures compatibility across different hardware. Regularly update your tools and verify that your ISO file is the latest version for optimal performance. Simple maintenance tips like these can significantly enhance the reliability of your bootable drive.
Using tools like Rufus or the Diskpart method converts your USB into a bootable device by formatting it, writing an ISO file, and setting the drive as active.
By employing software tools such as Rufus or command-line procedures using Diskpart, you efficiently transform a regular USB into a bootable device.
After creating a bootable drive, insert the USB into your PC, enter the BIOS/UEFI settings, and set the USB drive as the primary boot device.
Download the Windows Media Creation Tool, follow the guided prompts to write the ISO file to your USB, and ensure the drive is correctly formatted for booting.
Yes, you can create bootable USB drives for Windows, Linux, or macOS using the corresponding ISO files and the appropriate bootable USB creation tools.
Ensure you have the latest Windows 11 ISO file, then use software like Rufus or the Windows Media Creation Tool to prepare your USB drive. Follow instructions for formatting and ISO transfer carefully.
This comprehensive guide has demystified the process of transforming your USB drive. We covered what a bootable USB drive is, why you might need one, and detailed how to prepare your drive through proper formatting and file system selection. Furthermore, the blog walked you through both software-based methods and manual command-line techniques for creating a bootable drive. Setting up your BIOS or UEFI to boot from the USB and finally installing your chosen operating system were also thoroughly explained. Should you encounter issues, practical troubleshooting steps and pro tips are at your disposal to ensure a seamless experience.
By following these steps, you now have the knowledge to create your very own bootable USB drive. With this capability, you can effortlessly manage operating systems, repair issues, and keep up with your tech needs. Enjoy the convenience and versatility that comes with mastering how to make your USB bootable. Remember, shopping for tech essentials on Tata Neu not only saves time but also rewards you with NeuCoins, enhancing your overall experience in a fast-paced world where every moment counts.