Consumer Electronics
•05 min read

In the world of Linux, creating a bootable USB drive is a fundamental skill that opens up countless possibilities. Whether you want to install a new distribution or troubleshoot system issues, mastering this process will empower you to work smarter and more efficiently. This guide provides a clear, step-by-step walkthrough on how to make bootable USB in Linux, introduces the best tools for the job, and offers expert insights to help you avoid common pitfalls. By the end, you will be equipped with all the information you need to create a successful bootable USB drive for various purposes including system recovery, installation, or testing live environments without the need for a full installation.
While exploring Linux bootable USB creation, don't forget the exclusive benefits offered by Tata Neu. Earn NeuCoins on every purchase, enjoy express delivery for orders placed before 6 PM, and rely on Tata Neu's trusted after-sales support through Croma to complement your tech-savvy journey.
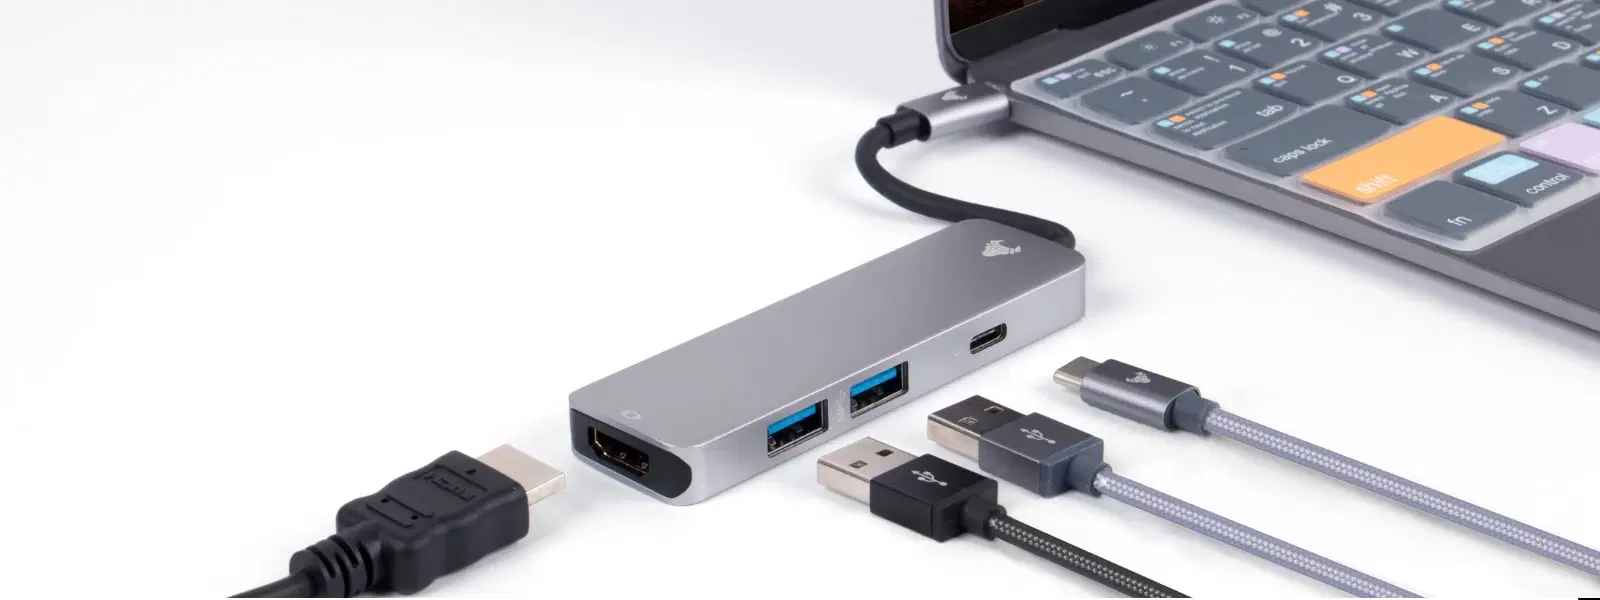
A bootable USB drive is a portable device that contains the tools and files required to run an operating system directly from the USB. In Linux environments, the ability to boot from a USB means you can install, repair, or run various distributions without relying on your computer’s hard drive. Understanding the distinction between UEFI and Legacy boot modes is paramount. UEFI offers more advanced features, while Legacy mode is preferred for compatibility with older systems.
The benefits of a bootable USB extend far beyond installation. It is a versatile tool that provides portability, facilitates faster installation processes, and can serve as a recovery device during emergencies. Adventure in the Linux world with confidence, knowing that a single bootable USB drive can cater to multiple needs like running live sessions or resurrecting a problem-ridden system.
When it comes to creating a bootable USB drive, several tools are available to suit both beginners and advanced users. Among the popular choices are user-friendly, cross-platform applications like Balena Etcher and lightweight utilities such as UNetbootin. For those comfortable with the command-line interface, the dd command provides robust functionality and flexibility.
Balena Etcher is renowned for its simplicity and reliability, making it an excellent option for users looking to create a bootable USB with minimal hassle. In contrast, UNetbootin is perfect for those who want a lightweight solution with support for multiple Linux distributions without overwhelming settings. For advanced users, the dd command offers a powerful, command-line alternative, though caution is advised due to the risks involved if used incorrectly.
Pro Tip: Choosing the right tool depends on your technical expertise and the objective at hand. Beginners often find Etcher ideal for its simplicity, while experienced users might lean towards dd for its flexibility and control.
Step 1: Preparing Your USB Drive
Before commencing the bootable USB creation, it is important to ensure that your USB drive is properly formatted. Depending on your needs, formatting into FAT32 or ext4 can increase compatibility with the desired Linux distribution. Tools like GParted or command-line utilities can be used to achieve the correct setup.
Select a tool that supports UEFI, such as Etcher, and verify that your ISO file is compatible with UEFI systems.
The dd command is a reliable option. Use the syntax: sudo dd if=/path/to/iso of=/dev/sdX bs=4M && sync. Replace the placeholders with your file path and USB identifier.
For ease of use, Etcher is highly recommended. Those with advanced technical skills might consider the flexibility of the dd command.
Tools like GParted or the mkfs command are common choices for formatting a USB drive to FAT32 or ext4, depending on your specific needs.
Mastering the creation of a bootable USB in Linux is both straightforward and rewarding when you follow the right steps. It is important to select the appropriate tool, prepare your USB drive diligently, and verify every file and command for a seamless experience. By understanding and utilising tools like Etcher, UNetbootin, and the dd command, both beginners and power users can enjoy the versatility of a portable Linux environment. Remember, testing your bootable drive and verifying your ISO file are critical steps that ensure a smooth operation. With these expert insights and practical steps, you are now ready to embark on your Linux journey with confidence, reaping the benefits of enhanced system performance and robust troubleshooting capabilities.
As you enhance your technical skills, Tata Neu is here to support your journey with value-driven benefits. From earning NeuCoins to express delivery and reliable after-sales service, Tata Neu ensures your shopping experience complements your tech-savvy aspirations.
Step 2: Downloading the ISO File
The ISO file is a digital image of the Linux distribution you intend to install. Reliable sources offer secure downloads, and verifying the checksum is a smart step to ensure the file’s integrity. This verification process minimizes the risk of corrupted data compromising your bootable USB drive.
Step 3: Using Your Chosen Tool
For Etcher: Launch the application, select your downloaded ISO file, and then choose the correctly prepared USB drive. Initiate the flashing process and allow the tool to handle the rest.
For UNetbootin: Either select the Linux distribution or browse for your ISO file, configure settings like persistence storage if needed, and start the flashing process.
For the dd command: Open your terminal and carefully input the correct syntax. An example command would be: sudo dd if=path/to/your.iso of=/dev/sdX bs=4M && sync. Replace path/to/your.iso with your actual file location and /dev/sdX with your USB drive's identifier. Note that using dd incorrectly can lead to data loss, so double-check your parameters before execution. Always back up important data before proceeding to avoid accidental loss.
Step 4: Testing the Bootable USB
Once the flashing process is successful, test your bootable drive. Whether using a virtual machine or a physical system, perform a trial boot to ensure that everything runs as expected. In case you encounter issues such as boot errors or missing files, revisit the previous steps to troubleshoot common mistakes.
Success in creating a bootable USB drive in Linux rests on a few critical practices. First, formatting correctly is essential. Choosing the right file system based on your requirements can prevent compatibility issues and ensure smooth operation. Whether you opt for FAT32 for broader compatibility or ext4 for Linux-specific advantages, thorough formatting lays the foundation for success.
Secondly, always be cautious when using command-line tools. One of the most common errors occurs when the wrong drive is targeted with a command, potentially overwriting precious data. Additionally, it is imperative to use ISO files that are up-to-date and verified to be free of corruption, as outdated files can introduce numerous problems.
For the power users among us, advanced tips include adding persistence to your bootable USB. This allows the device to save changes across sessions—a boon for those needing a portable, reliable environment. Creating multi-boot USB devices with additional tools, such as Ventoy, further expands your technological playground, granting you the versatility to run multiple operating systems from a single drive.
Insight Corner: Why ISO Checksum Verification Matters
Did you know that verifying the checksum of your ISO file can save you hours of troubleshooting? This simple step ensures the file isn’t corrupted or tampered with, guaranteeing a smooth bootable USB creation process.
Use tools like Etcher, UNetbootin, or the dd command to flash an ISO file onto a USB drive. Ensure the USB is formatted correctly beforehand.

<p>Danger can overpower you at any time and your voice will not be enough in such situations to get the required aid. The amazing new <strong>Juvo PSB01 Personal Alarm</strong> is crafted for all ages and is a necessary precaution from all kinds of danger. It rings a very loud alarm at 120 dB as well as flashes the torch to warn people nearby about a danger. Whether you have a medical emergency or you are attacked by predators your voice may not be heard but this alarm will be enough to deter attackers or draw attention of people close by to give you the immediate assistance required.</p> <p><strong>Extremely Easy To Use</strong></p> <p>The <strong>Juvo PSB01 Personal Alarm</strong> is small and portable, can be attacked to even a keychain if you want. To start the siren all you need to do is separate or pull the metal key chain from the main black unit. The siren may go on for 1 1/2 hours in case nobody heard it in the first minutes. This is very important for girls returning home alone at night as it acts as a security anti-attack panic alarm that is sure to scare off a molester. Its easy portability accentuates its use.</p> <p><strong>Lights Your Way</strong></p> <p>The little and portable <strong>Juvo PSB01 Personal Alarm</strong> also features a small LED torch that helps you find your way in the dark. Don’t be scared of dark alleys when you have this with you because it is equipped to save you from all dangers.</p>

<p><b>HEUV Technology</b><br/><br/>Thanks to the HEUV technology, the SVARAS Home X2 Pro UV Steriliser effectively targets and eliminates a wide range of viruses and bacteria, including those responsible for illnesses such as the coronavirus. As a result, you can have peace of mind knowing that you can effectively protect yourself and your family from potential health threats.<br/><br/><br/><b>Enhanced Sterilisation</b><br/><br/>This rechargeable UV steriliser provides optimal sterilisation capabilities, which eliminates harmful germs. This high level of effectiveness makes it an ideal choice for homes, offices, and shops, ensuring that surfaces remain clean and safe. Thus, you can trust this steriliser to protect your health and the health of your loved ones by efficiently disinfecting various surfaces.<br/><br/><br/><b>User-Friendly Functionality</b><br/><br/>This home steriliser boasts convenient features that enhance its usability. It includes a voice alarm that signals when the sterilisation process is complete, ensuring you never forget to turn it off. Additionally, the device offers a safe automatic power-off feature, which enhances safety during operation. Convenient charging capabilities further simplify the user experience, which makes it easy to keep the steriliser ready for action.<br/><br/><br/><b>Eco-Friendly Design</b><br/><br/>Designed with sustainability in mind, this SVARAS steriliser promotes an eco-friendly lifestyle. It operates without mercury or harsh chemicals, which makes it safe for both users and the environment. This design choice allows you to maintain a clean living space while reducing your ecological footprint. Moreover, the sleek, modern appearance of the steriliser ensures that it complements any decor.</p>

<p><strong>Effortless Performance</strong><br /> <br /> The sabichi Mono 24cm Whisk is designed for smooth and efficient whisking. Its polished stainless-steel wires and narrow shape ensure even blending and make it ideal for small bowls or containers. From whipping meringues to beating eggs, this whisk brings ease to every task.<br /> <br /> <br /> <strong>Versatile Whisking Tool</strong><br /> <br /> Whether you're blending batters, keeping lumps out of sauces, or creating airy meringues, this 24cm whisk is up to the challenge. It’s a kitchen essential that adapts to various culinary needs with precision and consistency.<br /> <br /> <br /> <strong>Safe for All Cookware</strong><br /> <br /> The whisk is gentle on all surfaces, including non-stick, ceramic, and metal cookware. You can whisk worry-free without scratching or damaging your kitchenware. This ensures long-lasting durability for your pots and pans.<br /> <br /> <br /> <strong>Ergonomic Design</strong><br /> <br /> Featuring an innovative handle with a soft, comfortable grip, this whisk absorbs pressure for strain-free usage. Its contoured shape ensures a secure hold, even during prolonged whisking tasks, for an effortless cooking experience.<br /> <br /> <br /> <strong>Convenient Storage</strong><br /> <br /> Equipped with a handy hanging loop, the whisk offers easy storage. It’s always within reach while saving counter and drawer space, making it as practical as it is efficient.</p>