Consumer Electronics
•04 min read

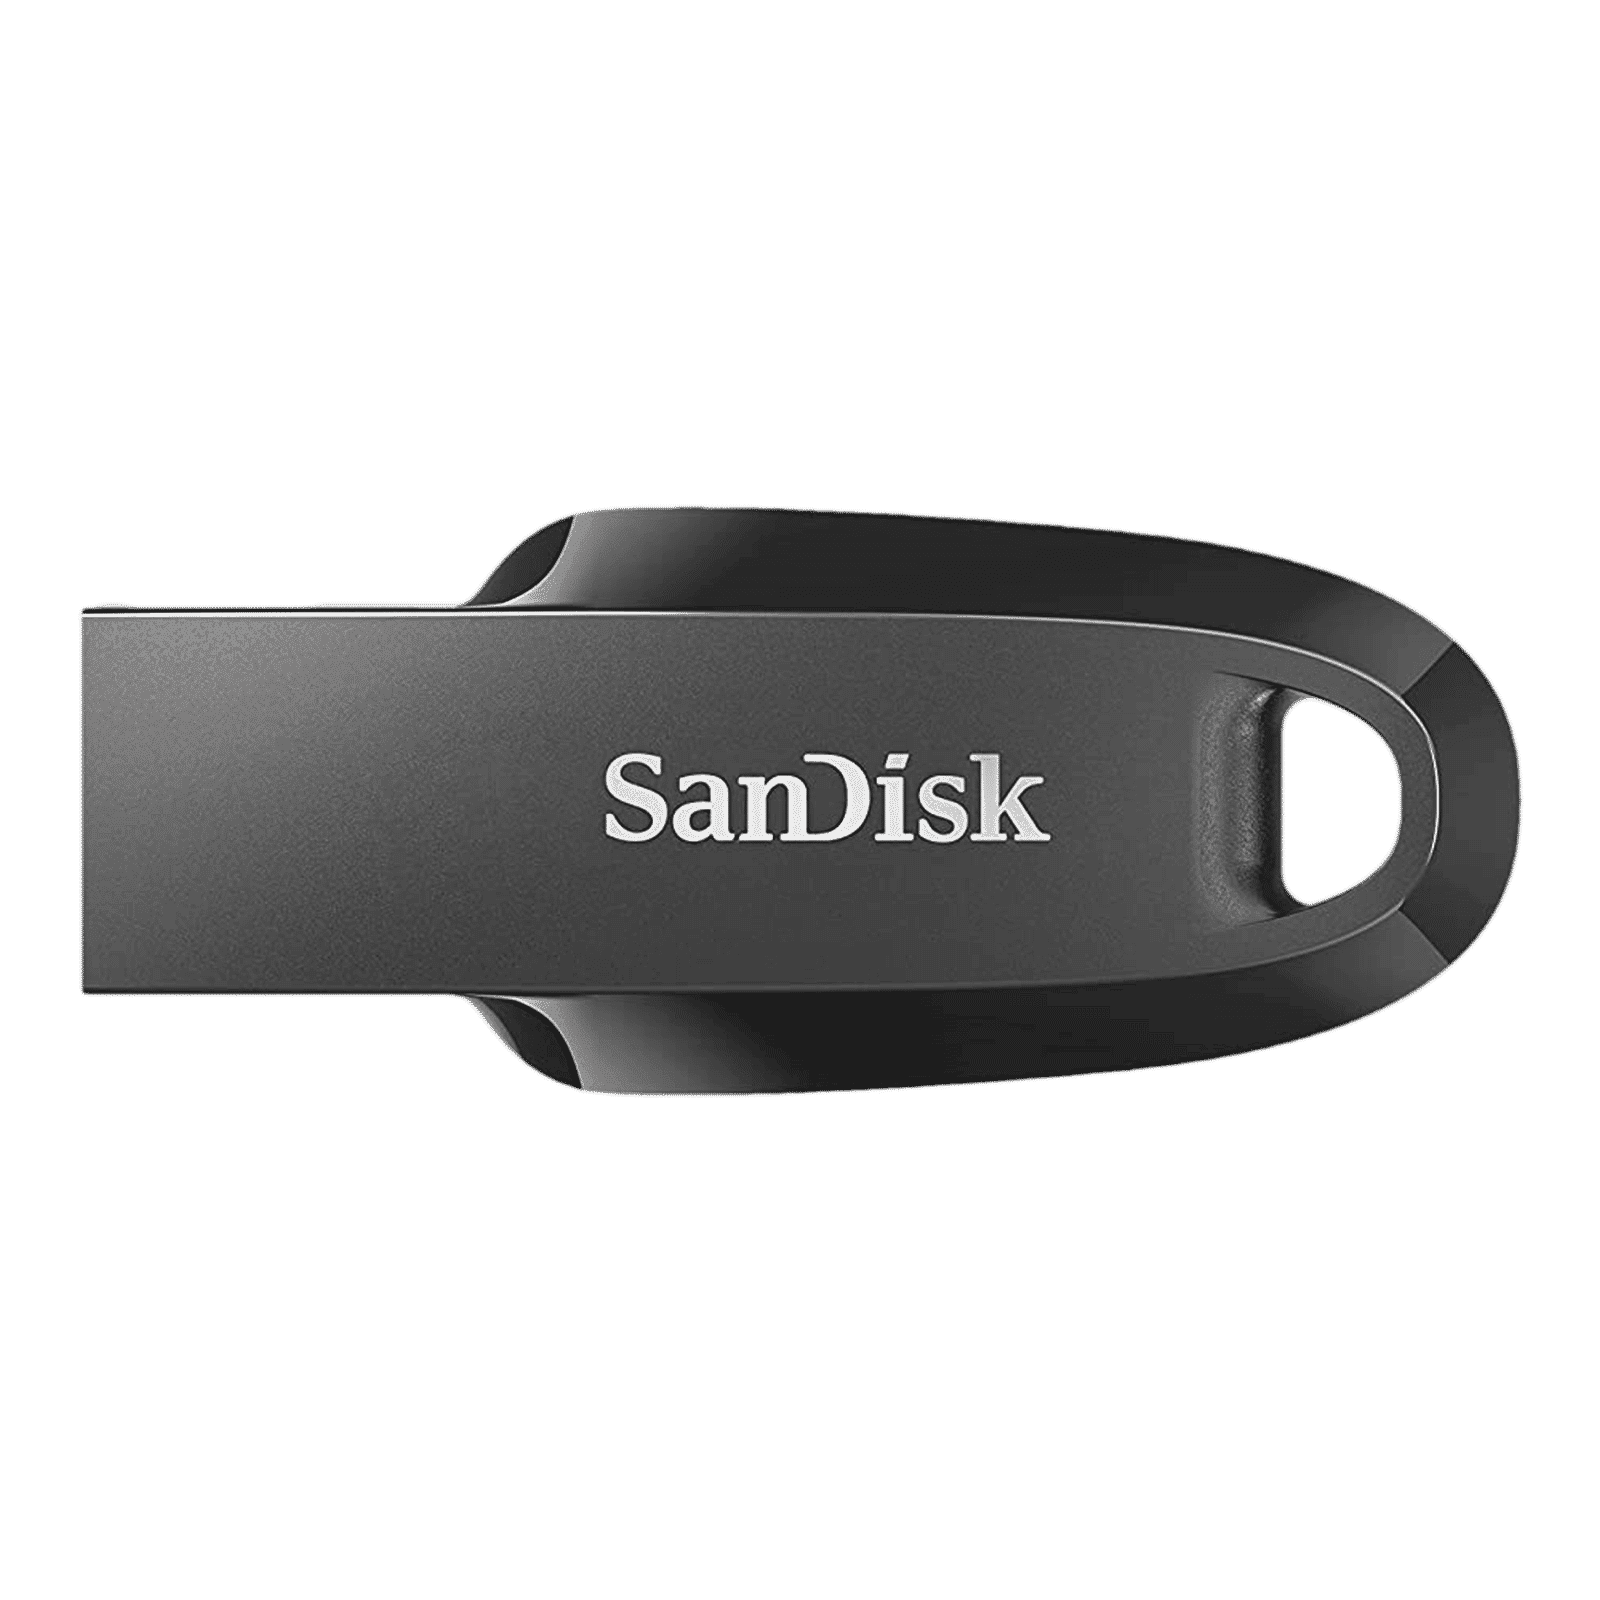
Buy SanDisk Ultra Curve 32GB USB (3.2) Pen Drive (Compact Design, Black ) online at best prices from Croma. Check product details, reviews & more. Shop now!
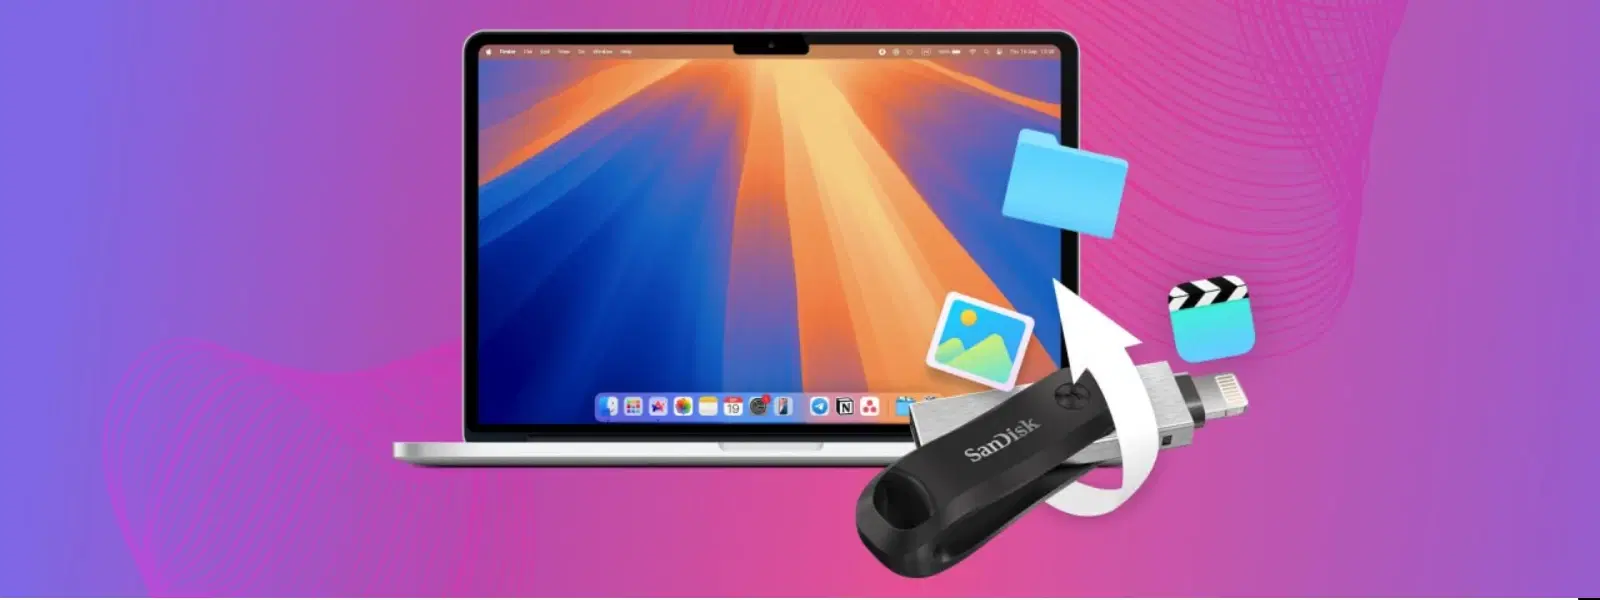
Whether you’re preparing a USB for use on your Mac or troubleshooting file system compatibility, mastering the art of formatting a USB drive on Mac is a useful skill for every tech lover. In this guide, you will learn step-by-step how to format a USB on Mac, from understanding what formatting means, to choosing the right file system and even using advanced Terminal commands. This information will help you manage your data efficiently and ensure your drive works seamlessly with your Mac and, if needed, on other devices.
Formatting a USB drive means erasing all data on it and setting it up with a new file system that is ideal for your needs. For Mac users, choosing the right format optimises performance and compatibility with macOS while making sure the drive can be used across different devices if required.
Before you proceed, always ensure that you back up important data to prevent any accidental loss. Think about how you intend to use the USB drive – whether it is for Mac-only operations or if you need it to work with other systems like Windows. Consider your file system options: FAT32, exFAT, NTFS, and APFS. Each comes with its own set of advantages and limitations, for example, FAT32 may limit file size while exFAT broadens the capacity for larger files.
Disk Utility is a built-in tool on macOS that simplifies the formatting process:
Start by opening Finder, then navigating to Applications and selecting Utilities. Once in Disk Utility, locate your USB drive on the sidebar, click on it, and then hit the 'Erase' button. Choose the preferred file system as per your needs – whether it’s APFS for macOS-exclusive use or exFAT for cross-platform compatibility – give your drive a name, and confirm the process. This straightforward procedure ensures that your drive is prepared and ready for optimal performance.
FAT32: Ideal for users needing cross-platform access, although it limits maximum file size.
exFAT: A great all-rounder for handling larger files and ensuring compatibility between Mac and other operating systems.
APFS: Best for Mac-only environments, offering features like enhanced security and faster speeds.
NTFS: Typically read-only on macOS without additional tools, thus not recommended if you need full access.

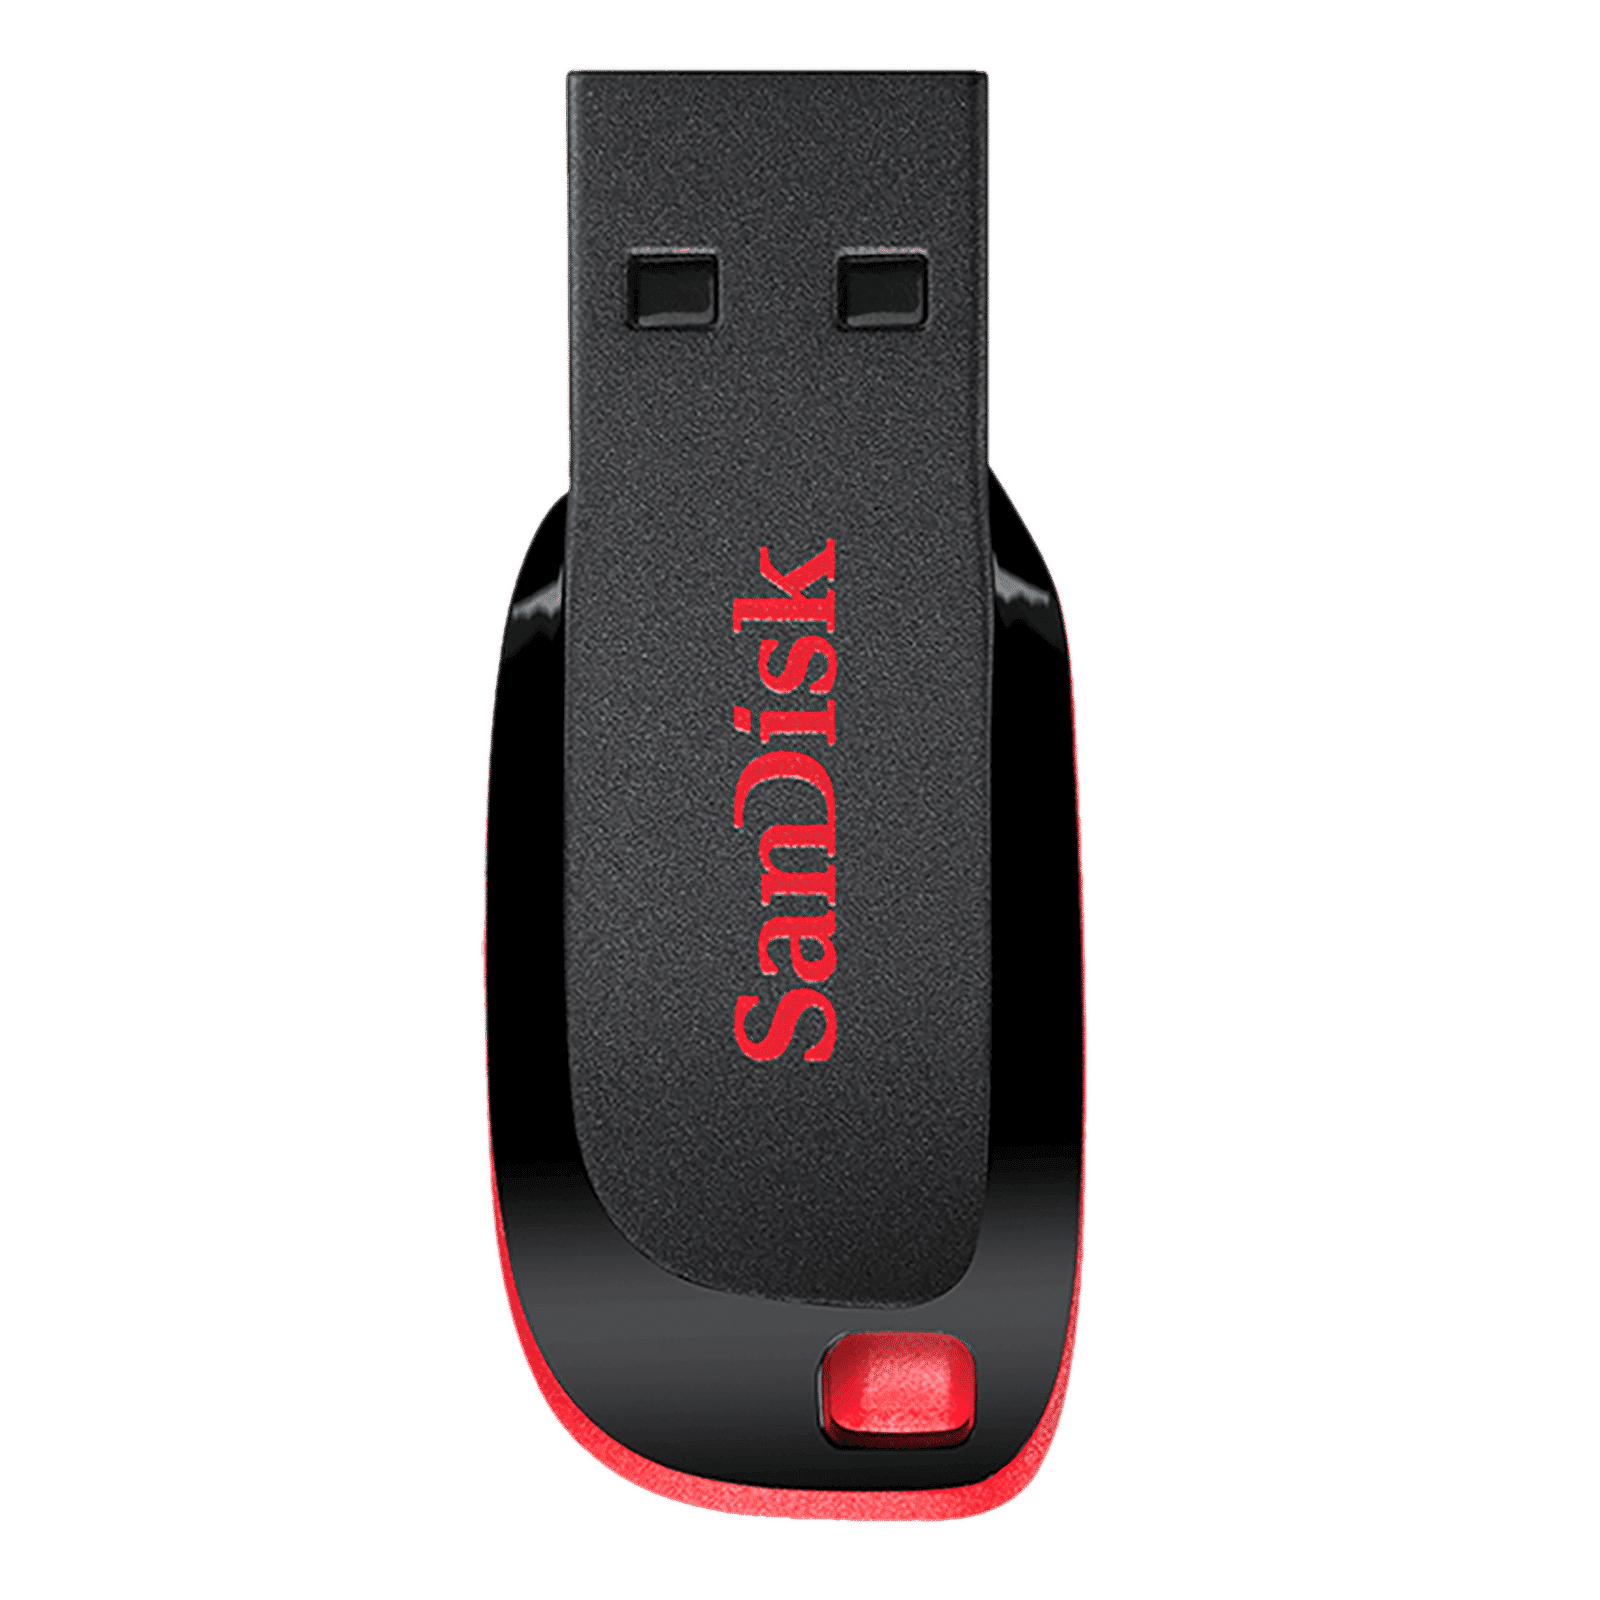
Buy SanDisk Cruzer Blade 64GB USB (2.0) Pen Drive (High-Capacity Drive, Red) online at best prices from Croma. Check product details, reviews & more. Shop now!
For those comfortable with command-line interfaces, Terminal commands offer flexibility in formatting a USB drive. This method might be preferred when Disk Utility cannot resolve certain issues. Practically, Terminal formatting is used in specific scenarios and can often provide a more customised experience.
If your primary goal is to use your drive across both Mac and Windows, exFAT is a reliable choice thanks to its ability to support larger file sizes without compromising usability on either platform.
Sometimes the process may not go as planned. Common issues include the USB drive not being recognised or the formatting process failing. Ensure the USB is properly connected, check that it isn’t write-protected, and run First Aid in Disk Utility to diagnose and fix potential errors.
The terms reformatting and erasing often are used interchangeably, but they can imply different actions. Erasing simply wipes all data, while reformatting rearranges the drive's structure for different file systems. Depending on your aim – whether starting anew or simply adjusting the format – choose the option that suits your requirements best.
Keep your drive in optimal condition by initializing it correctly for macOS. Regularly managing your storage along with using Disk Utility for maintenance ensures that your drive continues to perform well over time. Additionally, using supportive tools and utilities can enhance the overall storage performance and reliability.
Regular backups and proper cleaning of your USB drive are key practices to avoid data loss and hardware failure. Avoid frequent reformatting, as it can wear down the drive. Instead, look after your device and manage your files carefully.
Insight Corner: "Choose the Right File System"
Did you know that exFAT is the best choice for users who frequently switch between Mac and Windows? It supports larger file sizes and ensures seamless compatibility.
Use Disk Utility by opening Finder, navigating to Applications, then Utilities, and selecting Disk Utility. Locate your USB drive, click 'Erase', pick your file system, name the drive, and confirm the process.
Open Disk Utility, select your USB drive, click 'Erase', and choose FAT32 as the file system before confirming. Remember that FAT32 has limitations on file size.
In Disk Utility, select your USB drive, click 'Erase', and opt for the FAT32 file system. Keep in mind the file size limitations that come with FAT32.
FAT32 is generally better for cross-platform use, while NTFS can only be used in read-only mode on macOS without additional tools. For full flexibility, exFAT is a strong contender if you need to use the drive on multiple systems.
Simply use Disk Utility, select your USB drive, click 'Erase', and confirm. This process will remove all the data from the drive.
In summary, formatting a USB drive on Mac is a straightforward process that can be achieved using Disk Utility or, for advanced users, via Terminal. Choosing the proper file system – whether it is APFS, exFAT, or FAT32 – depends on how and where you intend to use the drive. Additionally, learning some essential troubleshooting techniques can save you time and keep your technology running smoothly. With practices that include regular data backups and proper drive maintenance, you ensure that your USB drive continues to serve your needs reliably.
The journey towards mastering your tech tools is enhanced by such practical guides, and platforms like Tata Neu further reward your smart shopping with NeuCoins. Whether you are exploring the latest gadgets or optimising essential tech skills, your experience is enriched through a combination of trust, ease and an opportunity to earn NeuCoins rewards with every purchase.