Consumer Electronics
•05 min read

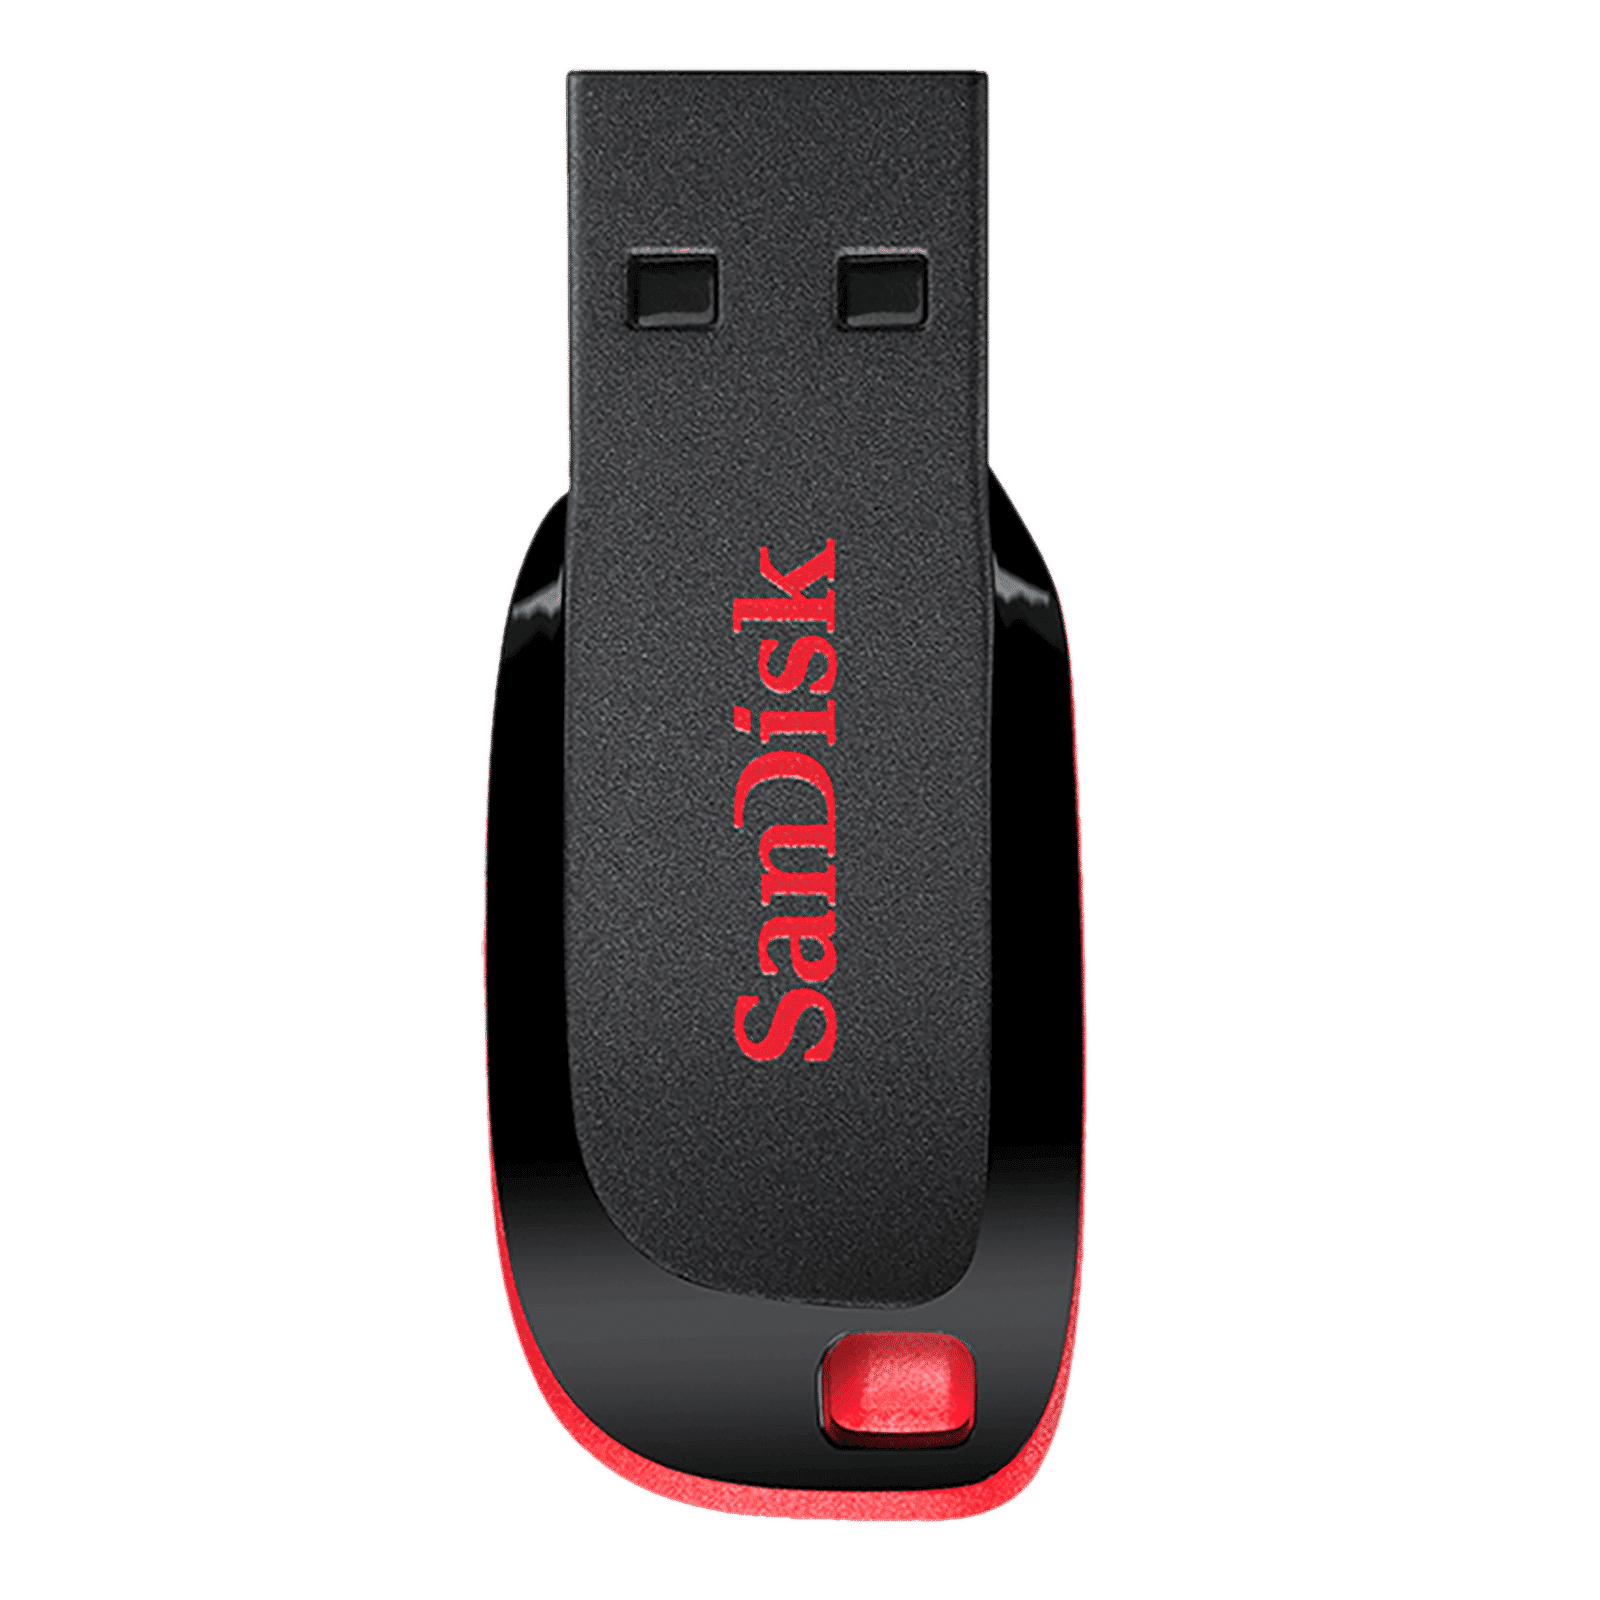
Buy SanDisk Cruzer Blade 64GB USB (2.0) Pen Drive (High-Capacity Drive, Red) online at best prices from Croma. Check product details, reviews & more. Shop now!
Have you ever encountered a stubborn USB drive that refuses to work as expected, or perhaps you need to prepare it for a particular task like creating bootable media? Flashing a USB drive can solve these challenges, transforming your device into a versatile tool for troubleshooting and recovery. In this guide, you'll learn how to flash a USB drive step-by-step across different operating systems. We will cover essential preparations, practical methods for Windows, Mac, and Linux, and troubleshooting tips to guide you through the process with confidence.
Flashing a USB drive involves resetting its structure or reformatting it to restore functionality or prepare it for a specific task. This process can fix issues such as corrupted files or partition errors. Whether you’re planning to create bootable media or simply aiming to optimise the drive's performance, flashing can breathe new life into your device.
You might consider flashing your USB drive if you encounter problems like persistent errors, file corruption, or if you want to reformat it for a new purpose. This simple yet powerful method not only offers a solution for various technical issues but also enhances the drive’s usability for future tasks. For those keen on achieving a seamless digital experience, understanding how to flash a USB drive becomes an essential skill.
Before you begin, ensure you have the right tools. For Windows users, utilities such as Diskpart or Rufus are highly recommended. Mac users can rely on Mac Disk Utility, while Linux enthusiasts might turn to tools like Startup Disk Creator or specific command-line utilities. Most of these resources are free and widely available on trusted software portals.
It is crucial to back up any important data before initiating the flashing procedure because the process will erase all stored files and partitions on the USB drive. A secure copy of your data will help you retrieve essential information if needed later. Taking this precaution ensures that you are prepared for any unexpected data loss during reformatting or reallocation.
For Windows users, begin by inserting your USB drive and launching Diskpart or Rufus. With Diskpart, open the command prompt with administrative rights, type diskpart, list the disks using the command, select the appropriate disk, and then issue a clean command to remove all data. Follow up by creating new partitions and formatting using your designated file system (FAT32, NTFS, or exFAT). Rufus offers a more graphic approach if you prefer a visual guide. It typically involves selecting the USB drive, choosing an ISO file if required, and then clicking on the start button. Check availability of Express Delivery for any urgent hardware needs while shopping on Tata Neu, ensuring you remain connected with the latest technology trends and enjoy NeuCoins rewards on each transaction.

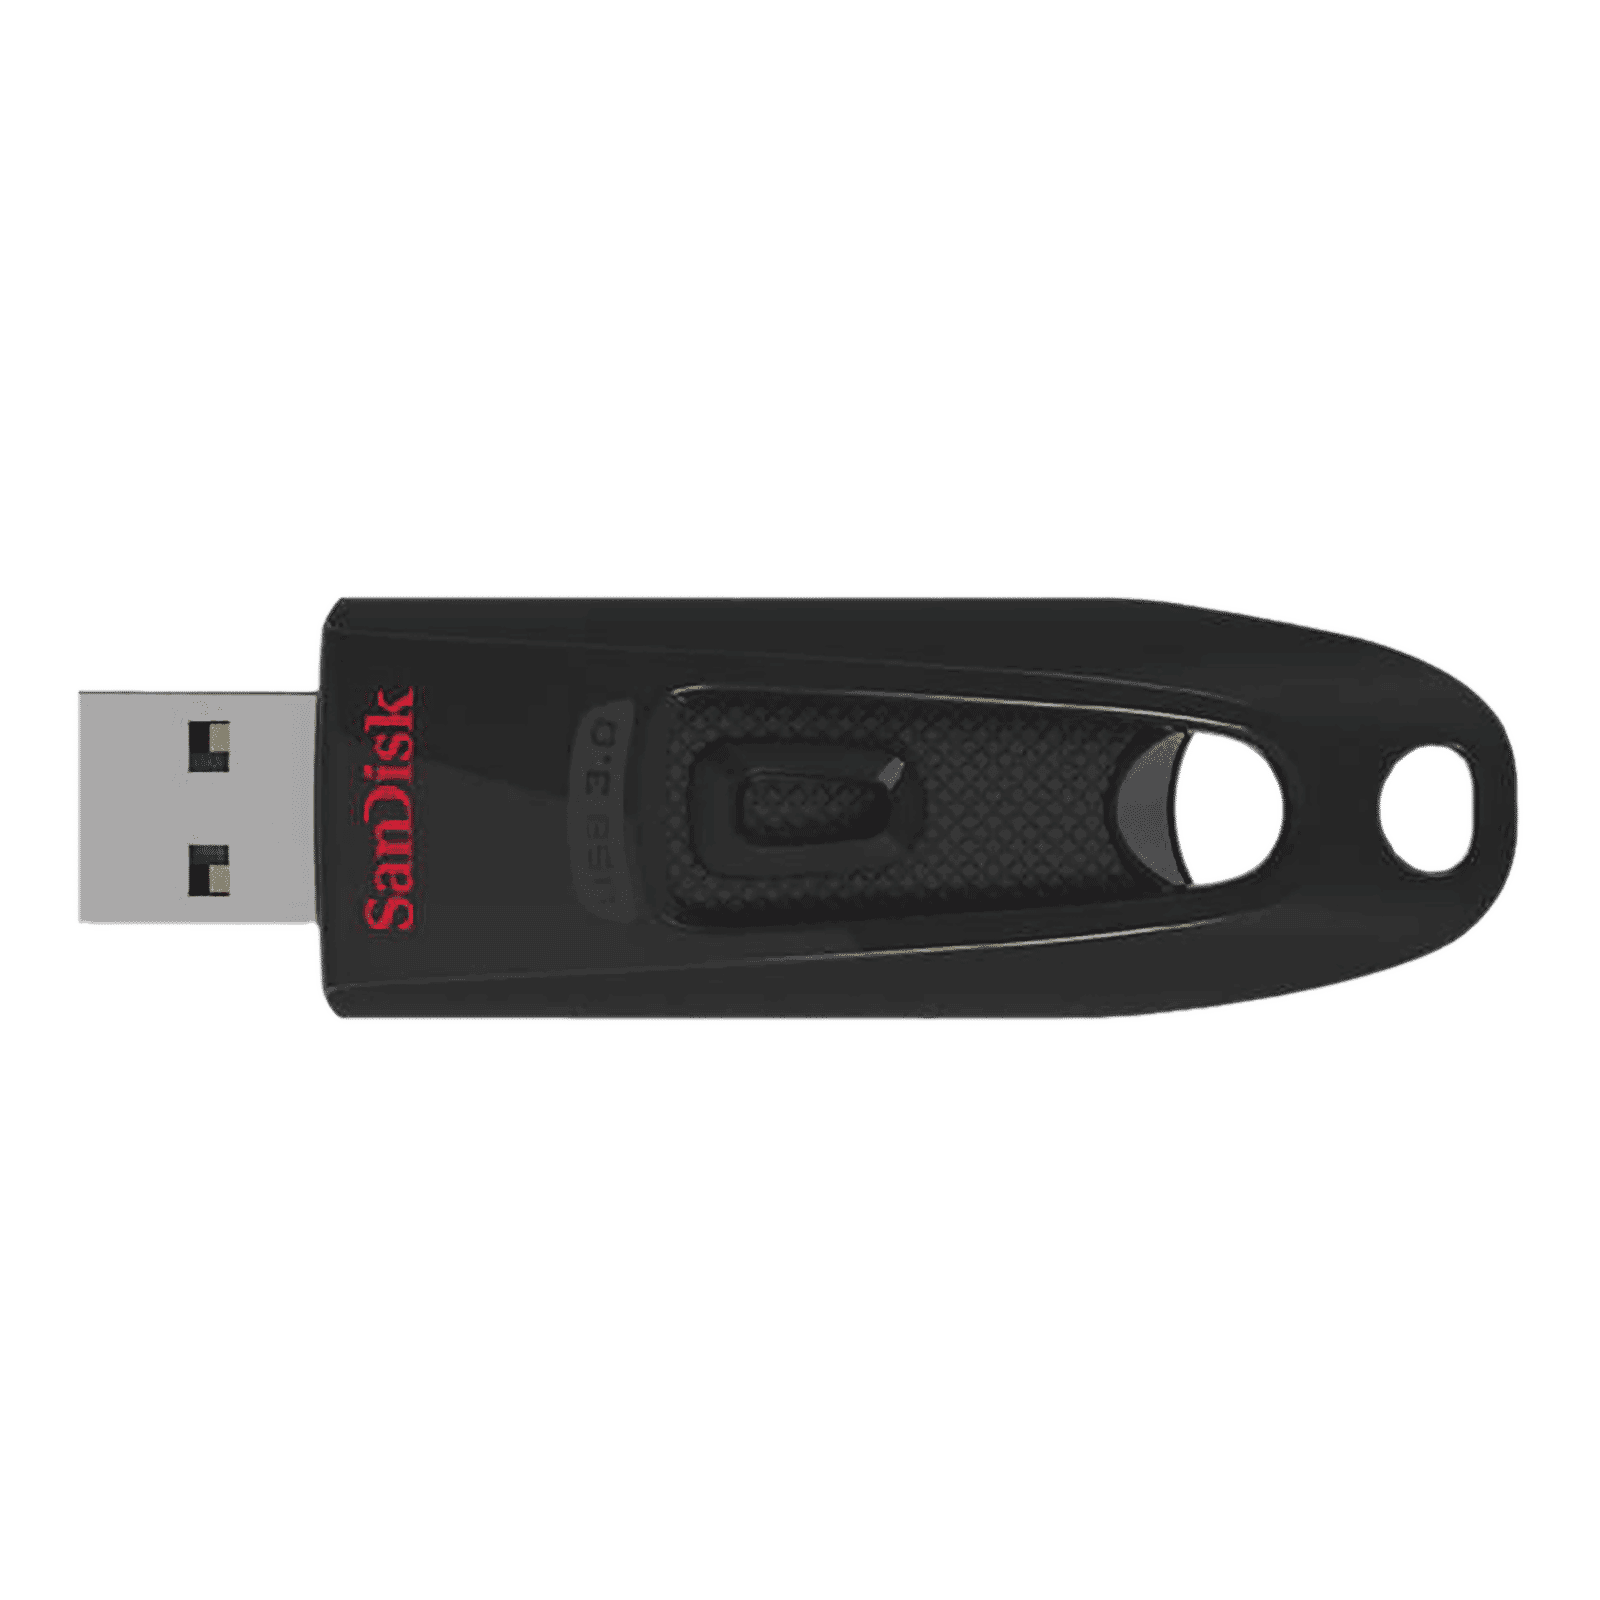
Buy SanDisk Ultra 32GB USB (3.0) Pen Drive (Portable Design, Black) online at best prices from Croma. Check product details, reviews & more. Shop now!
Mac users can seamlessly flash their USB drive using Mac Disk Utility. Insert the drive, launch Disk Utility from the Applications folder, select the USB drive, and click on 'Erase'. Choose your required file system, follow prompts to complete the process, and your drive will be ready for new tasks. While the steps vary slightly from Windows, the overall process remains intuitive and effective.
Linux users have a variety of options. One approach involves using the Startup Disk Creator available on Ubuntu. Alternatively, command-line utilities offer precision control; by entering specific commands, you can unmount the device, write an ISO file, and complete the flashing process. This method supports a range of distributions, making it a flexible choice for users who enjoy custom configurations.
Pro Tip: Did You Know? Flashing a USB drive can also prepare it for use as bootable media for installing operating systems or running diagnostic tools. Always verify the ISO file before writing it to the drive to avoid errors.
While flashing a USB drive is generally straightforward, some issues may arise. If your drive is not recognised, try a different USB port or ensure that the drive is properly inserted. Formatting errors can sometimes be resolved by rerunning the process or checking for any hardware failures. These troubleshooting steps are aimed at ensuring a smooth experience without unnecessary complications.
For corrupted USB drives, begin with the built-in tools provided by your operating system. Use Windows' error checking tool or the First Aid function on Mac Disk Utility to attempt repairs. In severe cases, more advanced recovery methods might be necessary to restore functionality. The journey from a faulty drive to a fully functional device can often be accomplished with a little patience and the right instructions.
After flashing, you may need to partition your USB drive to suit different needs. Partitioning allows you to designate separate spaces for various functions. For example, FAT32 might be used for compatibility across a range of devices, while NTFS or exFAT might be better for handling larger files. A clear understanding of partition types can help optimise the drive for both storage and performance.

Buy SanDisk Ultra 128GB USB (3.0) Pen Drive (Portable Design, Black) online at best prices from Croma. Check product details, reviews & more. Shop now!
Securely erasing data from your USB drive post-flashing is an important step, especially if you plan to repurpose the drive. Tools like Diskpart for Windows, Mac Disk Utility for Apple users, and various third-party erasers offer reliable methods for complete data removal. This ensures that your drive starts afresh, free of legacy data.
Once a USB drive has been flashed and cleaned, it’s ready for reuse. Reformatting it for specific tasks like storage or as a bootable tool can extend its life significantly. Proper storage, careful handling, and periodic checks can help maintain optimal performance over time. Leveraging services from platforms like Tata Neu, where you can explore tech innovations while earning NeuCoins for every purchase, further simplifies staying ahead in digital and retail experiences.
Flashing a file to a USB involves writing an image or ISO file to the drive using tools like Rufus or Disk Utility. Ensure the file is compatible with the intended use.
Set up a USB flash drive by formatting it to the desired file system, such as FAT32 or NTFS, and creating partitions if needed.
Use Diskpart or Rufus to flash a USB drive in Windows. Follow the detailed steps outlined above to complete the process with minimal hassle.
Format the USB drive to a compatible file system, create necessary partitions, and ensure it is free of errors before first use.
Flashing a USB drive is a versatile solution for addressing common issues such as corrupted files and partition errors while preparing the device for new uses like bootable media creation. The step-by-step instructions provided for Windows, Mac, and Linux are designed to help you confidently manage your device. Along with troubleshooting advice and maintenance tips, this guide supports efficient recovery and optimal long-term use of your USB drive. For those who enjoy smart spending and rewards, Tata Neu enhances your shopping experience by offering NeuCoins on every transaction, reinforcing trust as you explore innovative tech solutions.