


Consumer Electronics
•03 min read

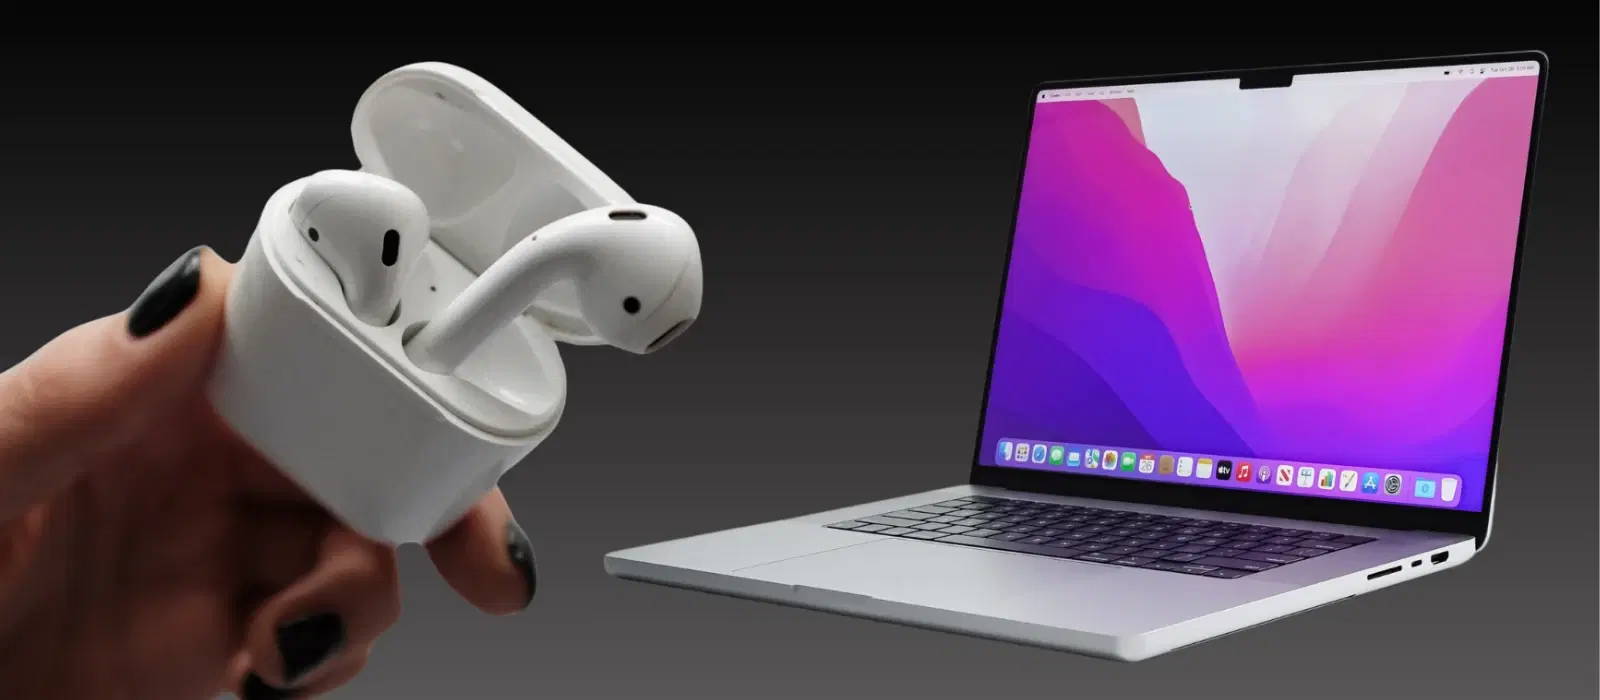
Picture this: you're ready to dive into your favourite playlist or join a video call, but your AirPods refuse to connect to your Mac. Frustrating, right? In today's post, we address common challenges when connecting AirPods to your Mac and share simple, effective steps to fix any issues. By reading this guide, you will learn how to connect AirPods to Mac, troubleshoot connection problems, and ensure a smooth wireless headphone setup. As you tackle these connection issues, remember that shopping on Tata Neu rewards you with exclusive NeuCoins and expert support, ensuring a seamless tech experience.
To pair your AirPods with your Mac, start by placing the AirPods in pairing mode. Open the case and press the button at the back until the status light flashes white. Next, enable Bluetooth on your Mac. Simply click on the Bluetooth icon in your menu bar or go to System Preferences to turn Bluetooth on. This basic step lays the foundation for successful pairing and smoothly sets up your Mac wireless headphones.
Once Bluetooth is activated, navigate to your Mac's Bluetooth settings to see the list of available devices. Look for your AirPods, and when they appear, click to connect. It is essential to keep your AirPods charged and nearby to ensure they remain discoverable. These steps allow you to easily pair AirPods with Mac and enjoy the benefits of a seamless connection.
Sometimes, AirPods might not show up in your Mac Bluetooth settings or fail to connect altogether. Don’t worry if your AirPods aren’t connecting immediately; follow these simple steps and you’ll be back to enjoying your favourite tunes in no time. In such cases, a simple reset can often work wonders: Step 1: Place your AirPods back in the case and close the lid for a few moments. Step 2: Reopen the lid and reattempt the connection. Additionally, restarting your Mac may clear any temporary glitches that prevent your AirPods from connecting to your laptop.
If the basic fixes do not work, consider more advanced methods. Step 1: Reset the Bluetooth preferences on your Mac by removing the existing device pairing. Step 2: Re-add your AirPods to reset the connection. It also helps to check for any pending macOS updates, as newer versions improve support for using AirPods with macOS. Be sure to select your AirPods as the default audio output under System Preferences > Sound > Output.
Pro Tip: Resetting Your AirPods for a Fresh Start
Did you know? Resetting your AirPods can resolve most connection issues. To reset, press and hold the button on the back of the AirPods case until the status light flashes amber, then white. This clears previous pairings and ensures a clean slate for reconnecting to your Mac.
AirPods are designed to switch automatically between your Apple devices if they share the same Apple ID. This means you can enjoy your music or video calls seamlessly, whether on your Mac or iPhone. If you prefer to maintain control, you can easily disable the automatic switching feature in your Bluetooth settings.
You can sync your AirPods with both your MacBook and iPhone simultaneously. This integrated feature makes it simple to transition between devices without having to reconnect manually. Such functionality enhances your overall experience, making it easy to use AirPods with macOS while staying connected on the go.
Before troubleshooting connection issues, verify that your AirPods model is compatible with your Mac. Generally, newer AirPods models work best with Macs running macOS 10.14 or later. Keeping your software updated ensures optimal performance and supports a hassle-free Mac wireless headphones setup. Periodically checking for macOS updates can prevent many common issues.
AirPods offer a host of benefits when paired with a Mac. They integrate seamlessly with macOS features such as spatial audio and automatic device switching. This makes them an excellent choice for busy professionals and families alike. Additionally, enjoying your favourite tunes or taking important calls becomes easier, thanks to their reliable connectivity and impressive sound quality. Beyond troubleshooting, explore Tata Neu for a range of tech gadgets with express delivery for orders placed before 6 PM and robust after-sales support via ZipCare, all while earning NeuCoins on every purchase.
Press and hold the button on the back of the AirPods case until the status light starts flashing white.
Ensure your AirPods are charged, in pairing mode, and within range of your Mac. Restart Bluetooth on your Mac if necessary.
Yes, AirPods can automatically switch between Apple devices signed in with the same Apple ID, or you can manually select them from the Bluetooth menu.
Go to System Preferences > Sound > Output, and select your AirPods as the default audio device.
Most AirPods models are compatible with MacBooks running macOS 10.14 or later. Check your macOS version to ensure compatibility.
This guide has explored how to connect AirPods to Mac, from initial pairing to troubleshooting connection issues and ensuring compatibility. By following these straightforward steps, you can continue to enjoy the convenience of wireless headphones and experience the integrated ecosystem of your Apple devices. As you navigate your tech setup, remember that a few simple checks and updates can make a world of difference in achieving a seamless experience.