%20(Presentation)%20(1600%20x%20600%20px)(454)-df65c395-c156-4938-833f-c5e4ac8566ad.webp&w=3840&q=75)
Consumer Electronics
•04 min read

<b>Why Buy Environics Device Disinfector</b><ul><li><b></b> for optimised disinfection</li><li><b></b> makes sure all the germs are killed</li></ul><p>To prevent harmful bacteria and fungi from getting in contact with you, buy <b>Environics Device Disinfector</b>. The usability of your device disinfector may be affected if its installation is complex. As this device disinfector has the it prevents the extra-spill and wastage of sanitizer. Your residence and office will stay clean and hygienic with products from this device disinfector that have 99.99% high resistance against germs and viruses. </p><p>The <b>Environics Device Disinfector's</b> price is cost-effective so you don't have to adjust your budget. The longer it takes for the device disinfector to disinfect, the longer you will have to wait. As a result of its efficient and effective operation, this device disinfector requires only to inject. Your device disinfector needs to have the latest technology to make sure it kills all the germs. As this device disinfector has the to prevent viruses, you can rest assured. Purchase the <b>Environics Device Disinfector</b> online at this instant!</p>
USB debugging is an essential feature for Android users, whether you are a developer seeking advanced testing tools or someone simply aiming for a smoother file transfer experience. This guide will walk you through the process, provide common troubleshooting tips, and answer frequently asked questions, all while ensuring you feel confident with your device settings and enjoy the rewards of using Tata Neu.
Understanding what USB debugging is can be the first step towards unlocking additional functionalities on your Android phone. In simple terms, USB debugging is a mode that enables communication between your device and a computer using a set of developer commands. Developers and advanced users often rely on this feature for activities like app testing, monitoring system performance, and managing files efficiently. Even if you are not a developer, knowing how to enable USB debugging can help you troubleshoot problems or transfer files effectively.
There are several scenarios where enabling USB debugging becomes incredibly useful. For instance, secure file transfers from your device to a computer become smoother and more efficient. Additionally, if your phone screen is locked or damaged, USB debugging offers alternative methods to access your device settings. This guide outlines not only how to turn on USB debugging but also shares common use cases which ultimately enhance your overall device management and troubleshooting experience.
Simply put, USB debugging is a feature that bridges your Android device with a computer using Android Debug Bridge (ADB). This connection is crucial for developers to test apps, access developer tools, or manage files on their devices. Even for non-developers, it improves the process of transferring data and diagnosing issues.
If you often transfer files between devices, test new apps, or need to troubleshoot issues on an Android phone, enabling USB debugging can be very beneficial. It is particularly useful if you need to access advanced settings when the usual display options are unavailable, such as on a locked or damaged screen. Understanding these benefits can help you make informed decisions when adjusting your device settings.
Before you can turn on USB debugging, you must unlock Developer Options, which is hidden by default. Start by navigating to the 'Settings' menu and then to 'About Phone'. Tap the 'Build Number' seven times. Once you see confirmation, return to the main Settings menu where a new option, Developer Options, will be visible.
Within Developer Options, scroll down until you find the USB debugging option. Simply toggle this setting to enable it. The process is straightforward and only takes a moment, but it opens up a range of possibilities for advanced device management.

<p><strong>Effortless Performance</strong><br /> <br /> The sabichi Mono 24cm Whisk is designed for smooth and efficient whisking. Its polished stainless-steel wires and narrow shape ensure even blending and make it ideal for small bowls or containers. From whipping meringues to beating eggs, this whisk brings ease to every task.<br /> <br /> <br /> <strong>Versatile Whisking Tool</strong><br /> <br /> Whether you're blending batters, keeping lumps out of sauces, or creating airy meringues, this 24cm whisk is up to the challenge. It’s a kitchen essential that adapts to various culinary needs with precision and consistency.<br /> <br /> <br /> <strong>Safe for All Cookware</strong><br /> <br /> The whisk is gentle on all surfaces, including non-stick, ceramic, and metal cookware. You can whisk worry-free without scratching or damaging your kitchenware. This ensures long-lasting durability for your pots and pans.<br /> <br /> <br /> <strong>Ergonomic Design</strong><br /> <br /> Featuring an innovative handle with a soft, comfortable grip, this whisk absorbs pressure for strain-free usage. Its contoured shape ensures a secure hold, even during prolonged whisking tasks, for an effortless cooking experience.<br /> <br /> <br /> <strong>Convenient Storage</strong><br /> <br /> Equipped with a handy hanging loop, the whisk offers easy storage. It’s always within reach while saving counter and drawer space, making it as practical as it is efficient.</p>
Did You Know? Unlock Developer Tools for More Features!
Activating Developer Options not only allows you to turn on USB debugging but also provides access to additional tools, such as hardware acceleration, app debugging modes, and advanced networking settings. This feature enriches your experience by enabling greater control over your device.
With USB debugging active, transferring files between your Android device and a computer becomes significantly smoother. This capability is particularly helpful when you wish to access phone storage securely without relying solely on wireless connections.
Once you enable USB debugging, you gain entry to a suite of developer tools that are designed to help you monitor performance, test new applications, and even experiment with advanced settings. These tools can be invaluable for optimising the device's performance or exploring customised setups.
Another important benefit of USB debugging is troubleshooting. If your device experiences app crashes or system errors, activating this mode allows you to diagnose and fix the issues from your computer. This is especially useful if the device is unresponsive or facing software glitches.
If you find that the USB debugging toggle is greyed out, first ensure that Developer Options are enabled. Also, check for any system updates or restrictions that might be imposed by a custom ROM. Keeping your device updated can often resolve these glitches.
When faced with a locked or broken screen, you might still be able to navigate the settings by using OTG adapters to connect a mouse to your device. Alternatively, you can execute ADB commands from a computer to enable the functionality remotely.
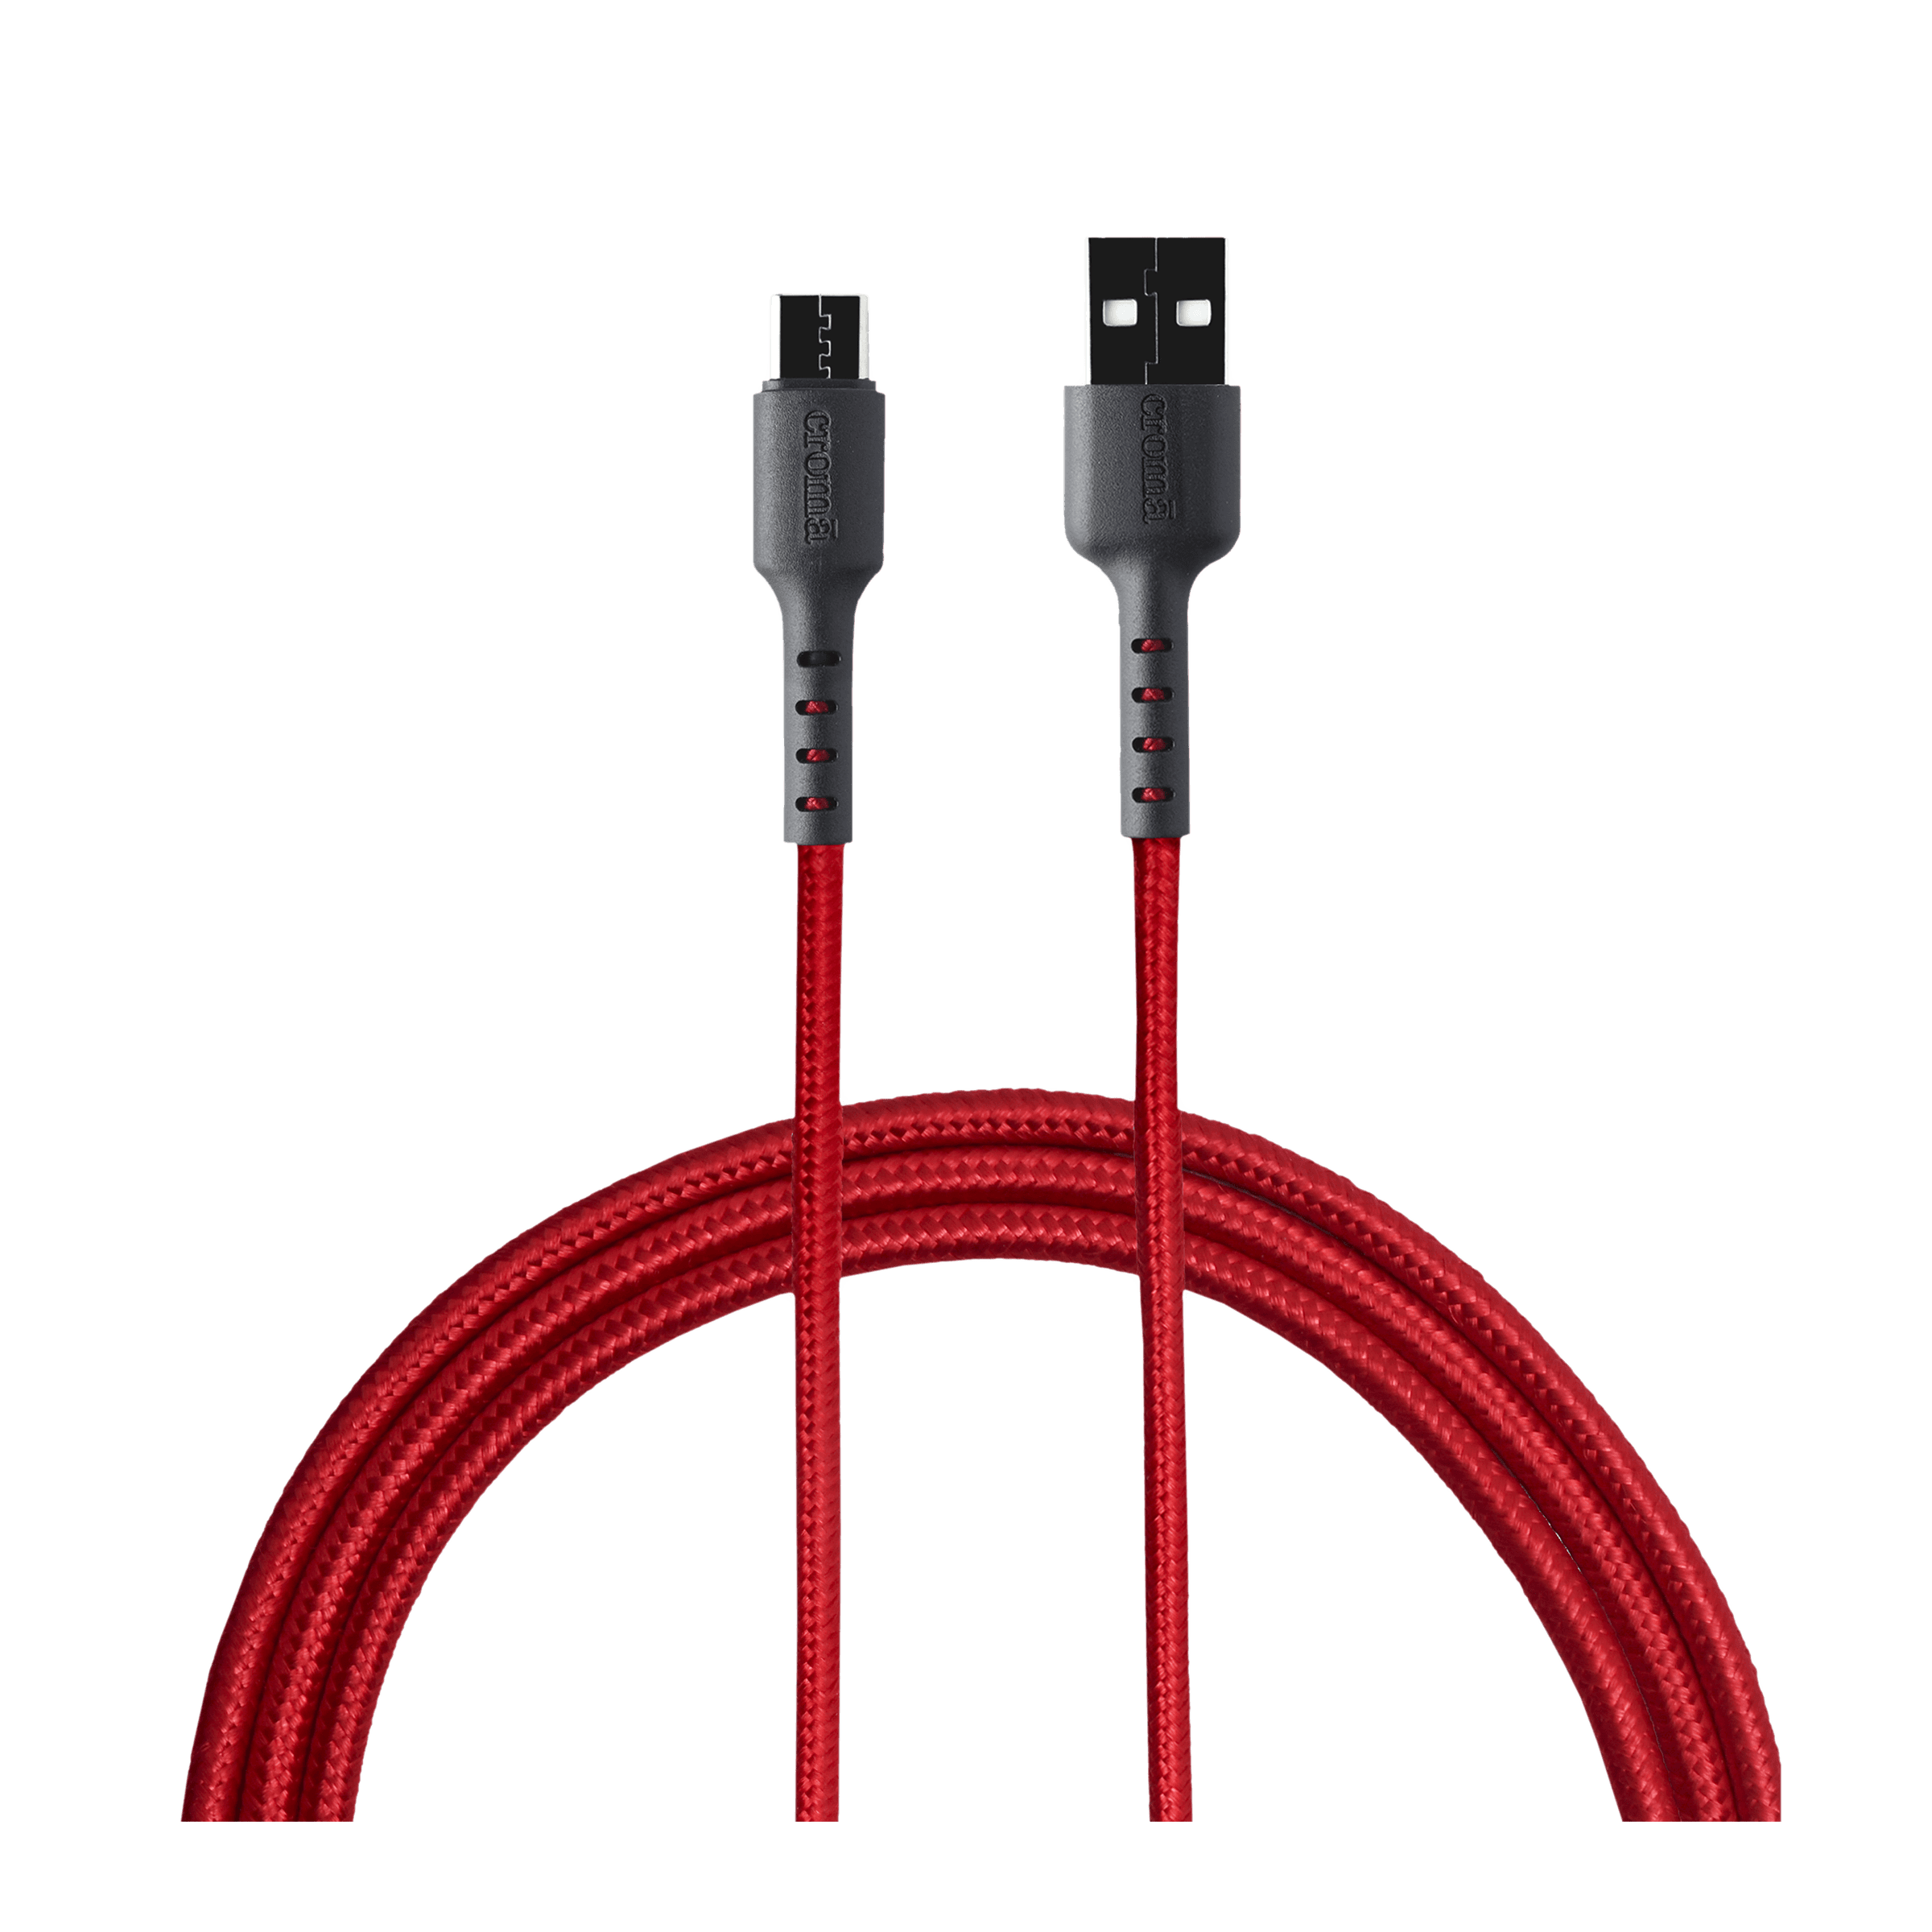
Buy Croma USB 2.0 Type A to USB 2.0 Type C 1 Meter Charging Cable (Braided Outer Exterior, Red) online at best prices from Croma. Check product details, reviews & more. Shop now!
Differences in enabling USB debugging can exist across various Android versions, such as Android 13 versus Android 14. It’s good practice to check your specific device's documentation for any variations in the process. This step can preemptively solve any issues you might encounter.
Activate Developer Options by tapping the 'Build Number' seven times under 'About Phone', then navigate to Developer Options to toggle on USB debugging.
Simply go to Settings, find Developer Options, scroll down to USB debugging and switch it on.
When you connect your Android device to a computer, the USB functionality is typically active by default. For debugging purposes, remember to enable it through Developer Options.
If your phone is locked, you can use ADB commands via your computer or connect an OTG mouse to navigate to Developer Options and enable USB debugging.
Ensure that your device has the latest software update installed, check your USB cable for compatibility, and confirm that Developer Options are correctly enabled.
Ultimately, understanding and enabling USB debugging on Android enhances your ability to manage and troubleshoot your device. With this guide, you now have clear step-by-step instructions to access developer tools, simplify file transfers, and resolve issues on your Android phone efficiently. Moreover, while utilising these advanced settings on Tata Neu, you also earn NeuCoins with every transaction, adding value to your overall shopping experience. Tata Neu stands as a true partner in your digital journey by combining convenience with rewards that help you progress in life.
