Consumer Electronics
•05 min read
Buy SanDisk Ultra Dual Drive 32GB USB Type A (3.1), USB Type C (3.1) OTG Pen Drive (High-speed Performance, Black) online at best prices from Croma. Check product details, reviews & more. Shop now!
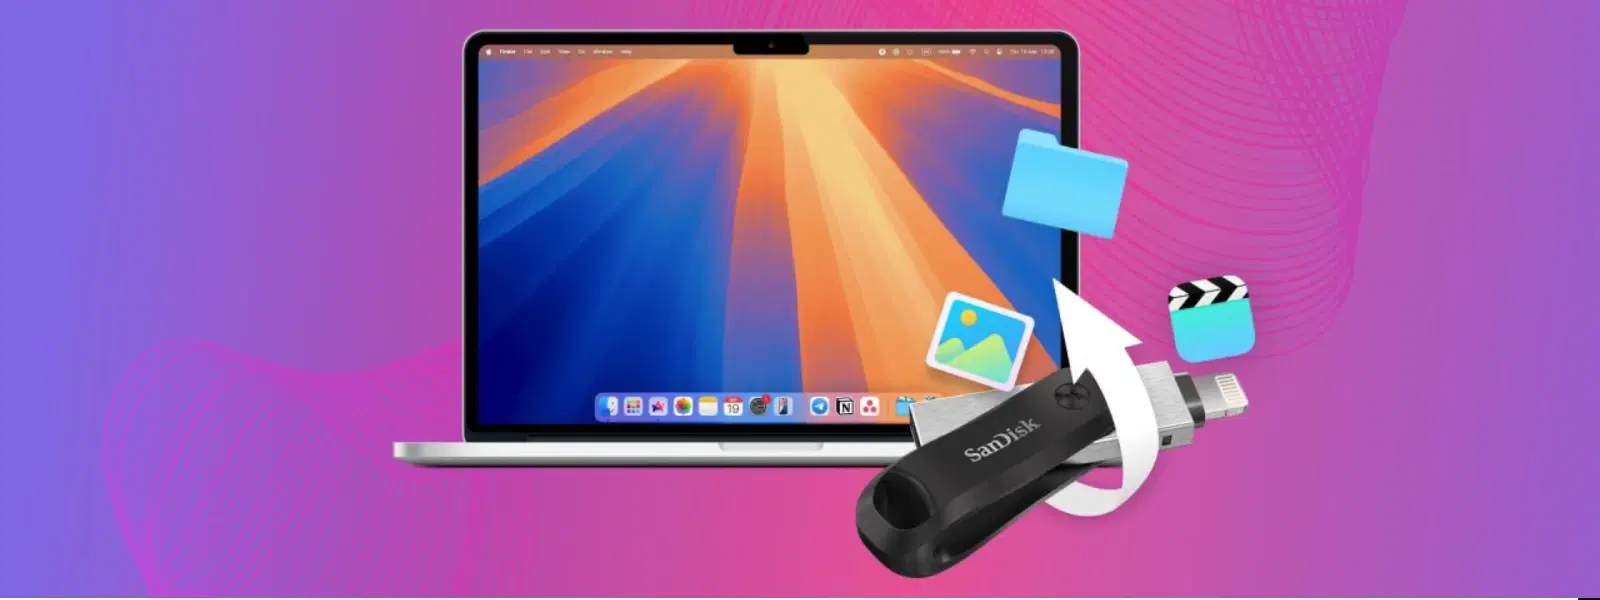
Have you ever needed to reinstall macOS High Sierra but found yourself unsure of the best way to do so? Creating a bootable macOS High Sierra USB drive is a reliable solution for clean installations, troubleshooting, or system recovery. By choosing Tata Neu, you not only access reliable digital solutions but also earn up to 5% NeuCoins and enjoy Express Delivery on orders placed before 6PM. This guide will walk you through the step-by-step process on both Mac and Windows, ensuring that whether you're preparing for routine maintenance or a fresh start, you have a reliable installer at your fingertips.
A bootable USB drive is a quick and efficient tool for macOS installations. Not only does it allow for rapid setup and reinstallation, but it also serves as a valuable resource for troubleshooting and system recovery. Whether you are restoring an older Mac or setting up a completely clean system, learning how to create bootable macOS High Sierra USB drive is key to managing your tech effortlessly. We understand the challenges of system recovery, and this guide is crafted to make your troubleshooting experience as smooth as possible.
There are several scenarios where this setup is highly beneficial. For instance, if your system crashes or you face startup issues, a bootable drive can help you regain control quickly. It is also invaluable when upgrading or downgrading macOS versions, or installing macOS High Sierra on non-startup drives. With ease of use and timely troubleshooting, the bootable USB installer is a must-have in your tech toolkit.
Before embarking on this process, ensure you have a USB flash drive with at least 15GB of storage capacity. You will also need the macOS High Sierra installer file downloaded from Apple and access to either a Mac or Windows computer. Always ensure that the installer file’s digital signature is verified to avoid security risks. These steps are vital in ensuring that your efforts to prepare macOS bootable USB are hassle-free.
It is important to safeguard all your personal data and work files before proceeding with any system modifications. Consider using Time Machine, external hard drives, or cloud storage solutions to back up your data. This simple precaution can prevent potential data loss and provides an added layer of security during the process.

Retrieving data. Wait a few seconds and try to cut or copy again.
To get started, locate and download the macOS High Sierra installer directly from Apple's official website. Ensure the authenticity of the installer file by verifying digital signatures where possible. This step guarantees that you are working with the correct and secure version needed for further procedures.
Open Terminal on your Mac and use the createinstallmedia command to create the bootable installer. This command allows you to specify the volume path for your USB drive and the location of the installer file. The createinstallmedia command is a built-in macOS tool that simplifies creating bootable USB drives for installations. Once you enter the command, follow on-screen prompts to proceed with the installation process. In case you encounter errors during this process, double-check that your USB drive is formatted correctly and that you have administrative privileges on the Mac.
Pro Tip: Simplify the Process
Did you know? Using the
createinstallmediacommand in Terminal is the most reliable way to create a macOS bootable USB drive. Ensure your USB drive is formatted as Mac OS Extended (Journaled) and has at least 15GB of free space for a seamless process.
For those who do not have access to a Mac, there are still reliable methods available. Recommended software options to prepare your bootable USB drive include TransMac, DiskMaker X, or Rufus. Choose the tool that best suits your comfort level and download it from the official website. These tools have been designed to facilitate the macOS High Sierra USB setup process on a Windows environment.
Begin by formatting your USB drive using Windows built-in tools. After formatting, load the macOS installer file onto the USB drive through the selected software. Follow the on-screen instructions carefully and ensure that the tool you are using recognizes the installer file as compatible with macOS High Sierra. Once the process is complete, verify that the USB drive is set up correctly and can be recognized as a bootable device on a Mac.
After successfully creating your USB installer, the next step is to boot your Mac using the bootable drive. Restart your Mac and hold down the Option key immediately during startup. This will open the Startup Manager, which allows you to choose the bootable USB drive as your startup disk. Remember to check availability before proceeding, as Express Delivery and other rapid services may provide similar timely experiences in other contexts.

<p>Danger can overpower you at any time and your voice will not be enough in such situations to get the required aid. The amazing new <strong>Juvo PSB01 Personal Alarm</strong> is crafted for all ages and is a necessary precaution from all kinds of danger. It rings a very loud alarm at 120 dB as well as flashes the torch to warn people nearby about a danger. Whether you have a medical emergency or you are attacked by predators your voice may not be heard but this alarm will be enough to deter attackers or draw attention of people close by to give you the immediate assistance required.</p> <p><strong>Extremely Easy To Use</strong></p> <p>The <strong>Juvo PSB01 Personal Alarm</strong> is small and portable, can be attacked to even a keychain if you want. To start the siren all you need to do is separate or pull the metal key chain from the main black unit. The siren may go on for 1 1/2 hours in case nobody heard it in the first minutes. This is very important for girls returning home alone at night as it acts as a security anti-attack panic alarm that is sure to scare off a molester. Its easy portability accentuates its use.</p> <p><strong>Lights Your Way</strong></p> <p>The little and portable <strong>Juvo PSB01 Personal Alarm</strong> also features a small LED torch that helps you find your way in the dark. Don’t be scared of dark alleys when you have this with you because it is equipped to save you from all dangers.</p>
With the bootable USB selected, follow the on-screen instructions to commence the installation of macOS High Sierra. The installation process is straightforward, guiding you through each step in a clear, concise manner. If any errors occur during installation, refer back to your USB drive’s formatting and the steps outlined above. Following these steps ensures that you are well-prepared for any unforeseen issues during installation.
To create a USB bootable installer, download the macOS installer file, format a USB drive with at least 15GB of free space, and use the createinstallmedia command in Terminal on a Mac or a tool like TransMac on Windows.
Restart your Mac and hold down the Option key during startup. This action opens the Startup Manager, where you can select the USB drive as the boot disk.
On Windows 11, use a tool like TransMac or Rufus. Format your USB drive appropriately and load the macOS installer file onto it. Make sure the file is fully compatible with macOS High Sierra.
The createinstallmedia command in Terminal is the primary tool for creating bootable USB drives on macOS. It provides a straightforward method for preparing your USB installer.
By understanding how to create bootable macOS High Sierra USB drive, you add a powerful tool to your technological toolkit. Whether for emergency system recovery or preparing for a fresh installation, knowing these steps can save time and reduce stress during unexpected technical issues. Moreover, clear guidance and effective use of digital tools make the process both approachable and efficient. Trust in the method and enjoy the peace of mind that comes from knowing you are prepared for any eventuality.
In summary, the process of creating a bootable installer is straightforward when you follow each step diligently. The steps covered in this guide—from preparation and downloading the installer to executing the creation on Mac or Windows—ensure that your device is ready for a smooth installation of macOS High Sierra. With a clear strategy, troubleshooting tips, and an effective method of setup, you can enjoy a hassle-free experience that resonates with your need for reliable digital solutions.
