Consumer Electronics
•05 min read

<p>Danger can overpower you at any time and your voice will not be enough in such situations to get the required aid. The amazing new <strong>Juvo PSB01 Personal Alarm</strong> is crafted for all ages and is a necessary precaution from all kinds of danger. It rings a very loud alarm at 120 dB as well as flashes the torch to warn people nearby about a danger. Whether you have a medical emergency or you are attacked by predators your voice may not be heard but this alarm will be enough to deter attackers or draw attention of people close by to give you the immediate assistance required.</p> <p><strong>Extremely Easy To Use</strong></p> <p>The <strong>Juvo PSB01 Personal Alarm</strong> is small and portable, can be attacked to even a keychain if you want. To start the siren all you need to do is separate or pull the metal key chain from the main black unit. The siren may go on for 1 1/2 hours in case nobody heard it in the first minutes. This is very important for girls returning home alone at night as it acts as a security anti-attack panic alarm that is sure to scare off a molester. Its easy portability accentuates its use.</p> <p><strong>Lights Your Way</strong></p> <p>The little and portable <strong>Juvo PSB01 Personal Alarm</strong> also features a small LED torch that helps you find your way in the dark. Don’t be scared of dark alleys when you have this with you because it is equipped to save you from all dangers.</p>
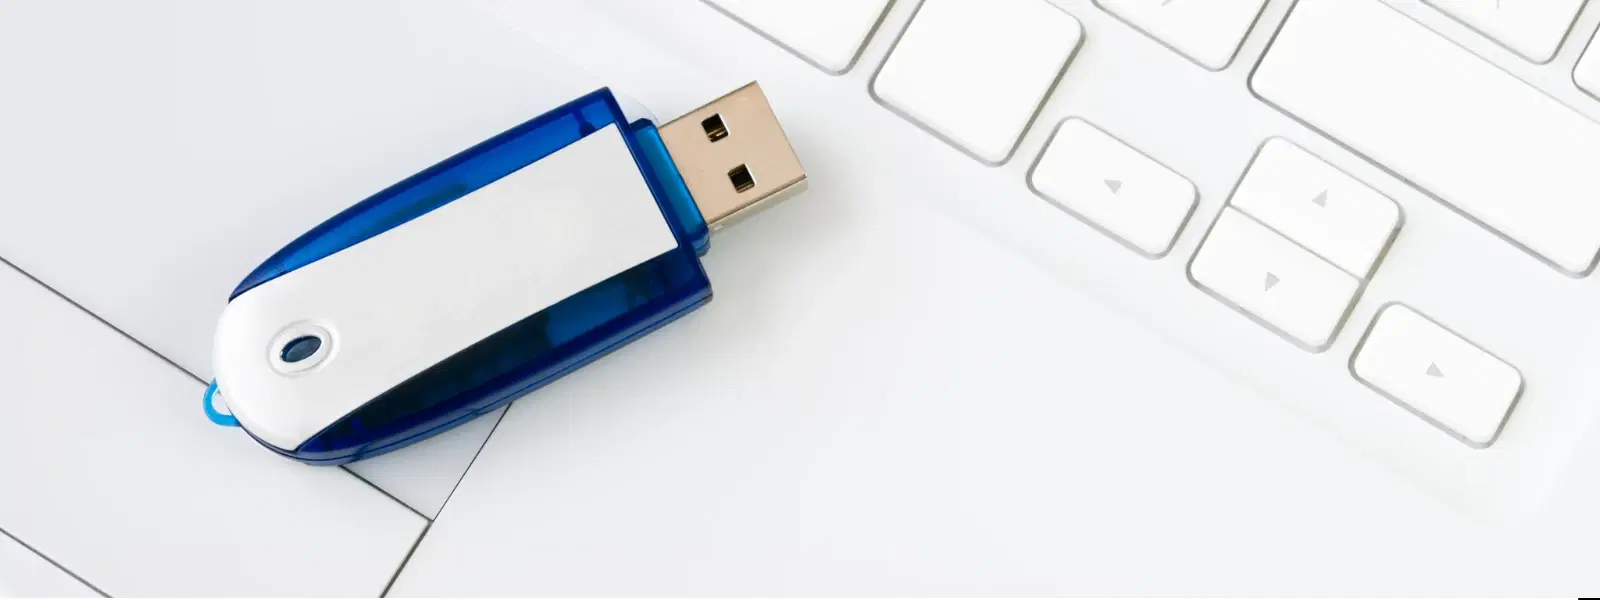
Ever wondered how to transform an ordinary USB into a powerful tool for installing operating systems? With the right guidance, you can quickly learn how to convert a normal USB to a bootable USB—whether it’s for Windows, Linux, or other systems. This guide will walk you through the essential steps, tools required, and troubleshooting tips that can help you prepare your USB for OS installation, making it a reliable utility in your tech arsenal.
A bootable USB drive is a storage device that can be used to initiate an operating system installation. Unlike traditional DVDs and CDs, bootable USB drives are portable, offer faster installation speeds, and are incredibly convenient for modern-day setups. Whether you wish to make USB bootable for Windows or convert USB to bootable for Linux, the ease of use cannot be overstated.
Not every USB may be immediately suitable without some preparation. While many USB drives can be made bootable, they must meet certain criteria such as sufficient storage capacity and compatible formatting options. Ensuring your USB is properly formatted is key to a smooth installation process. For example, a USB drive with a minimum capacity of 4GB is typically required, and formatting it to file systems such as FAT32 or NTFS depending on the target OS is essential.
Before you can create a bootable USB, it is necessary to format your drive. Formatting clears any existing data and sets up the structure required to support bootable operations. You can format your USB using Windows Explorer or Disk Management, which involves selecting the right file system—FAT32 is often preferred for its universal compatibility, although NTFS may be required for larger files. The process is simple, and following these steps will ensure your USB is ready for the bootable installation process.
There are several excellent USB bootable software tools available that simplify the creation of a bootable drive. Popular options include Rufus, Etcher, and UNetbootin. These tools offer user-friendly interfaces and step-by-step instructions, making them suitable for both beginners and tech enthusiasts. They essentially streamline the process to help you create a bootable USB drive quickly and safely.

<p style="margin-left:0cm; margin-right:0cm">Keep away from breathing in harmful germs, dust and pollution by using the <strong>Arctic Fox N95 Gold Series</strong> <strong>Face Respirator Mask.</strong> The mask is designed specially ensuring that it fits comfortably on your face and covers all the essential parts of your face. The soft ear loops ensure the comfort-ability for longer use. It has a 3 mm foam material for comfort fit and air seal.</p> <p style="margin-left:0cm; margin-right:0cm">The <strong>Arctic Fox N95 Gold Series</strong> <strong>Face Respirator Mask</strong> is super breathable because of the comfortable fabric and is also splash resistant.</p> <p style="margin-left:0cm; margin-right:0cm">Whether you are travelling or for that matter, moving out of your house, wearing the <strong>Arctic Fox N95 Gold Series</strong> <strong>Face Respirator Mask </strong>will ensure security to your health by helping you keep the dust and germs out from inhaling it.</p>
Creating a bootable USB for Windows is straightforward when using tools like Rufus. Begin by downloading your preferred Windows ISO file and launching Rufus. Select your USB drive, pick the ISO file, and adjust any necessary settings before clicking 'Start'. The tool will automatically format your USB and transfer the necessary installation files, turning your normal USB into a bootable drive for Windows 10/11 installation. Each step in Rufus is designed to be clear and assistive, ensuring even first-time users can follow along with ease.
For Linux users, the process is equally accessible. Software tools like Etcher or UNetbootin offer simple interfaces where you select the Linux ISO, choose the USB drive, and commence the creation process. The steps share many similarities with creating a bootable drive for Windows, with minor differences in formatting and partitioning tailored to Linux distributions. This means that whether you are preparing your USB for a Windows or Linux installation, the differences are slight, and the overall approach remains the same.
For those who thrive on a more technical approach, creating a bootable USB using the Command Prompt is an advanced yet effective method. Begin by launching CMD as an administrator and using a series of commands such as diskpart, clean, create partition primary, and active. This method allows you to manually partition the USB drive and set it up for booting without relying solely on third-party software. Although it requires careful attention, using the manual method offers deeper control over the bootable installation process and is particularly useful for troubleshooting more specific issues.
Expert Tip: Always Verify Your ISO File Before Proceeding
Did you know that corrupted or incomplete ISO files are one of the leading causes of bootable USB failures? Always check the integrity of your ISO file using tools like checksum verification before starting the bootable USB creation process.
Even with the best preparation, issues can sometimes occur. Common problems include the USB not being recognised by the system, the bootable USB failing to start the installation process, or encountering errors during the OS installation phase. If you experience these issues, first verify that the ISO file is complete and uncorrupted. Double-check that the USB drive is correctly formatted and compatible with the OS you intend to install. Additionally, inspect your system’s BIOS/UEFI settings to ensure that USB booting is enabled. These checks typically resolve most common issues encountered during bootable USB creation.
Ensuring a smooth bootable USB creation experience involves a few best practices. Always verify that the ISO file is authentic and intact before transferring it to your USB drive. It is advisable to check your USB drive’s compatibility and format it accordingly—typically to FAT32 or NTFS. Additionally, make sure your computer’s BIOS/UEFI settings are correctly configured to recognise USB devices as bootable drives. Following these steps not only reduces the likelihood of encountering issues but also enhances your overall experience with the installation process.

<p><b>HEUV Technology</b><br/><br/>Thanks to the HEUV technology, the SVARAS Home X2 Pro UV Steriliser effectively targets and eliminates a wide range of viruses and bacteria, including those responsible for illnesses such as the coronavirus. As a result, you can have peace of mind knowing that you can effectively protect yourself and your family from potential health threats.<br/><br/><br/><b>Enhanced Sterilisation</b><br/><br/>This rechargeable UV steriliser provides optimal sterilisation capabilities, which eliminates harmful germs. This high level of effectiveness makes it an ideal choice for homes, offices, and shops, ensuring that surfaces remain clean and safe. Thus, you can trust this steriliser to protect your health and the health of your loved ones by efficiently disinfecting various surfaces.<br/><br/><br/><b>User-Friendly Functionality</b><br/><br/>This home steriliser boasts convenient features that enhance its usability. It includes a voice alarm that signals when the sterilisation process is complete, ensuring you never forget to turn it off. Additionally, the device offers a safe automatic power-off feature, which enhances safety during operation. Convenient charging capabilities further simplify the user experience, which makes it easy to keep the steriliser ready for action.<br/><br/><br/><b>Eco-Friendly Design</b><br/><br/>Designed with sustainability in mind, this SVARAS steriliser promotes an eco-friendly lifestyle. It operates without mercury or harsh chemicals, which makes it safe for both users and the environment. This design choice allows you to maintain a clean living space while reducing your ecological footprint. Moreover, the sleek, modern appearance of the steriliser ensures that it complements any decor.</p>
You can convert your USB into a bootable drive by using software tools such as Rufus or Etcher, or by opting for the manual method using Command Prompt. These methods prepare your USB for the OS installation process with clear, step-by-step guidance.
Most USB drives can be made bootable provided they meet the necessary storage requirements and have been properly formatted to the required file system, such as FAT32 or NTFS.
You can format a USB drive using Windows Explorer, Disk Management, or the Command Prompt with commands like diskpart. Ensure you select the appropriate file system prior to creating your bootable USB drive.
Using Command Prompt, you can employ the diskpart command, then clean the drive, create a primary partition, set it as active, and finally copy the OS files manually or by utilising USB bootable software tools.
If your bootable USB fails to work, check the integrity of your ISO file, verify that the USB drive has been correctly formatted and is compatible, and confirm that your computer’s BIOS/UEFI settings support USB booting.
Transforming a normal USB into a bootable drive is a straightforward yet essential skill for anyone looking to install operating systems efficiently. Whether you are preparing for a Windows or Linux installation, the steps outlined in this guide equip you with the knowledge needed to create a reliable bootable USB drive. By following these best practices and troubleshooting tips, you can avoid common pitfalls and ensure a smooth installation process. Tata Neu is committed to empowering users with the tools and insights they need to progress smarter, and with every transaction, you earn NeuCoins rewards—enhancing your overall experience with additional savings across your favourite brands. Explore more insights on consumer electronics and discover innovative ways to shop smartly while enjoying the trust and reliability that Tata Neu brings to the world of technology.
