
Consumer Electronics
•06 min read

Buy Apple USB Type C to USB Type A, VGA Port, Thunderbolt 3 USB C Multi-Port Adapter (Sync & Charge, White) online at best prices from Croma. Check product details, reviews & more. Shop now!
Imagine enjoying seamless internet connectivity right at your desk without the hassle of setting up cumbersome connections. With JioFi, a compact and versatile wireless hotspot device, you can establish a stable and reliable internet connection on your computer using a USB cable. This guide will walk you through everything you need to know for setting up, configuring, and even troubleshooting the USB tethering process on your desktop or laptop. At Tata Neu, we understand the importance of reliable connectivity, and with every purchase, you can earn up to 5% NeuCoins rewards and enjoy same-day Express Delivery for orders placed before 6 PM, enhancing your digital experience.
JioFi is a portable Wi-Fi hotspot device designed to take the stress out of connectivity. Equipped with the capability to share its internet connection through various modes, JioFi offers users the flexibility to stay connected wherever they go. One noteworthy feature is its support for USB tethering, which allows you to connect directly to your computer via a USB cable. This makes it an ideal solution for those seeking enhanced stability and faster speeds compared to traditional wireless connections.
Choosing USB tethering with JioFi brings several advantages. Firstly, it ensures a more stable connection, lowering the chances of interference common in wireless networks. In addition, using a USB connection can offer faster data transfer speeds, which is particularly beneficial for activities such as streaming, video calls, and work-related tasks. Moreover, when connected via USB, your device can simultaneously benefit from charging, ensuring that you stay powered during long hours of productivity.
Before you dive into the setup, ensure you have all the necessary items at hand. You will need a JioFi device, an appropriate USB cable, and a computer – whether desktop or laptop – which supports USB connections. For those who wish to explore further settings and configurations, the MyJio app is available, providing added layers of control over your network.
One crucial step is to verify that your computer’s operating system supports USB tethering. Windows users on versions like Windows 7 or Windows 10, and MacOS users, can benefit from JioFi’s tethering functionality. Incompatibility issues can arise if the drivers are outdated, so it is advisable to ensure your computer’s drivers are up-to-date before beginning the setup process. Note: Device specifications and driver requirements may update periodically; please refer to the latest guidelines provided by your device manufacturer to avoid compatibility issues.
Getting started is straightforward. Begin by switching on your JioFi device. Next, connect one end of the USB cable to the JioFi hotspot and the other end to your computer’s USB port. Once connected, access the device’s settings menu. This can either be done via the MyJio app or directly through the device’s web interface. From there, simply enable the USB tethering option. This small but critical step transforms your JioFi into a direct source of internet connectivity that your computer recognizes as a network adapter.
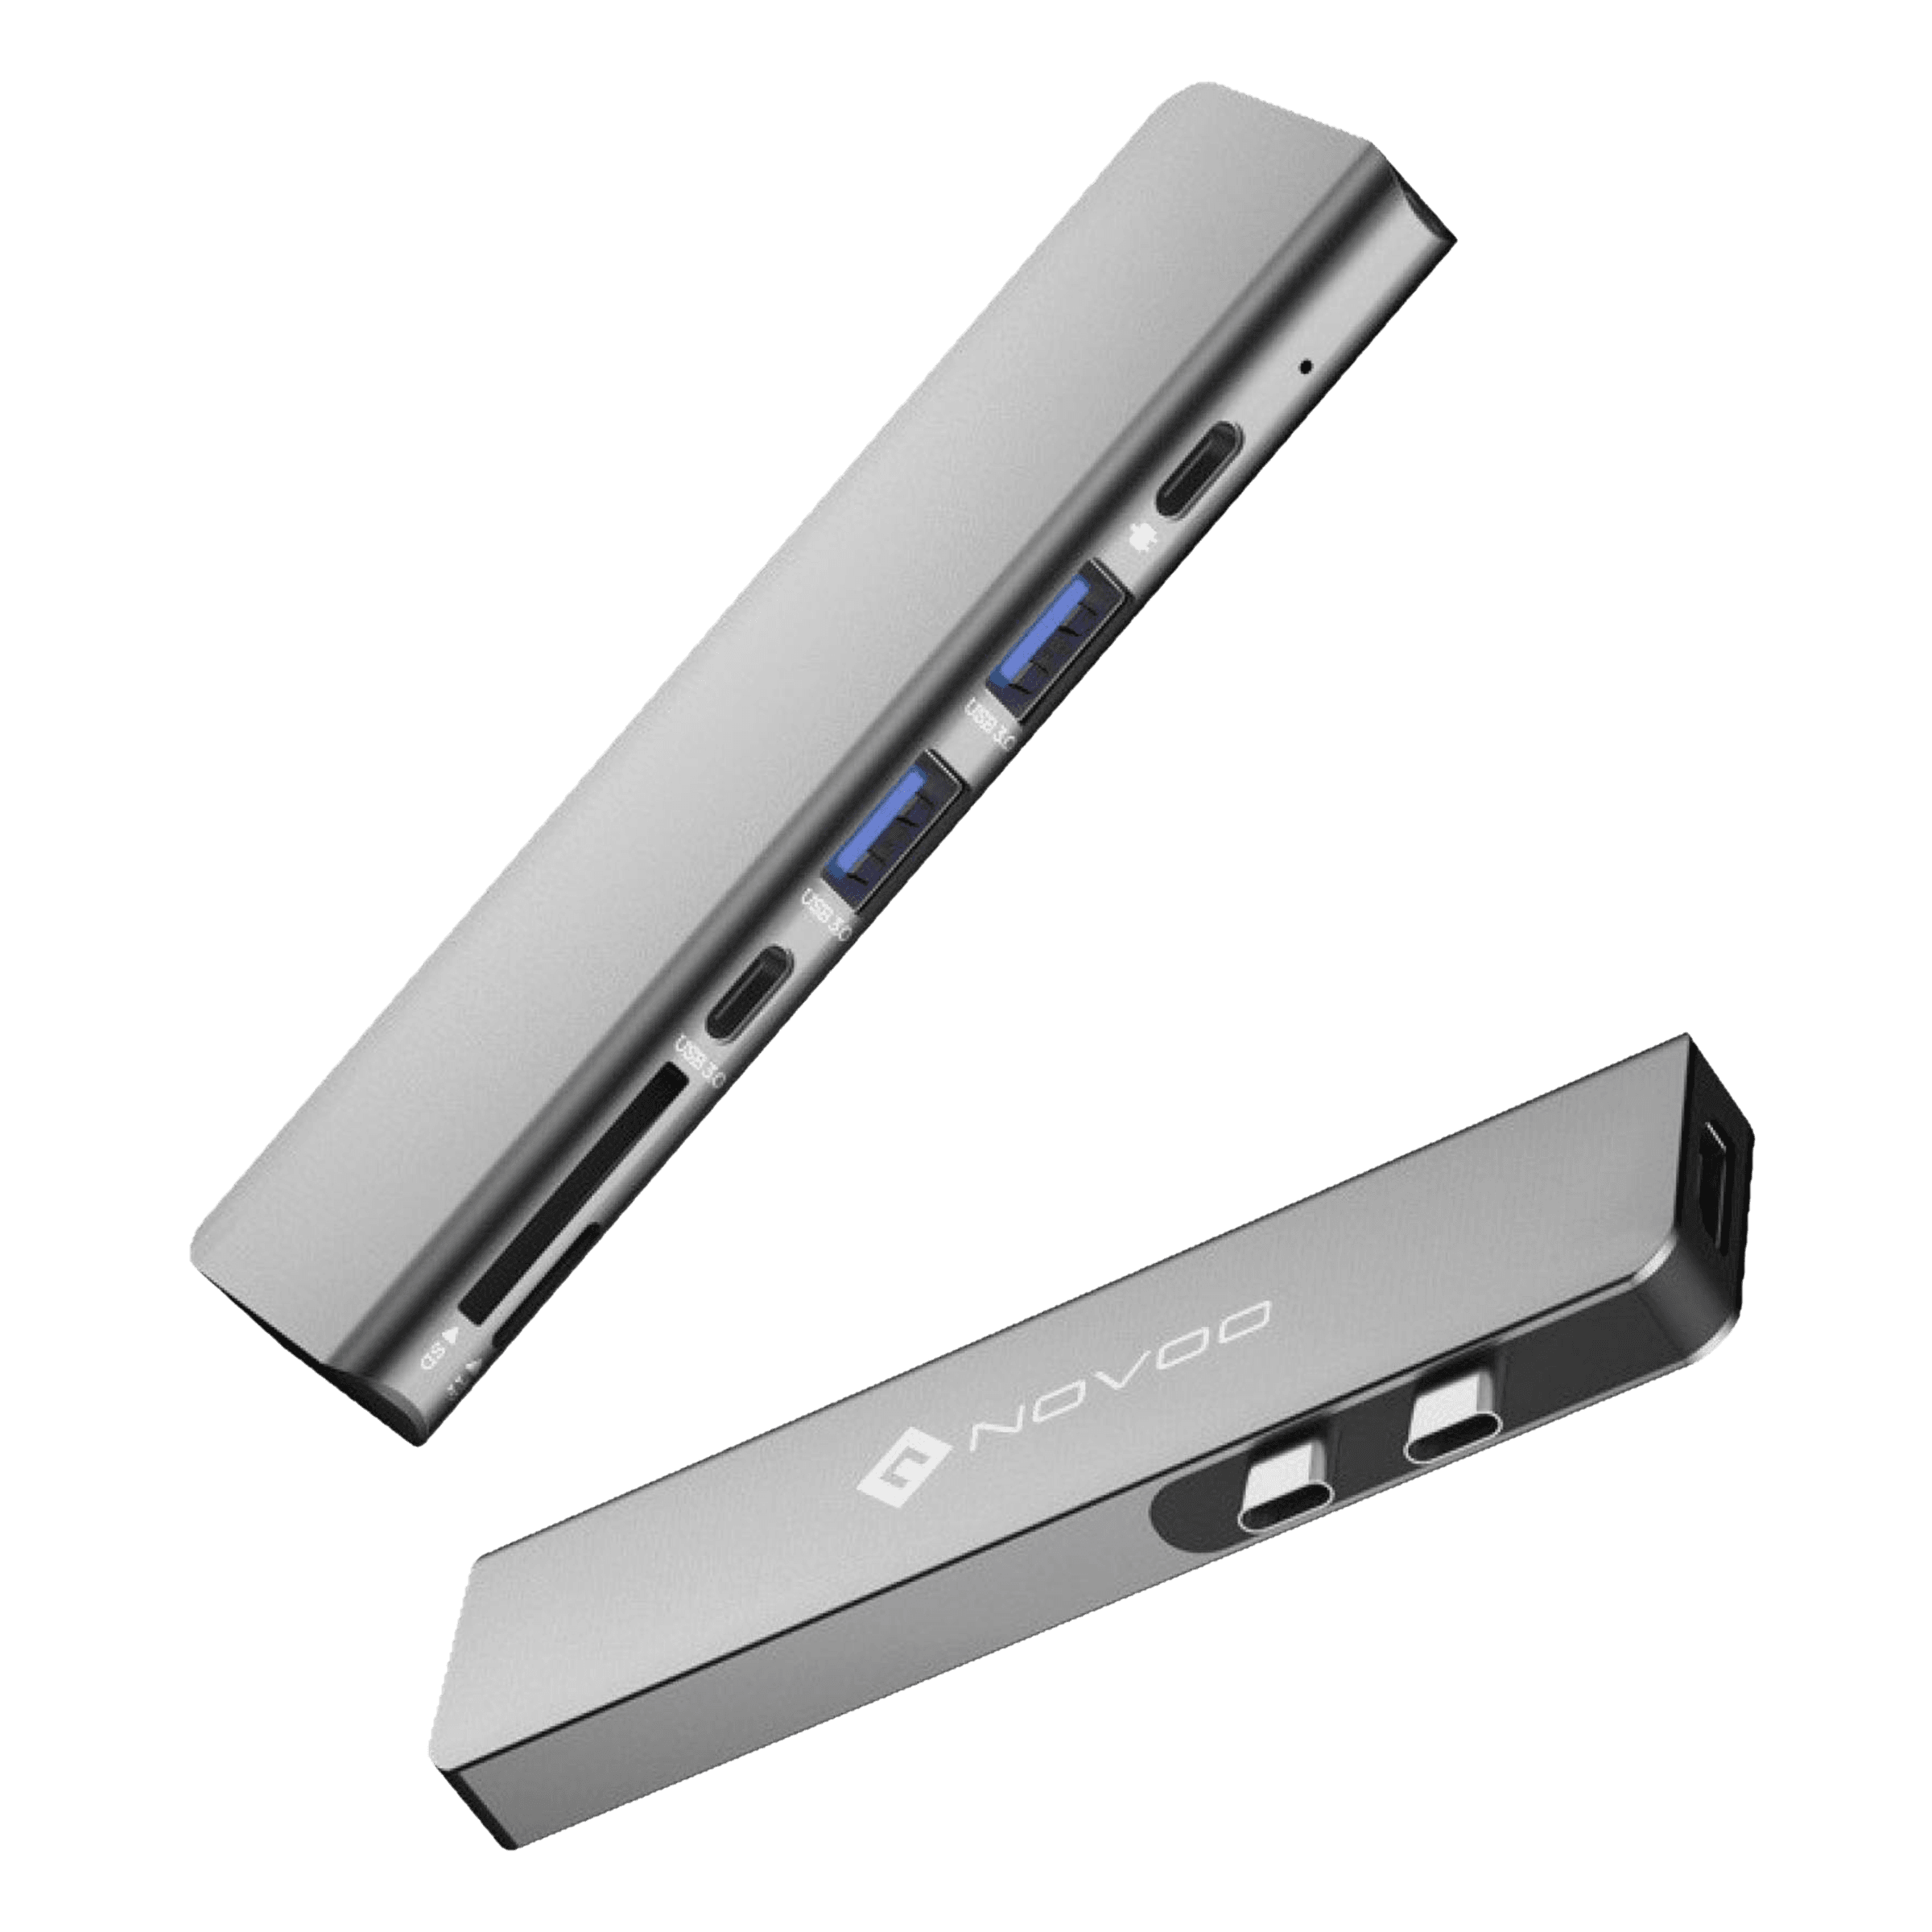
Buy Novoo 7-in-2 USB 3.0 Type C to USB 3.0 Type C, USB Type A, SD Card Slot, MicroSD Card Slot, HDMI USB Hub (4K Video Resolution, Grey) online at best prices from Croma. Check product details, reviews & more. Shop now!
After enabling USB tethering on your JioFi device, it is important to check your computer’s network settings. For Windows users, navigate to the network and internet settings to confirm that the JioFi device appears as a USB network adapter. If the connection seems unfamiliar, a quick restart of your computer often resolves minor detection issues. MacOS users can access system preferences to configure the network settings, ensuring that the JioFi connection is correctly integrated. This step is essential for a smooth and reliable online experience.
Pro Tip: Maximise Your JioFi USB Connectivity
Did you know? Using a high-quality USB 2.0 or 3.0 cable can significantly improve data transfer speeds and connection stability when tethering JioFi to your computer. Avoid using old or damaged cables for optimal performance.
If your computer does not recognise the JioFi device, start by ensuring that the USB cable is securely connected and the USB port is fully functional. Sometimes even a small dislodgement can interrupt the connection. If the issue persists, rebooting both the JioFi device and your computer can often resolve the problem by resetting any temporary glitches that may have occurred during startup.
Occasionally, you might experience slower than expected internet speeds. This can be due to various factors, such as suboptimal JioFi settings or limitations of your internet plan. It is worthwhile to double-check that your JioFi plan supports the data speeds required for your usage. Fine-tuning the settings can also help, as minor adjustments might lead to noticeable improvements. Remember, consistent performance might also depend on the quality of the USB cable being used.
In some instances, users may find that the USB tethering option is not readily visible on their device’s interface. This issue might be linked to outdated JioFi firmware or computer drivers. Ensure that both the firmware on the JioFi device and the drivers on your computer are up-to-date. If problems continue despite these checks, resetting the JioFi device to factory settings is a practical next step. This can often restore the tethering feature and lead to successful connectivity.
Once you are familiar with the basic setup, you might consider sharing your JioFi internet connection with other devices. Advanced users can enable internet sharing from the JioFi USB connection, effectively turning your computer into a central hub for network connectivity. This feature is very useful for small office setups or home networks, where multiple devices need a steady connection, yet it is best to proceed with settings adjustments only if you are comfortable managing network configurations.
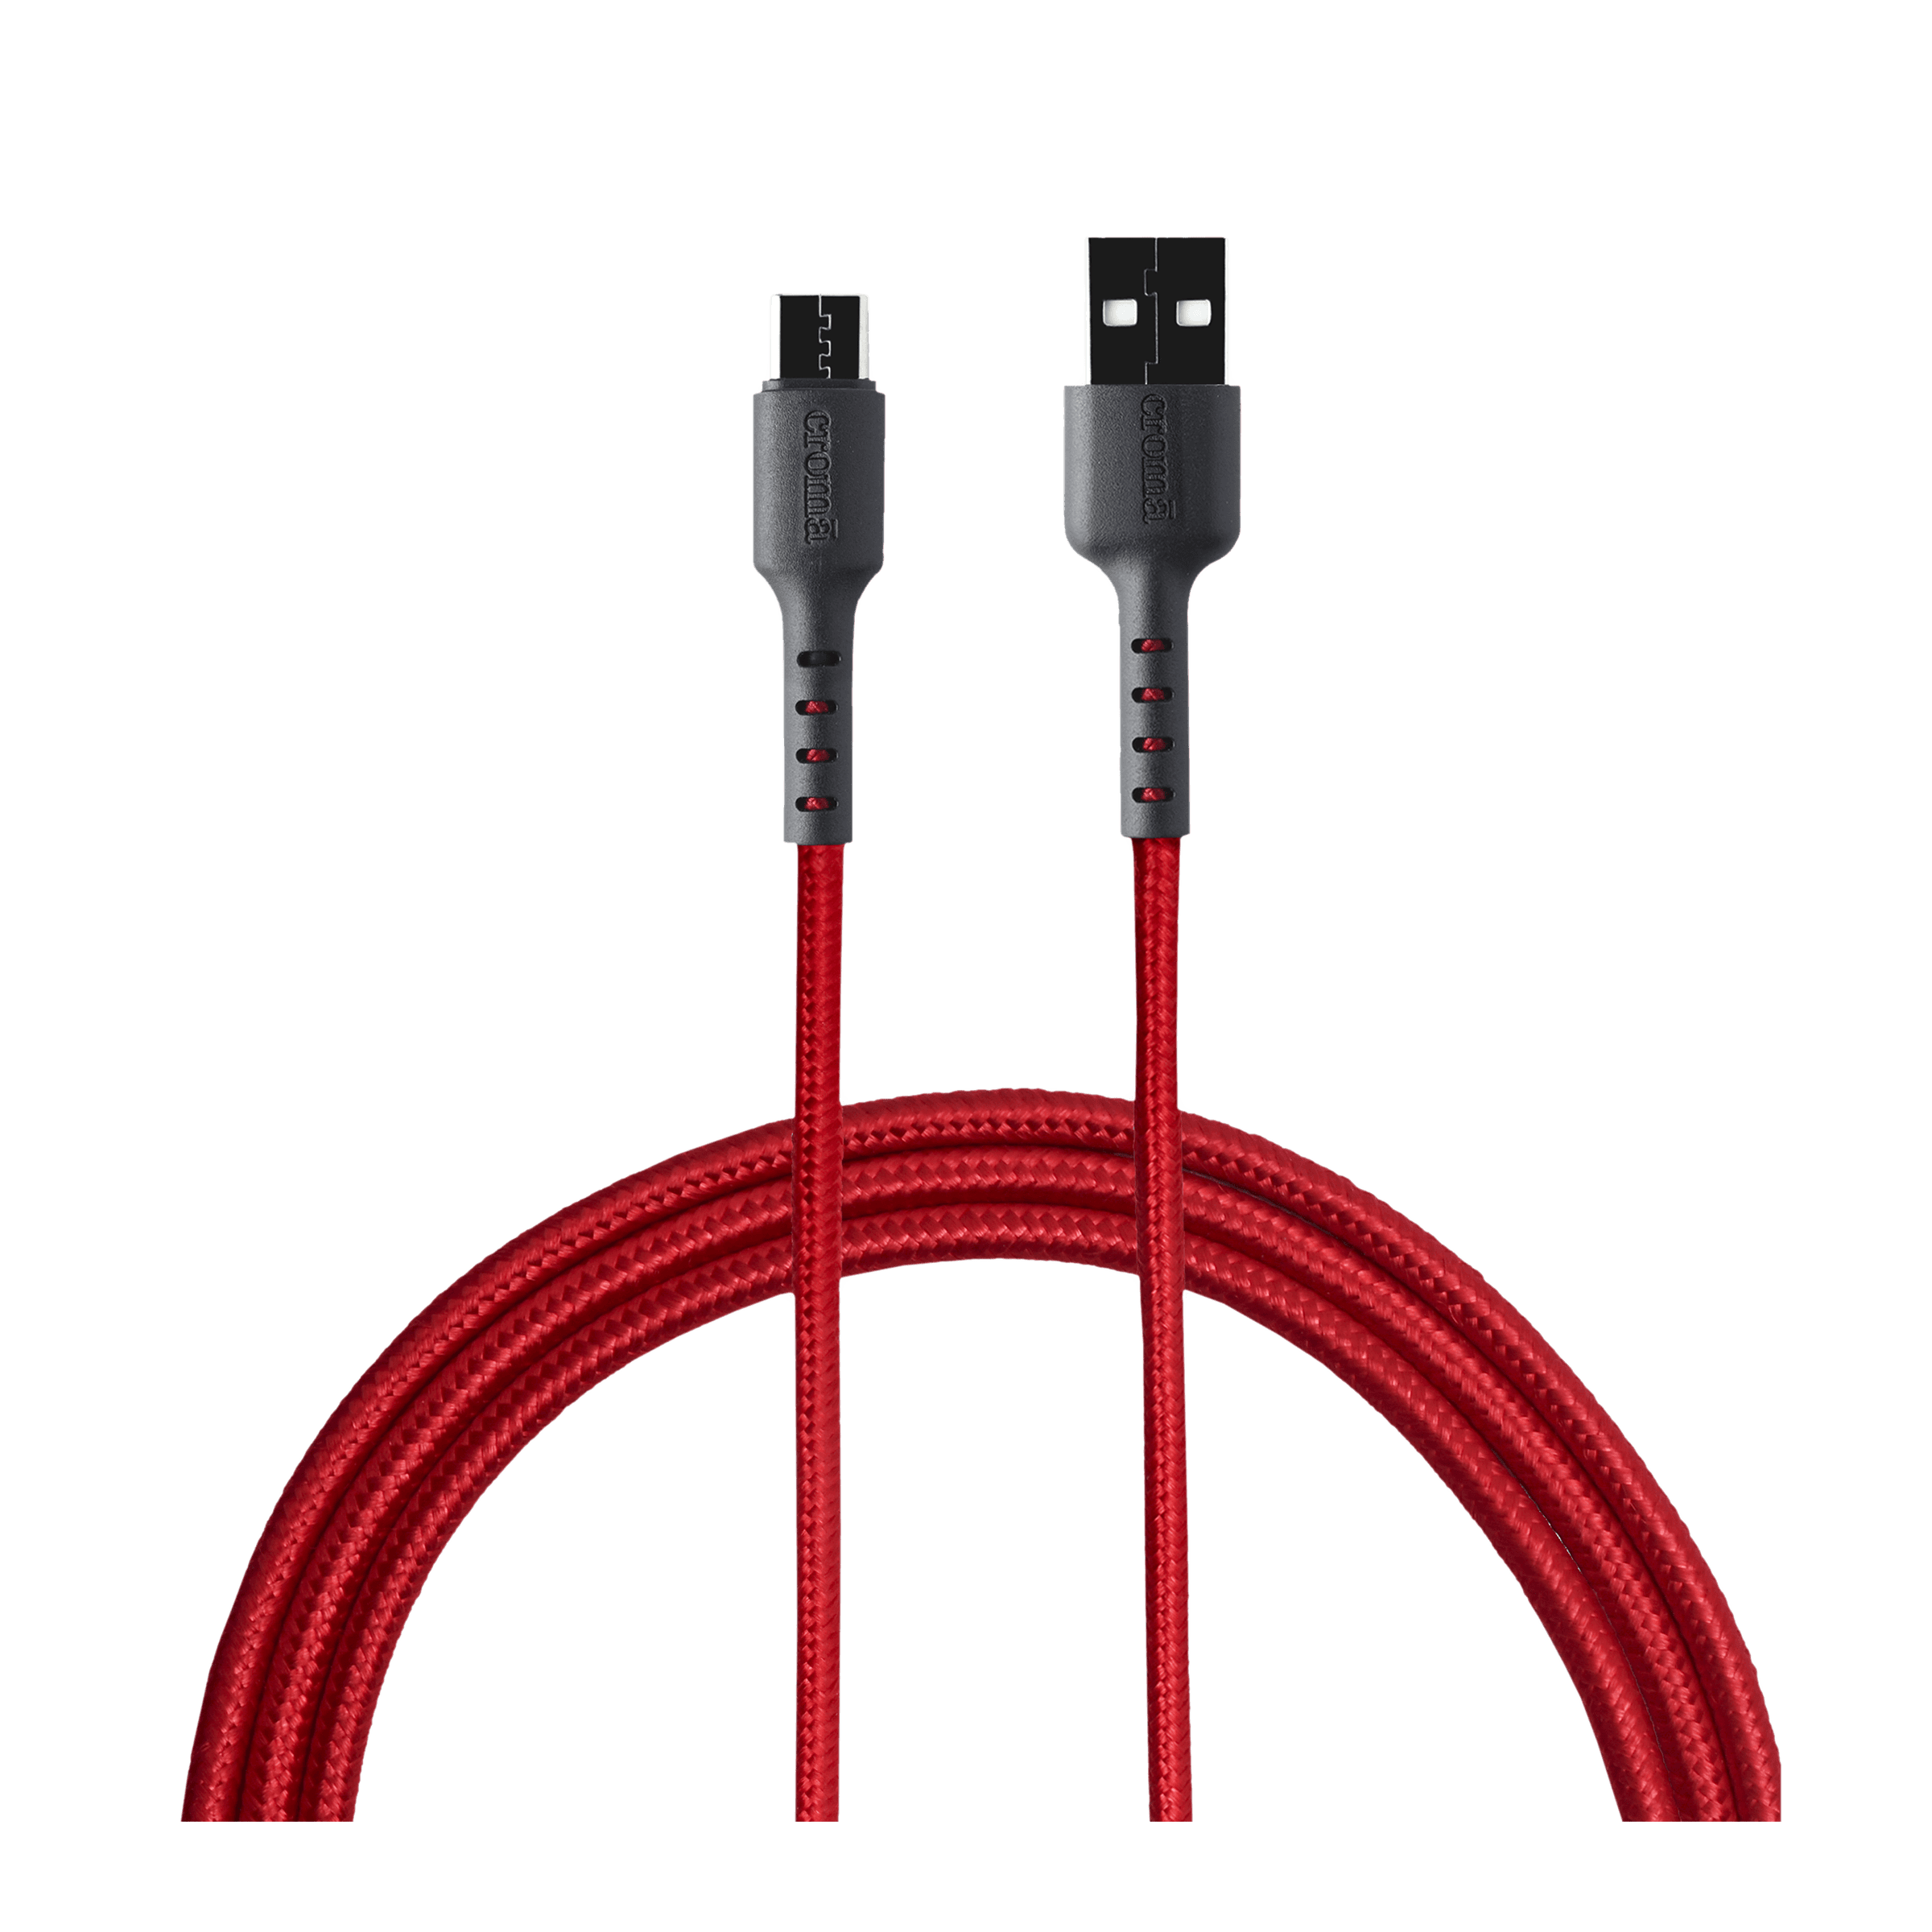
Buy Croma USB 2.0 Type A to USB 2.0 Type C 1 Meter Charging Cable (Braided Outer Exterior, Red) online at best prices from Croma. Check product details, reviews & more. Shop now!
Desktop computers without built-in Wi-Fi adapters can greatly benefit from JioFi connectivity. By connecting JioFi via USB, desktops can enjoy reliable internet access without needing separate network hardware. Some users find it useful to invest in additional tools such as USB Wi-Fi adapters; however, standard setups work well for most connectivity tasks. JioFi thus presents a compelling solution for extended networks in both professional and personal environments.
For individuals keen on getting the best performance out of their JioFi USB connectivity, consider exploring advanced settings available on your device. These settings often include performance adjustments and detailed monitoring of data usage. By regularly checking these parameters, you can ensure that your connection remains steady and efficient even during peak usage times. This approach underscores the importance of both hardware quality and proper maintenance for sustained digital productivity.
The process of connecting your JioFi to your computer using a USB cable not only enhances your digital journey but also reflects the convenience offered by modern connectivity solutions. A stable internet connection is critical whether you are a student, a tech enthusiast, or a young professional. JioFi’s straightforward USB tethering provides just that. When you shop on Tata Neu, you earn up to 5% NeuCoins and enjoy same-day Express Delivery for orders placed before 6 PM, making your digital experience even smoother. By investing a little time to set up securely and troubleshoot common issues, you can enjoy uninterrupted connectivity that supports both work and leisure activities.
Yes, you can connect your JioFi device to a PC using a USB cable. After plugging in the cable, you simply need to enable the USB tethering option on your JioFi device to establish the connection.
To connect JioFi to your laptop using a USB cable, start by plugging one end of the cable into the JioFi device and the other into your laptop. Then enable the USB tethering option from the JioFi settings menu. Check your laptop's network settings to ensure the connection is successfully established.
The process is similar to that of connecting JioFi. Plug in the USB cable, enable the tethering option from the settings, and then configure your computer's network settings to recognise the new USB network adapter.
For any hotspot device, including JioFi, you use a USB cable to connect to your PC. Once the cable is connected, access the device's settings to enable USB tethering and complete the necessary network configurations on your computer.
Connecting your JioFi to a computer via a USB cable is a straightforward process that not only offers a reliable and stable internet connection but also the convenience of simultaneous charging. By following these simple steps, you can set up your network quickly, troubleshoot common issues, and even share your connection with additional devices. This versatility in connectivity extends your digital capabilities while ensuring continuity in your online activities. With technology evolving at a rapid pace, such straightforward solutions provide a refreshing blend of convenience and efficiency. Explore the potential of your JioFi device and optimise your digital experience by enjoying seamless connectivity that caters to all your professional and personal needs.
