%20(Presentation)%20(1600%20x%20600%20px)(5)-bee8cfe2-633d-427a-aef4-08148158bd89.webp&w=3840&q=75)
Consumer Electronics
•03 min read

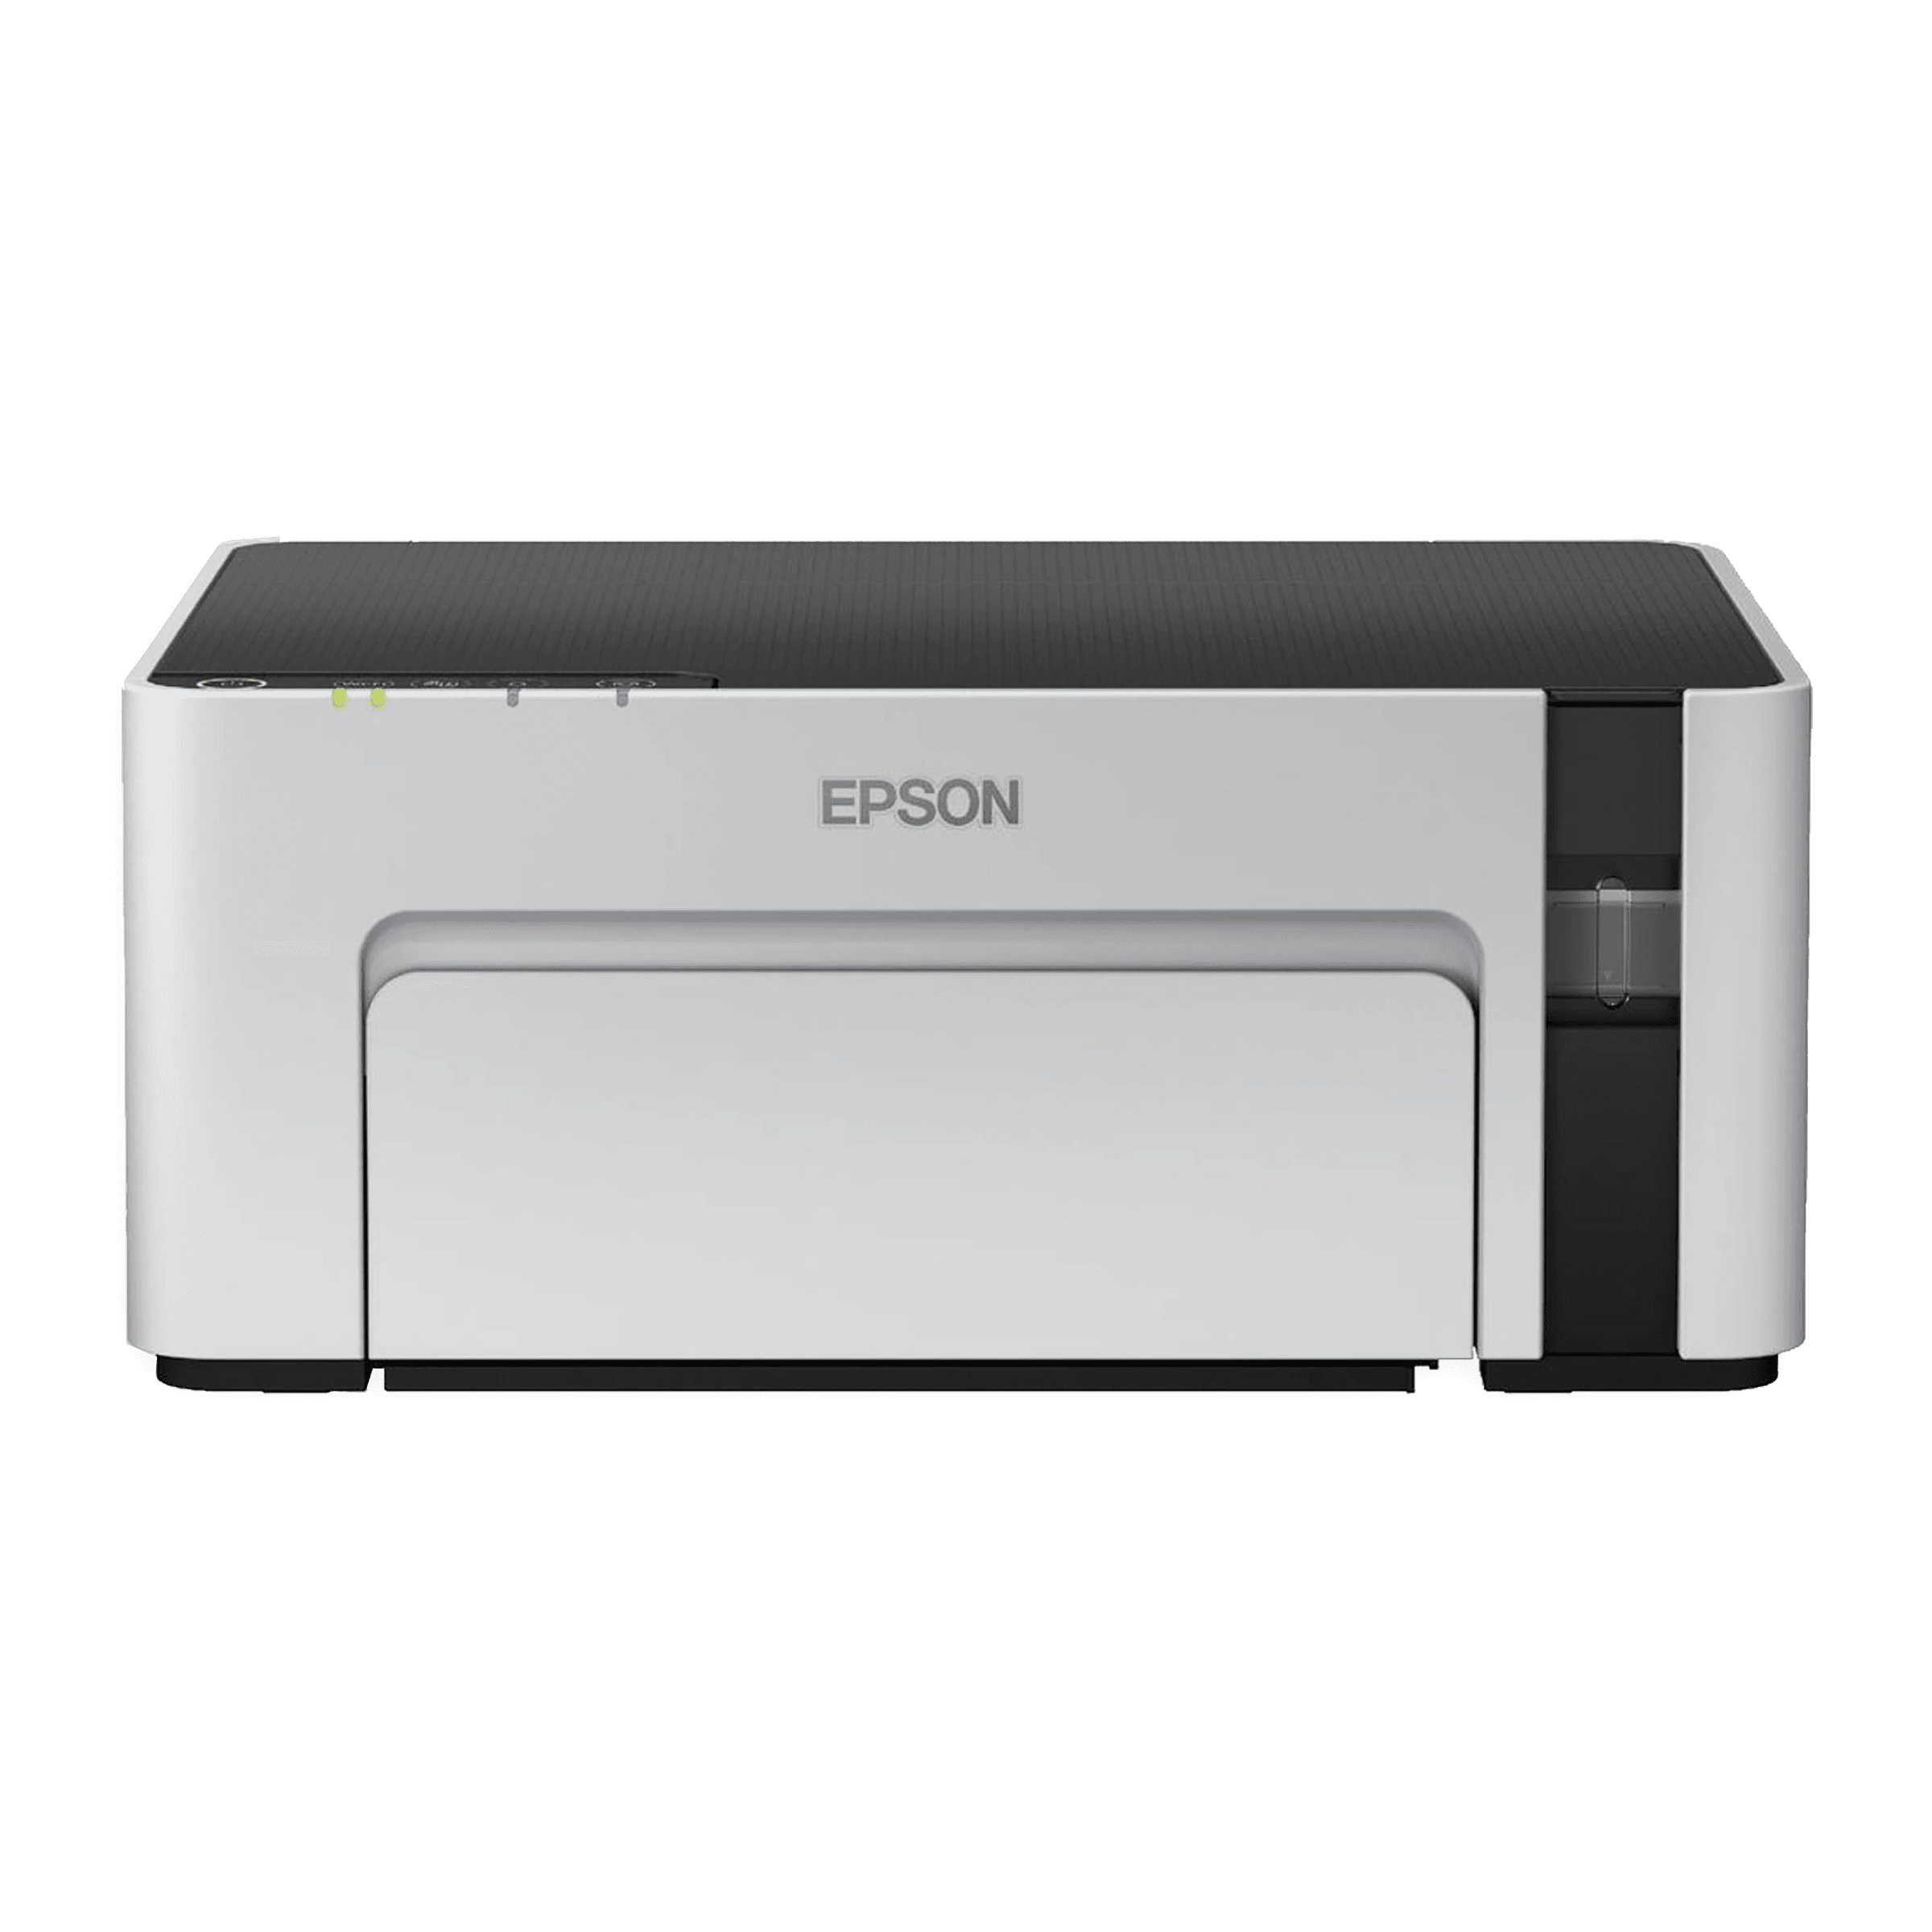
Buy EPSON EcoTank M1120 Single Function Wi-Fi Monochrome Ink Tank Printer with Heat-Free Technology (Spill-Free & Error-Free Refilling, Black & White) online at best prices from Croma. Check product details, reviews & more. Shop now!
Connecting your Epson printer to your laptop via a USB cable can appear simple, yet optimising the setup requires careful attention to detail. This guide walks you through every step from understanding the basics of a USB printer setup to overcoming common issues you might face during installation. By the end of this article, you'll feel confident about connecting your device, installing drivers, and troubleshooting any hiccups that may arise, all while enjoying the seamless services and rewards of Tata Neu.
USB connections offer a reliable and straightforward way to connect your printer. Unlike wireless setups that can suffer from unstable networks or interference, a USB connection ensures a stable link. This method is especially ideal when Wi-Fi is unavailable or unreliable, making it the dependable choice for both everyday printing tasks and urgent document needs.
Before you begin, ensure you have an Epson printer, a compatible USB cable, a laptop with an available USB port, and the necessary printer driver software. Don't forget to check that your laptop’s USB port and the cable match in terms of compatibility, as using the correct hardware plays a crucial role in achieving a smooth installation.
Most Epson printers have a clearly marked USB port, often found on the front or the side of the device. Carefully inspect your printer to identify the port, and ensure the cable fits securely. A proper connection is the first step in avoiding issues later on.
Printer drivers play an essential role in allowing your laptop to communicate effectively with your printer. Visit the official Epson website and download the correct drivers for your printer model and operating system, whether you're using Windows or Mac. Follow the installer prompts closely to complete the installation process and set the stage for a hassle-free connection.
Begin by turning on your Epson printer. Firmly connect one end of the USB cable to the printer and the other end to your laptop. Ensure that the cable is not loose or damaged. A secure connection minimizes interruptions and ensures that your devices communicate efficiently.
Once the cable is connected, your laptop should automatically recognise the printer. If not, navigate to your system settings and select the option to add a new printer. For both Windows and Mac users, the process typically involves selecting the recognised Epson printer from a list of available devices.
After installation, printing a test page is a useful way to confirm that everything is working as expected. If your laptop successfully prints the test page, your setup is complete. However, if you don't see a test print, revisit your connections and driver installations, or consult the troubleshooting section below.
Sometimes, even with a solid setup, issues can arise. Common problems include the printer not being recognised, driver installation errors, or even a faulty USB cable. Carefully inspect your cable for damage and confirm that you've downloaded the correct drivers. Small steps like these can often resolve connection issues swiftly.
If problems persist, consider that outdated drivers or firmware may be the culprit. Check the Epson website for updates and install any new drivers or firmware versions. Keeping these systems updated is essential for maintaining connectivity and overall device performance.
Pro Tip: Use High-Quality USB Cables for Reliable Performance
Did you know? Using a certified high-speed USB cable can significantly enhance your printer’s performance and reduce the likelihood of connection errors. Avoid using damaged or low-quality cables to ensure optimal results.
Ensure your Epson printer is powered on, connect the USB cable to both the printer and laptop, install the necessary printer drivers, and add the printer through your system settings.
Simply use a USB cable to establish a direct connection between your laptop and the Epson printer. Follow the setup instructions provided above to complete the process.
This issue may be due to outdated drivers, a faulty USB cable, or incorrect system settings. Consult the troubleshooting section for detailed solutions.
You can download the printer drivers from the official Epson website. Make sure to select the compatible drivers for your printer model and operating system.
Yes, provided the USB cable is compatible with your Mac’s USB port. Ensure you install the correct printer drivers for macOS to secure a smooth connection.
Connecting an Epson printer to your laptop via a USB cable is straightforward when you follow the proper steps. From the careful preparation of your devices to installing the correct drivers and effectively troubleshooting any issues, this guide is designed to help you achieve a smooth and efficient setup. Furthermore, as you explore various tech solutions on Tata Neu, you can earn NeuCoins with every qualifying transaction, adding extra value to your purchases. Enjoy a reliable printing experience and the bonus rewards that come with using Tata Neu for all your tech needs.