Consumer Electronics
•03 min read
Imagine having instant internet access on your laptop with just a simple USB connection—no Wi-Fi, no Ethernet cables, just plug and play. This guide walks you through the process of connecting a modem to your laptop using a USB cable. Whether you’re setting up a new connection or troubleshooting an existing one, you’ll gain clear, step-by-step instructions that ensure your setup is smooth and hassle-free.
A USB modem is a compact device that connects to your laptop, offering portable internet access. Its simplicity and plug-and-play design make it an attractive option for those in areas with limited Wi-Fi or Ethernet connectivity. Perfect for remote work setups, temporary internet sessions while travelling, or even a quick fix at home, a USB modem provides a reliable connection when you need it most.
Before you begin, it is essential to ensure that your modem and laptop are compatible. Check that your device’s operating system – whether Windows 7, Windows 10, or Windows 11 – has the necessary drivers and that it is fully updated to avoid any compatibility issues. Also, gather your equipment: a USB modem, a reliable USB cable, a laptop and, if required, a power source for the modem. Keep your ISP credentials handy, as you will need them to configure your connection.
Step 1: Install Necessary Drivers
Begin with downloading and installing any required modem drivers from the manufacturer’s website. Depending on your device and operating system, this process might be automatic or require a manual installation – doing so ensures your laptop can properly communicate with the modem and receive internet signals efficiently.
Step 2: Connect the Modem to Your Laptop
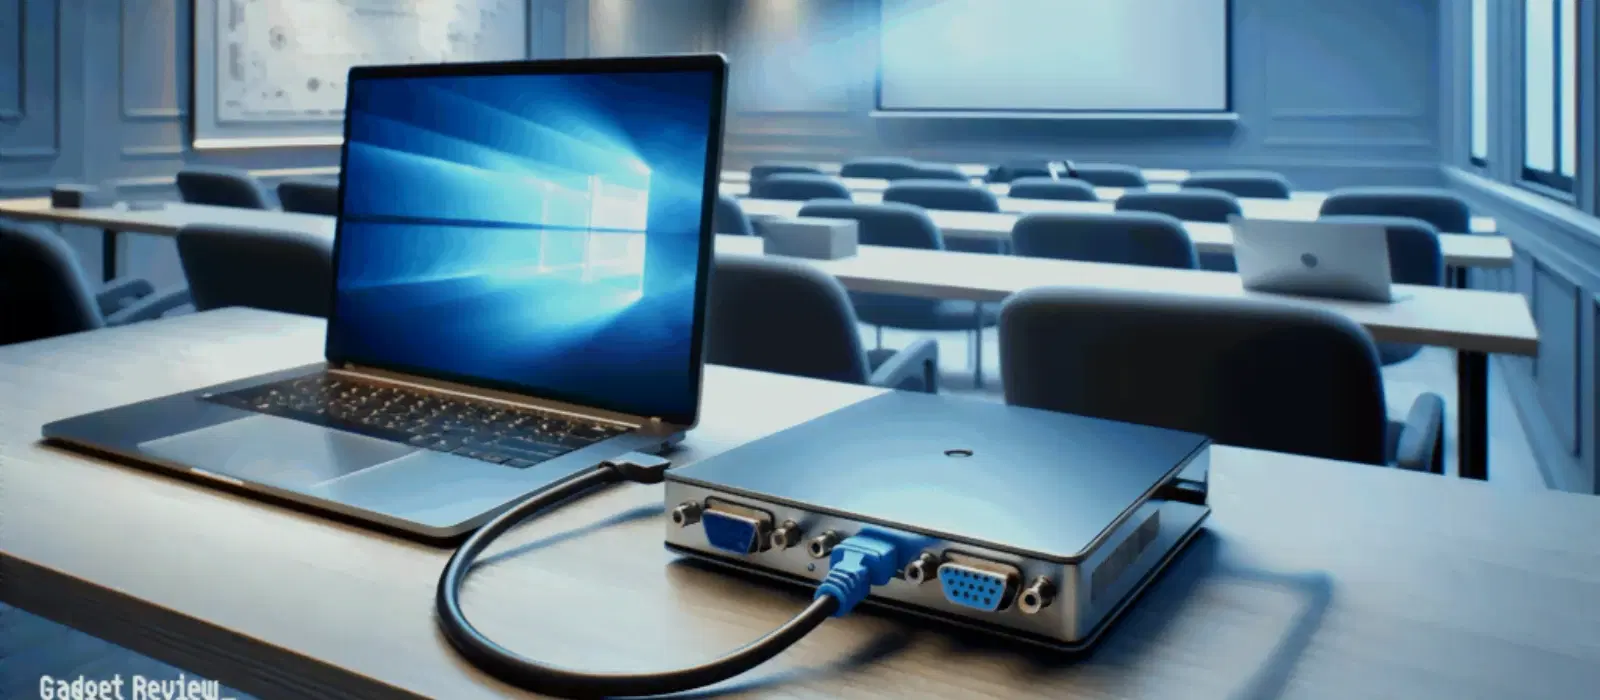
Securely plug one end of your USB cable into the modem and the other end into the laptop. Remember to check that the modem is powered on and functioning correctly. This simple physical connection is the foundation of establishing your new network link.
Step 3: Configure the Connection
Next, navigate to your laptop’s network settings. Here, you will input your ISP credentials to set up the connection. Once the necessary details are provided, test the connection to ensure your internet is working reliably. This process confirms that the connection is secure and in sync with your service provider’s settings.
Step 4: Troubleshooting Common Issues
If your laptop does not recognise the modem, verify the USB connection, try restarting both devices, or reinstall the modem drivers. Should you encounter messages such as 'No Internet Access,' double-check the ISP credentials and ensure that the correct settings are applied. A few simple troubleshooting steps can resolve most issues encountered during the setup process.
Different operating systems can have varying setup procedures. For instance, connecting a modem to a laptop running Windows 7 might differ slightly from the process on Windows 10 or 11. It is important to understand these nuances. Additionally, some older laptops might have limitations with USB modem connections. In such instances, considering alternatives like USB-to-Ethernet adapters might be necessary. Pro Tip: Always check for firmware updates for both your modem and laptop to ensure optimal performance.
Maintaining a stable connection means addressing common issues ahead of time. If you face driver conflicts or outdated software problems, take a moment to update your operating system and modem drivers. Interference from nearby devices can also affect performance – positioning your laptop and modem away from such disturbances helps safeguard the quality of your connection. If necessary, know when to seek professional help by recognising hardware failures or persistent connection issues and contacting your ISP for advanced troubleshooting advice.
Expert Tip
Ensure your laptop’s USB port supports high-speed data transfer. Using a USB 3.0 port can improve internet speeds and reduce connection issues compared to older USB 2.0 ports. This small step often brings significant improvements in maintaining a reliable connection.
Yes, you can connect a modem directly to your laptop using a USB cable, provided your devices are compatible and necessary drivers are installed.
This issue could stem from outdated drivers, a faulty USB cable, or compatibility problems between your devices. Ensure all software is current and double-check the connection setup.
Start by installing the modem’s drivers, connect the modem via a USB cable, and then configure the connection in your network settings using your ISP credentials.
Yes, a USB modem can be used on a MacBook; however, ensure it is macOS compatible and that you download the correct drivers from the manufacturer’s website.
Try connecting via a different USB port, reinstall the necessary modem drivers, or check for any potential hardware issues with your modem or USB cable.
Connecting a modem to your laptop using a USB cable is a straightforward process when the right steps are followed. This guide provides you with the tools and tips necessary to set up a reliable internet connection, troubleshoot common issues, and ensure compatibility between devices. Embracing this method of connectivity not only offers portability and convenience but also aligns with Tata Neu’s customer-first approach and promise of a rewarding shopping experience through NeuCoins. Enjoy the ease of modern technology while earning NeuCoin rewards each time you save time and effort on your tech setup.