Consumer Electronics
•04 min read

<p>Danger can overpower you at any time and your voice will not be enough in such situations to get the required aid. The amazing new <strong>Juvo PSB01 Personal Alarm</strong> is crafted for all ages and is a necessary precaution from all kinds of danger. It rings a very loud alarm at 120 dB as well as flashes the torch to warn people nearby about a danger. Whether you have a medical emergency or you are attacked by predators your voice may not be heard but this alarm will be enough to deter attackers or draw attention of people close by to give you the immediate assistance required.</p> <p><strong>Extremely Easy To Use</strong></p> <p>The <strong>Juvo PSB01 Personal Alarm</strong> is small and portable, can be attacked to even a keychain if you want. To start the siren all you need to do is separate or pull the metal key chain from the main black unit. The siren may go on for 1 1/2 hours in case nobody heard it in the first minutes. This is very important for girls returning home alone at night as it acts as a security anti-attack panic alarm that is sure to scare off a molester. Its easy portability accentuates its use.</p> <p><strong>Lights Your Way</strong></p> <p>The little and portable <strong>Juvo PSB01 Personal Alarm</strong> also features a small LED torch that helps you find your way in the dark. Don’t be scared of dark alleys when you have this with you because it is equipped to save you from all dangers.</p>
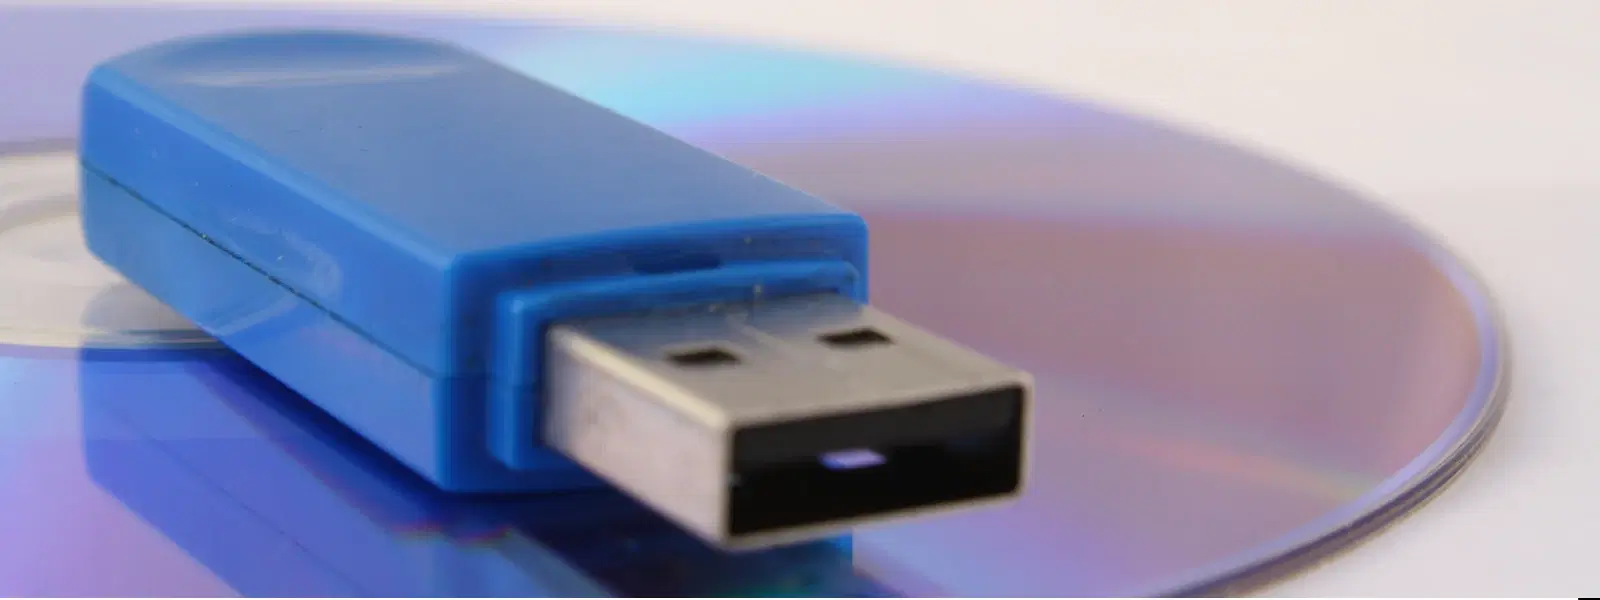
Ever wondered how to turn a disk image into a bootable USB drive? Whether you’re installing a new operating system or creating a portable recovery tool, mastering this process is essential for anyone engaged in consumer electronics. This guide offers a detailed, step-by-step tutorial on how to write a disk image to USB, covering the tools needed, formatting tips, and best practices for a seamless and reliable experience.
A disk image is a file or collection of files that encapsulates the entire contents and structure of a storage medium, such as an operating system setup or a backup. Commonly saved as ISO or IMG files, disk images are widely used for installing operating systems or safeguarding data with precise replication of physical media.
Turning a disk image into a bootable USB drive offers several advantages. USB drives are portable, offer faster data transfer speeds, and are more versatile compared to traditional media like DVDs. Whether you need to install an operating system from USB or create a recovery tool in moments of urgency, the approach simplifies complex installation procedures and minimizes downtime. Moreover, with platforms like Tata Neu offering NeuCoin rewards and special benefits for every transaction, every smart tech move feels that bit more rewarding.
Before writing a disk image to your USB, it is crucial to format the drive. Correct formatting ensures that the USB drive is ready to be overwritten with new data. Depending on your system, you can use in-built tools like Windows Disk Management or macOS Disk Utility. This step not only eradicates previous files but also prevents potential conflicts during the burning process.
When selecting a USB drive for disk imaging, consider the storage capacity relative to your disk image file size. A larger capacity drive can better accommodate the file and any additional boot data. It is wise to choose a reliable, high-speed USB drive that ensures performance is not compromised during data transfer. A well-prepared and trusted device can enhance your digital experience, just like the comprehensive range of consumer electronics you find on platforms like Tata Neu.
Several tools are available to help you write a disk image to USB. Whether you prefer a tool that is simple and user-friendly or one that provides advanced configuration options, tools like Rufus, UNetbootin, and Balena Etcher are excellent choices. Each of these supports key features such as UEFI compatibility and persistent storage configurations, ensuring that both beginners and professionals find what they need in a disk image to USB tool.
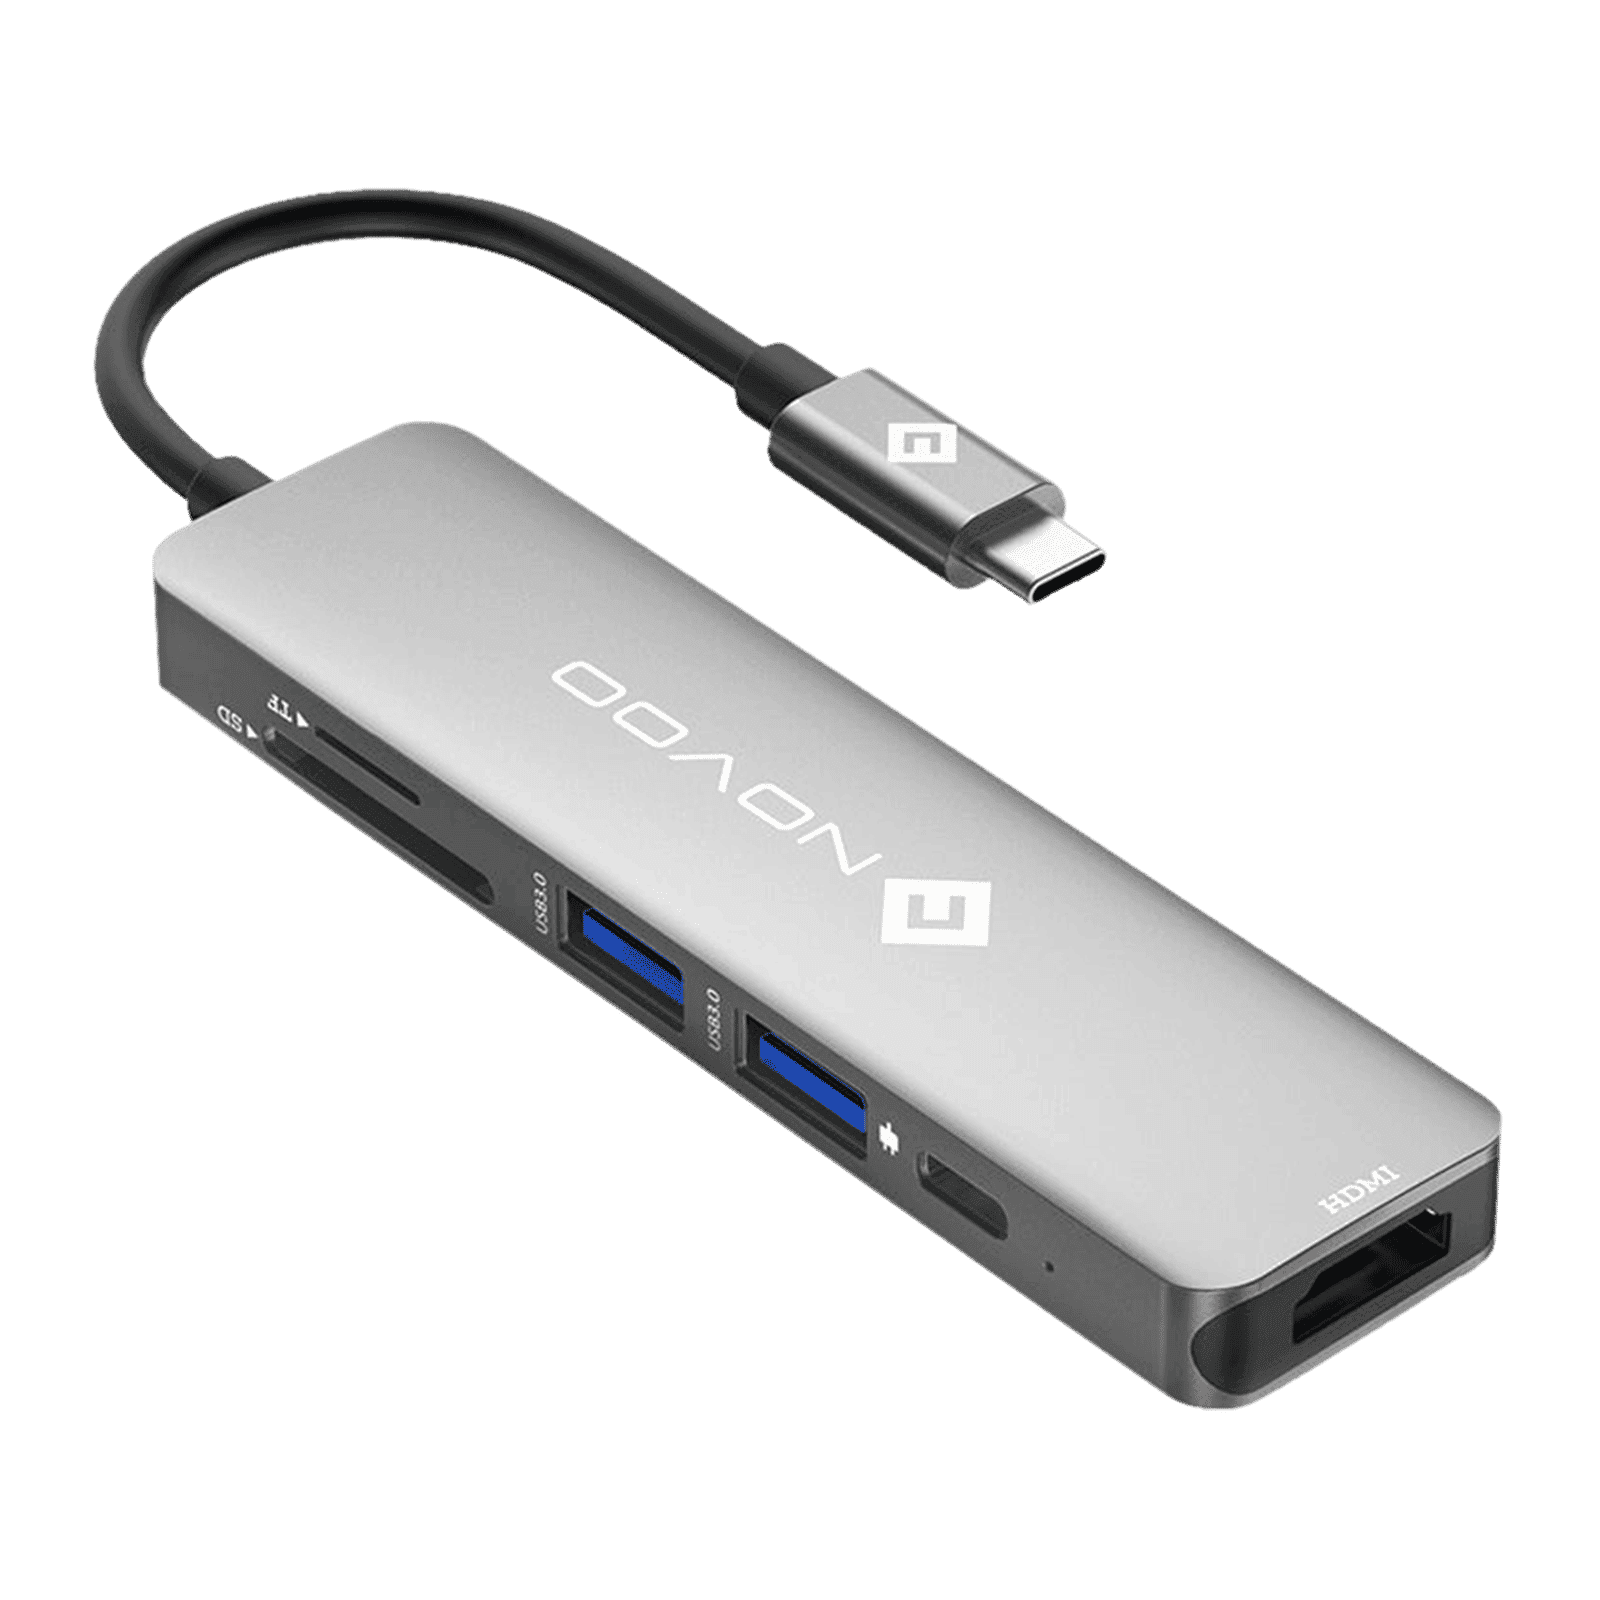
Buy Novoo 6-in-1 USB 3.0 Type C to USB Type C, USB 3.0 Type A, SD Card Slot, TF Card Reader, HDMI Type A USB Hub (5 Gbps Data Transfer Rate, Grey) online at best prices from Croma. Check product details, reviews & more. Shop now!
After choosing your tool, download and install the software following the instructions provided on its official site. For instance, Rufus is very popular due to its speed and reliability. Ensure your system meets the software’s requirements and that you are installing it on a compatible operating system. Taking small steps to confirm these details will save you time and frustration down the road.
Once you have the appropriate software installed, start by launching the tool. Familiarise yourself with its interface so that you can access all the embedded features easily. This initial step sets the stage for a smooth operation.
Navigate through the tool’s interface to locate and select the ISO or IMG file you wish to burn. The process is generally as simple as browsing your folders and clicking on the desired file. Being meticulous at this early stage can help avoid errors later in the process.
After selecting your disk image, it is time to configure the USB drive settings. Choose the correct USB drive from the list, and then set the partition scheme – usually either MBR or GPT – depending on your system’s configuration. Select the file system, typically FAT32 or NTFS, to ensure compatibility with the target operating system or hardware.
Initiate the writing process by clicking the start button in your disk imaging tool. Monitor the progress bar and wait until the process completes fully. If you encounter any issues, check the troubleshooting tips provided by the software. Ensuring that all steps are followed attentively guarantees a reliable bootable drive for your use case.
Pro Tip: Use Rufus for Faster Disk Image Burning
Did you know? Rufus is one of the fastest and most reliable tools for creating bootable USB drives. It supports advanced features like UEFI compatibility and persistent storage configurations, making it ideal for professionals and beginners alike.

Buy WD Elements 1TB USB Type-A (3.0, 3.2) Portable Hard Disk Drive (Effortless Expandability, Black) online at best prices from Croma. Check product details, reviews & more. Shop now!
After the burning process is complete, it’s important to verify that the disk image has been successfully written. You can use built-in utilities in your operating system or third-party software to accomplish this. A thorough check ensures that the data is not only written, but is also accessible and uncorrupted.
Test the newly created bootable USB drive by rebooting your system and selecting the USB drive as your boot device. Remember to check your computer's BIOS/UEFI settings to ensure the boot order is set correctly. Testing is an essential step so that you can be confident in your drive’s performance when you need it most.
Use tools like Rufus or Balena Etcher to select the IMG file and burn it to your USB drive. Ensure the USB is formatted before starting the process.
Begin by formatting your USB drive. Then, using a disk image tool such as Rufus or UNetbootin, follow the provided step-by-step instructions to write the image file onto your drive.
Extract the CD image as an ISO file and use a USB burning tool to transfer it to a previously formatted USB drive.
Simply copy the photos from the disk to the USB drive using drag-and-drop or through file transfer software.
Rufus is highly recommended for Windows 10 due to its speed, ease of use, and compatibility with UEFI systems.
Burning a disk image to a USB drive is a straightforward process when you have the right tools and clear guidance. From understanding what a disk image is to preparing your USB drive and utilising the appropriate software, every step contributes to a smooth and hassle-free experience. This guide has walked you through each action, ensuring that you are well-equipped to create bootable USB drives, transfer ISO files, and even install operating systems with ease. Embrace this knowledge to progress in your digital journey and enhance your consumer electronics experience with confidence and smart rewards. Every transaction on trusted platforms like Tata Neu not only simplifies your shopping experience but also rewards your tech-savvy choices with benefits such as NeuCoins rewards.
