


Consumer Electronics
•04 min read

Ever found yourself stuck trying to install or troubleshoot Windows 10 using a USB drive? You’re not alone. Learning how to boot from USB Windows 10 is an essential skill when it comes to system installations, updates, or repairs. This guide provides easy-to-follow answers to common questions, complete step-by-step instructions, and handy troubleshooting tips that make USB booting a stress-free process.
USB booting allows your computer to load an operating system directly from a USB drive. It’s a faster, more portable method which is particularly useful when addressing issues on a corrupted or failing system. Whether you need to install fresh Windows 10 or simply repair an existing system, knowing how to boot from USB Windows 10 can prove invaluable.
Beyond its speed, booting from USB offers incredible flexibility. You can easily carry your installation files with you, and use your device on multiple systems without the need for bulky discs or external drives. In today’s world of instant needs, this approach is a boon for both tech enthusiasts and busy families alike.
Creating a bootable USB drive is your first step to an efficient installation process. To start, you’ll need to format your USB drive properly, download the Windows 10 installation files, and utilise a tool like Rufus to make the drive bootable. Following a clear bootable USB setup guide simplifies this process, ensuring you’re ready to go without any hitches.
When selecting a USB drive, ensure it meets the minimum requirements: at least 8GB of storage is recommended, and supporting USB 3.0 can drastically reduce installation time. Pair this with a high-speed port on your device for optimal performance.
Did You Know? Faster USB Drives Make a Difference
Using a USB 3.0 drive can significantly reduce installation times compared to its USB 2.0 counterparts. This small upgrade can make a big difference, especially when you're on a tight schedule.
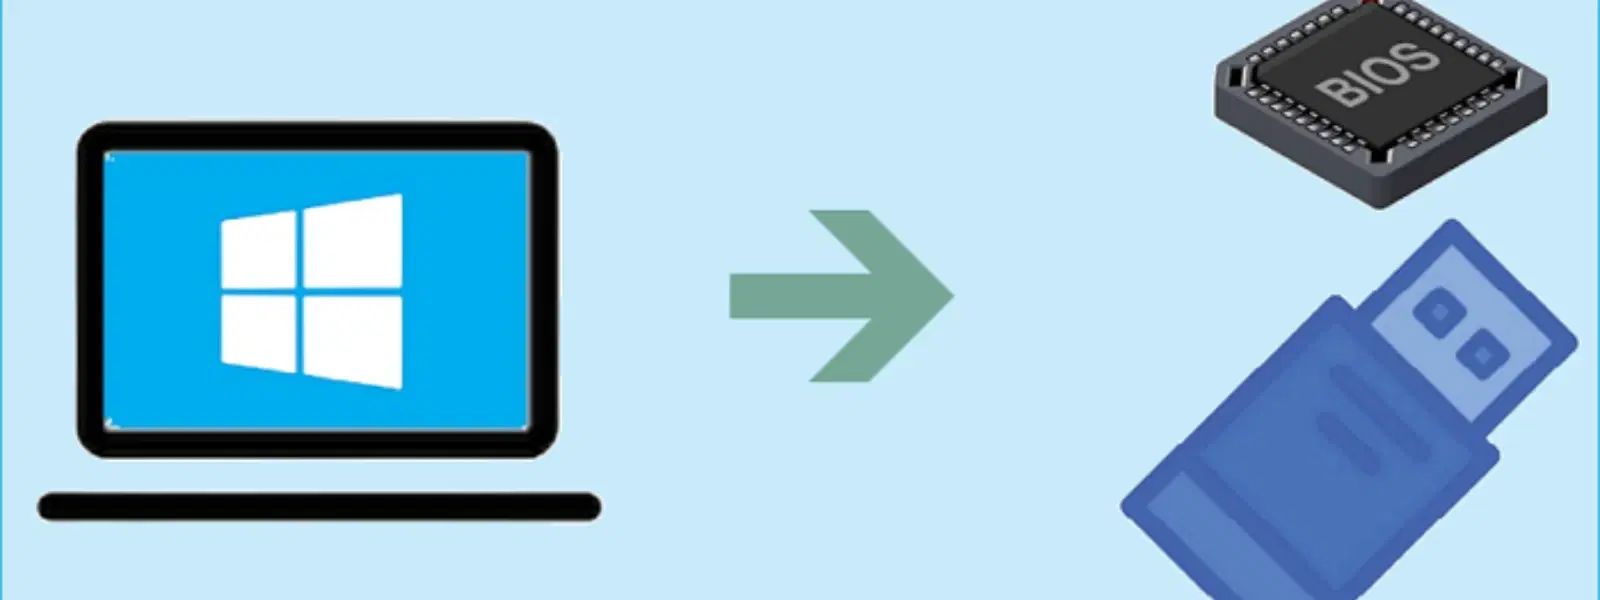
To get your system to recognise the bootable USB drive, you will need to configure the BIOS or UEFI settings. Accessing these settings varies from one brand to another. Typically, you might press keys such as F2, F12, or DEL during startup. Once you’re inside the BIOS, finding the section labeled 'Boot' will let you adjust the boot order. BIOS settings for USB boot are crucial as you want to ensure the system checks the USB drive first. Move your USB drive to the top of the list using the interface options provided.
For those unfamiliar with these steps, a helpful tip is to take note of any on-screen messages that might indicate the correct key press sequence. With a little practice, changing boot order will become a quick routine step whenever you need to install or repair a Windows system.
Once your bootable USB drive is ready and BIOS has been configured, it’s time to initiate the actual boot process. Restart your computer and ensure that your USB drive is connected. The system should now begin the boot process from the USB. If correctly set up, you’ll see the Windows installation screen offering language and keyboard selections, evidencing that your system is reading the drive properly.
If the process doesn’t proceed as planned, you might face some common issues. Problems such as the system not recognising the USB drive, unexpected installation errors, or even complete boot failure can occur. In such cases, revisiting the steps to ensure all configurations are correctly set is suggested. Following these windows USB boot instructions carefully should help resolve most issues encountered in the usb boot process explained.
After successfully booting from the USB, you’re now in a position to install Windows 10. The installation process is straightforward: follow the on-screen prompts that guide you through language, time, and keyboard preferences. Once you select the installation type, you will have the option to replace your current operating system or install Windows in a dual-boot arrangement.
As you progress, remember that this process not only upgrades your system but also ensures seamless performance backed by reliable after-sales support. Users who enjoy shopping smartly on trusted platforms like Tata Neu might appreciate that rewards, such as NeuCoins, can add extra layers of benefit to their tech investments. With every transaction on platforms like Tata Neu, you have the chance to earn up to 5% NeuCoins – rewards that enhance your overall shopping experience while bolstering consumer trust.
Post-installation is equally important. Once Windows 10 is up and running, take some time to update drivers, configure security settings, and optimise performance. This guarantees that your newly installed system runs smoothly and securely, meeting the demands of your digital lifestyle.
Restart your computer, access BIOS/UEFI settings, and adjust the boot order to prioritise USB devices.
Use software like Rufus or the Windows Media Creation Tool to format your USB drive and copy the necessary installation files.
Insert the bootable USB, restart your computer, and follow the on-screen installation prompts after the system boots from the USB.
Access the BIOS during startup by pressing keys like F2, F12, or DEL and select the USB drive as the boot device.
This guide covers the essentials of USB booting with Windows 10. From understanding why USB booting is a game changer to preparing a bootable drive and essentially updating BIOS settings, each step is designed to empower you with the knowledge needed for a hassle-free installation. The process not only simplifies system upgrades or repairs but also ties into the broader theme of smart, efficient technology management. When you shop on platforms like Tata Neu, enjoy the benefits of NeuCoins rewards, which add incredible value to your purchases while underscoring the commitment to trust and customer-first service.
By embracing the approach to boot Windows 10 from USB, you are not only optimising your device management skills but also laying a pathway for seamless troubleshooting and system maintenance. With technology evolving rapidly, equipping yourself with practical know-how is more important than ever. Empower your tech journey and enjoy the peace of mind that comes with reliable, effective solutions.