
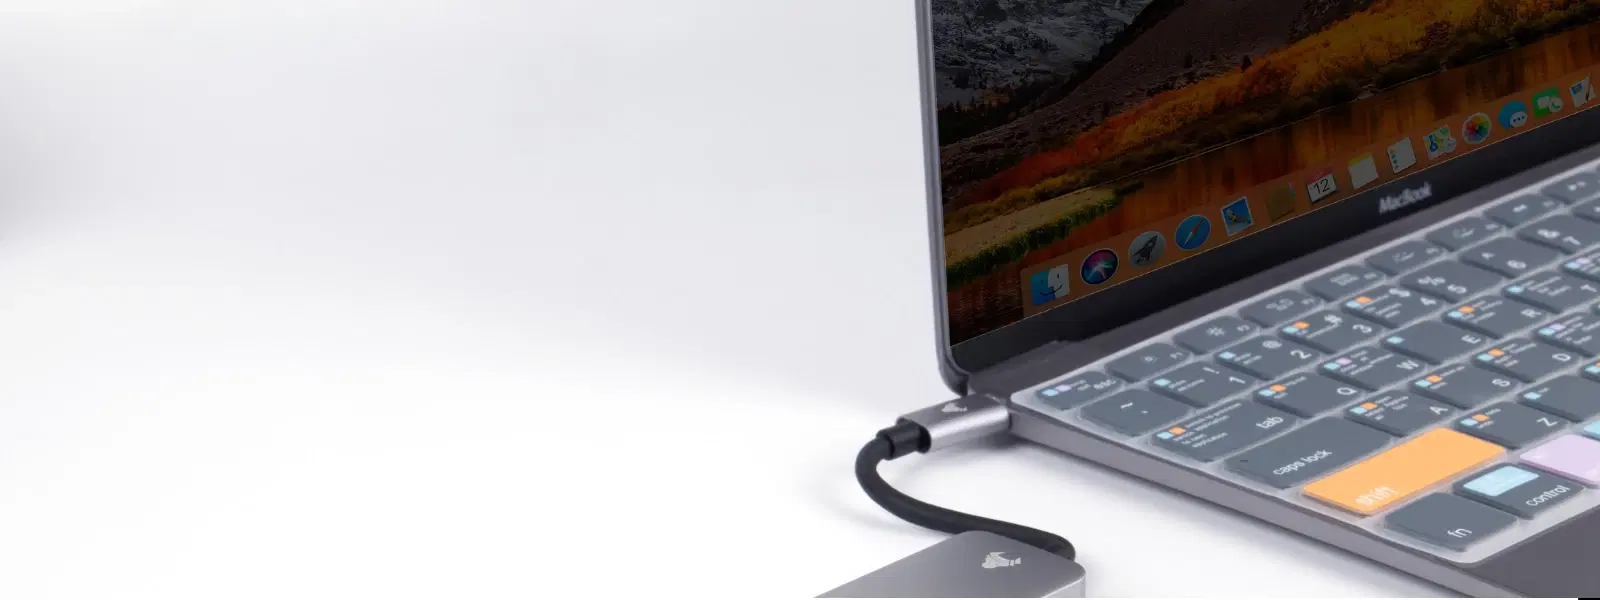
How to Boot a USB on Dell Laptop: Step-by-Step FAQ

Consumer Electronics

04 min read

How to Boot a USB on Dell Laptop: Step-by-Step FAQ

Juvo Personal Safety Alarm (PSB 01, Black)

Juvo Personal Safety Alarm (PSB 01, Black)

<p>Danger can overpower you at any time and your voice will not be enough in such situations to get the required aid. The amazing new <strong>Juvo PSB01 Personal Alarm</strong> is crafted for all ages and is a necessary precaution from all kinds of danger. It rings a very loud alarm at 120 dB as well as flashes the torch to warn people nearby about a danger. Whether you have a medical emergency or you are attacked by predators your voice may not be heard but this alarm will be enough to deter attackers or draw attention of people close by to give you the immediate assistance required.</p> <p><strong>Extremely Easy To Use</strong></p> <p>The <strong>Juvo PSB01 Personal Alarm</strong> is small and portable, can be attacked to even a keychain if you want. To start the siren all you need to do is separate or pull the metal key chain from the main black unit. The siren may go on for 1 1/2 hours in case nobody heard it in the first minutes. This is very important for girls returning home alone at night as it acts as a security anti-attack panic alarm that is sure to scare off a molester. Its easy portability accentuates its use.</p> <p><strong>Lights Your Way</strong></p> <p>The little and portable <strong>Juvo PSB01 Personal Alarm</strong> also features a small LED torch that helps you find your way in the dark. Don&rsquo;t be scared of dark alleys when you have this with you because it is equipped to save you from all dangers.</p>

474890
Earn NeuCoins

Struggling to boot your Dell laptop from a USB drive? Whether you're setting up a new operating system or troubleshooting a stubborn device, understanding how to configure USB boot settings on your Dell laptop is key. In this guide, you will learn how to access the boot menu, navigate Dell BIOS boot options, configure boot settings, and resolve common issues. The process is applicable whether you are using Windows 10, Windows 11, or even an earlier version.

Understanding USB Boot Basics

What Does Booting from USB Mean?

Booting from a USB drive means starting your computer from an external storage device. This method is commonly used for installing an operating system, performing system repairs, or running diagnostic tools. Correctly configuring your Dell laptop's BIOS is essential in allowing the system to recognise the USB drive as a bootable device.

When Should You Boot from USB on a Dell Laptop?

You might find yourself needing to boot your device from a USB drive in several scenarios. Whether you are installing a fresh copy of an OS, updating hardware settings, or repairing critical system issues, setting up your device through the boot menu is a practical solution. Compared to other boot methods, using a USB drive can simplify the process and increase reliability.

Accessing the Dell Laptop Boot Menu

How to Access the Boot Menu on Dell Laptops

To initiate booting from a USB, you will need to access the Dell laptop boot menu. Turn on or restart your laptop and press the F12 key as soon as you see the Dell logo. The boot menu provides a list of available devices, including any connected USB drive.

Dell BIOS Boot Options Explained

Once in the boot menu, you will notice various boot options. Dell BIOS settings make it easy to select the USB boot option. It is important to understand the difference between Legacy and UEFI modes. Legacy mode is generally used for older systems, whilst UEFI is found in newer models, providing faster boot times and enhanced security. Knowing these differences helps you choose the correct USB boot settings on your Dell laptop.

Configuring USB Boot Settings in Dell BIOS

Environics Enviroglobe Anti Radiation Ball for House & Car (001EG, Grey)

Environics Enviroglobe Anti Radiation Ball for House & Car (001EG, Grey)

<p><strong>Why buy Environics Enviroglobe Anti Radiation Ball for House &amp; Car</strong></p> <p>&nbsp;</p> <ul> <li><strong>Provides E-Smog and Radiation Protection</strong> for healthier homes and families</li> <li><strong>It Covers A Radius</strong> of 250 sq.ft protect you and your loved ones from harmful radiation</li> <li><strong>Clinically Tested EMF Harmonizer</strong> that provides us 360-degree protection from radiation sources that are beyond our control</li> </ul> <p>&nbsp;</p> <p>Buy the <strong>Environics Enviroglobe Anti Radiation Ball for House &amp; Car</strong> which is based on Envirochip&rsquo;s radiation protection technology that helps you protect you and your loved ones from harmful radiation within an area of 250 sq. feet. You can extend the range of protection by placing multiple Enviroglobes at equal distances from one another. It is a clinically tested EMF harmonizer and provides us 360-degree protection from radiation sources that are beyond our control. Electromagnetic Radiation (EMR) refers to the constant waves of the electromagnetic field (EMF) produced by wireless communication devices such as mobile phones, laptops, Wi-Fi routers, and other sources such as mobile towers and high-tension wirelines, etc. However, The human body is accustomed to random waves and hence the constant exposure to electromagnetic radiation causes serious biological disorders such as higher stress and fatigue, irritation, headache, weakened immunity, cancer, fertility issues to name a few. The technology used in Enviroglobe changes the nature of electromagnetic radiation from constant to random waveform making it human body-friendly.</p> <p>&nbsp;</p> <p>When you get <strong>Environics Enviroglobe Anti Radiation Ball for House &amp; Car</strong> online, you also get awesome companion for your home. It comes with Internationally tested and certified technology. No need of batteries or adaptors, you can simply charge by placing it under the sunlight, for only a couple of minutes every week. Enviroglobe is simple to use. Simply place it at your desk, table, living room, bedroom, car, office space, absolutely wherever you want, and get a radiation protected zone of up to 250 sq. feet. It provides e-smog and radiation protection for healthier homes and families. Purchase&nbsp;<strong>Environics Enviroglobe Anti Radiation Ball for House &amp; Car</strong> online, now!</p>

27044499
Earn NeuCoins

How to Enable USB Boot in BIOS on Dell Laptops

To enable USB boot in BIOS on your Dell laptop, start by restarting your device. Press the F2 key during startup to enter the BIOS settings. Once inside, navigate to the Boot tab using the arrow keys. Here, you will need to enable the USB boot option and make sure that the USB device is prioritised in the boot sequence. Saving these changes before exiting is critical to ensure your settings remain active.

How to Change Boot Order on a Dell Laptop

Reordering the boot sequence ensures that your Dell laptop checks the USB drive first. After enabling the USB boot, use the on-screen instructions to move the USB device to the top of the boot order list. Confirm and save your changes before rebooting your system. This configuration is vital for preventing delays and ensuring that the boot from USB drive is successful.

Troubleshooting USB Boot Issues on Dell Laptops

Common Problems and Solutions

Sometimes, the USB drive might not appear in the boot menu, or the option might be missing entirely. One common issue is when the USB drive is not properly connected or formatted as a bootable device. Ensuring your drive is correctly prepared can help overcome this problem. Similarly, if the USB boot option is missing, checking your BIOS settings for Legacy Mode or UEFI configurations might resolve the issue.

Expert Tip: Ensuring Your USB Drive is Bootable

Did You Know? BIOS Settings Can Make or Break Your USB Boot Attempt
Ensuring your USB drive is bootable is fundamental. To avoid frustrating delays, verify that your drive is correctly formatted and compatible with your laptop’s BIOS mode. Taking this time to prepare your USB drive using reputable tools like Rufus or the Windows Media Creation Tool can save you hours of troubleshooting.

Step-by-Step Guide to Booting from USB

Booting Windows 10 or Windows 11 from USB on Dell Laptops

For Dell models such as the Latitude, Inspiron, XPS, and Precision, booting into Windows is a straightforward process. Firstly, ensure your USB drive is bootable by following the preliminary steps mentioned earlier. Insert the USB drive, restart your laptop, and upon seeing the Dell logo, press F12 to access the boot menu. Select the USB drive from the available devices and follow the on-screen instructions to proceed with the Windows installation.

SVARAS Home Rechargeable UV Sterilizer (Voice Alarm, X2 Pro, White)

SVARAS Home Rechargeable UV Sterilizer (Voice Alarm, X2 Pro, White)

<p><b>HEUV Technology</b><br/><br/>Thanks to the HEUV technology, the SVARAS Home X2 Pro UV Steriliser effectively targets and eliminates a wide range of viruses and bacteria, including those responsible for illnesses such as the coronavirus. As a result, you can have peace of mind knowing that you can effectively protect yourself and your family from potential health threats.<br/><br/><br/><b>Enhanced Sterilisation</b><br/><br/>This rechargeable UV steriliser provides optimal sterilisation capabilities, which eliminates harmful germs. This high level of effectiveness makes it an ideal choice for homes, offices, and shops, ensuring that surfaces remain clean and safe. Thus, you can trust this steriliser to protect your health and the health of your loved ones by efficiently disinfecting various surfaces.<br/><br/><br/><b>User-Friendly Functionality</b><br/><br/>This home steriliser boasts convenient features that enhance its usability. It includes a voice alarm that signals when the sterilisation process is complete, ensuring you never forget to turn it off. Additionally, the device offers a safe automatic power-off feature, which enhances safety during operation. Convenient charging capabilities further simplify the user experience, which makes it easy to keep the steriliser ready for action.<br/><br/><br/><b>Eco-Friendly Design</b><br/><br/>Designed with sustainability in mind, this SVARAS steriliser promotes an eco-friendly lifestyle. It operates without mercury or harsh chemicals, which makes it safe for both users and the environment. This design choice allows you to maintain a clean living space while reducing your ecological footprint. Moreover, the sleek, modern appearance of the steriliser ensures that it complements any decor.</p>

22647999
Earn NeuCoins

Advanced BIOS Configuration for USB Boot

If you are using non-standard USB drives or require additional configurations, delve into your Dell UEFI BIOS settings. In these situations, manually adding USB boot options or adjusting security settings may be necessary. Always remember to save your settings before exiting, so the changes take effect during the next boot cycle. This advanced configuration can be a boon for tech enthusiasts eager to optimise system performance.

Frequently Asked Questions

How do I enable USB boot on my Dell laptop?

Restart your laptop, press F2 to access BIOS, navigate to the Boot tab, enable USB boot, and prioritise the USB device in the boot order.

What is the boot key for Dell USB?

The boot key for Dell laptops is typically F12, which allows you to access the boot menu directly.

How to boot Windows 10 from USB in Dell laptop?

Insert the bootable USB, restart the laptop, press F12 to enter the boot menu, select the USB device, and follow the on-screen instructions to install Windows 10.

How do I boot my laptop from USB?

Ensure the USB is bootable, access BIOS settings by pressing F2, enable the USB boot option, set the USB as the primary boot device, and restart the laptop.

Booting from a USB on your Dell laptop is a straightforward yet essential process that can empower you to install or repair your operating system with confidence. Learning to navigate the boot menu and correctly configure BIOS settings not only simplifies these tasks but also builds trust in your technical skills. By following the guidance provided, you can enjoy seamless system management, much like earning NeuCoins rewards when shopping smartly on Tata Neu. Explore the world of seamless tech experiences with ease, and remember that achieving proficiency in setup and troubleshooting can lead to a more rewarding interaction with your device.
Sangria Experience Logo