Consumer Electronics
•03 min read

<p>Danger can overpower you at any time and your voice will not be enough in such situations to get the required aid. The amazing new <strong>Juvo PSB01 Personal Alarm</strong> is crafted for all ages and is a necessary precaution from all kinds of danger. It rings a very loud alarm at 120 dB as well as flashes the torch to warn people nearby about a danger. Whether you have a medical emergency or you are attacked by predators your voice may not be heard but this alarm will be enough to deter attackers or draw attention of people close by to give you the immediate assistance required.</p> <p><strong>Extremely Easy To Use</strong></p> <p>The <strong>Juvo PSB01 Personal Alarm</strong> is small and portable, can be attacked to even a keychain if you want. To start the siren all you need to do is separate or pull the metal key chain from the main black unit. The siren may go on for 1 1/2 hours in case nobody heard it in the first minutes. This is very important for girls returning home alone at night as it acts as a security anti-attack panic alarm that is sure to scare off a molester. Its easy portability accentuates its use.</p> <p><strong>Lights Your Way</strong></p> <p>The little and portable <strong>Juvo PSB01 Personal Alarm</strong> also features a small LED torch that helps you find your way in the dark. Don’t be scared of dark alleys when you have this with you because it is equipped to save you from all dangers.</p>
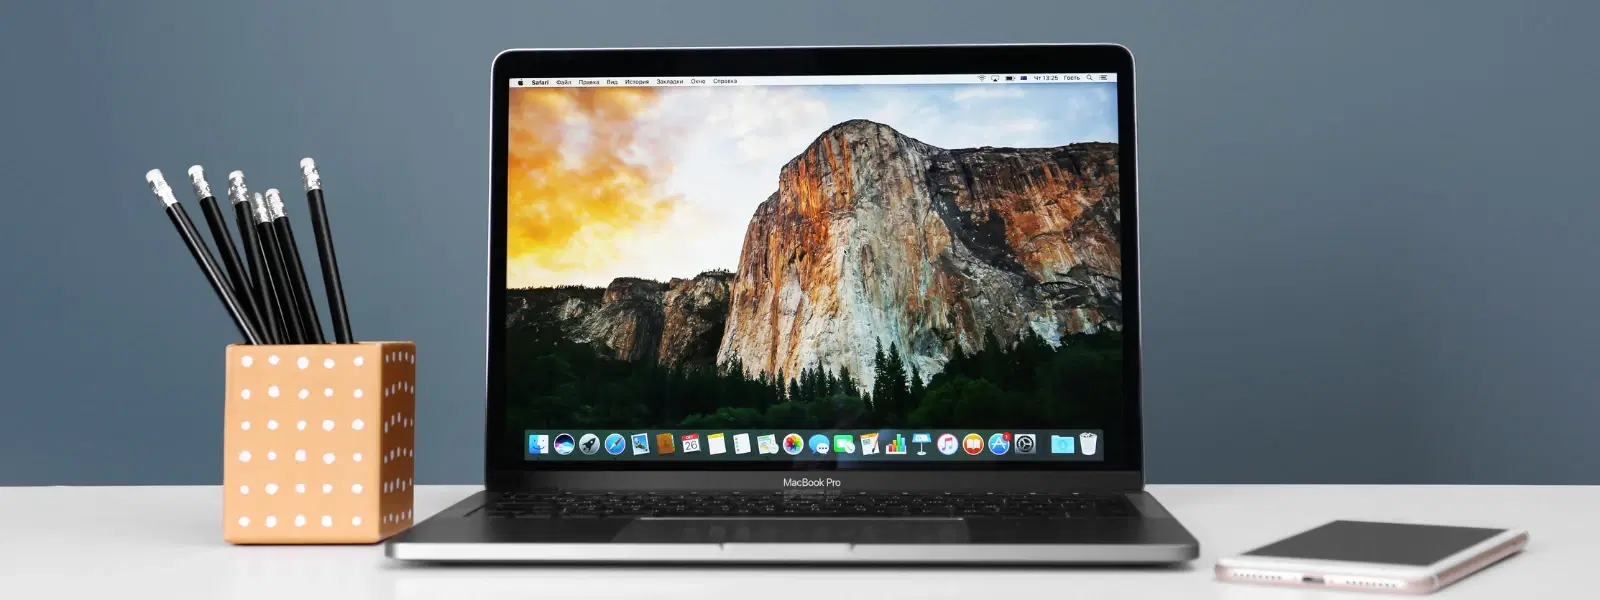
Ever wondered why some files on your Mac seem to vanish into thin air? Hidden files are an integral part of macOS, designed to reduce clutter and protect essential system settings. Understanding and accessing these files can help you troubleshoot issues, customise your system, or simply explore your computer with a fresh perspective. This article guides you on how to view hidden files on Mac, offering clear steps and useful tips to make the process simple.
Hidden files on macOS are files and folders that the system conceals by default. They often include system settings, temporary files, and other data that you generally do not need to access. The primary reason for hiding these files is to minimise errors. By keeping critical files out of sight, macOS ensures that accidental modifications do not lead to system instability.
There are situations when you might need to access hidden files. For instance, you might need to fix an application issue, update a system setting, or retrieve data that is not immediately visible. Recognising when to unhide files can enhance your troubleshooting skills and help you maintain a smoothly running system.
One of the simplest methods to show hidden files on Mac is by using Finder. With the easy-to-use keyboard shortcut Command + Shift + . you can instantly toggle the visibility of hidden folders and files. Once you press these keys, you'll notice system files, hidden folders, and other data that were previously invisible. This method is popular as the mac hidden files shortcut provides a quick way to access what you need without additional software.
If you wish to make hidden files visible permanently, you can adjust your mac hidden files settings in Finder preferences. This approach is ideal for those who frequently need to uncover hidden folders on Mac.
Another powerful method to reveal hidden files on Mac is through the Terminal. Enter the following commands in the Terminal window to display hidden files:
defaults write com.apple.finder AppleShowAllFiles TRUE
killall Finder
<p><strong>Effortless Performance</strong><br /> <br /> The sabichi Mono 24cm Whisk is designed for smooth and efficient whisking. Its polished stainless-steel wires and narrow shape ensure even blending and make it ideal for small bowls or containers. From whipping meringues to beating eggs, this whisk brings ease to every task.<br /> <br /> <br /> <strong>Versatile Whisking Tool</strong><br /> <br /> Whether you're blending batters, keeping lumps out of sauces, or creating airy meringues, this 24cm whisk is up to the challenge. It’s a kitchen essential that adapts to various culinary needs with precision and consistency.<br /> <br /> <br /> <strong>Safe for All Cookware</strong><br /> <br /> The whisk is gentle on all surfaces, including non-stick, ceramic, and metal cookware. You can whisk worry-free without scratching or damaging your kitchenware. This ensures long-lasting durability for your pots and pans.<br /> <br /> <br /> <strong>Ergonomic Design</strong><br /> <br /> Featuring an innovative handle with a soft, comfortable grip, this whisk absorbs pressure for strain-free usage. Its contoured shape ensures a secure hold, even during prolonged whisking tasks, for an effortless cooking experience.<br /> <br /> <br /> <strong>Convenient Storage</strong><br /> <br /> Equipped with a handy hanging loop, the whisk offers easy storage. It’s always within reach while saving counter and drawer space, making it as practical as it is efficient.</p>
These commands instruct your Mac to show all hidden files. If you need to revert the changes and hide such files again, simply replace TRUE with FALSE and execute hidden files Mac terminal commands once more.
For users seeking additional features or an enhanced interface, third-party file manager applications can be considered. These apps offer easy navigation and additional options to find hidden files on Mac. However, weigh the pros and cons carefully before choosing software, keeping in mind that using native methods such as the Finder or Terminal may be safer and sufficient for most needs.
The instant toggle shortcut (Command + Shift + .) is the quickest way to display hidden files. This mac hidden files shortcut is beneficial if you frequently need to access or unhide files on Mac. It saves time and enhances productivity by revealing or hiding files effortlessly.
You can further customise your experience by exploring Finder preferences. Adjust these settings to manage how hidden files are displayed, ensuring that you ‘access hidden files mac’ according to your personal workflow preferences. This simple change can streamline file management and help maintain a clear workspace.
While it is easy to reveal hidden files, it’s important to handle them with care. Modifying or deleting vital system files can affect your Mac’s performance. Always back up your data before making changes. Whether you are trying to reveal hidden files mac or unhide files mac, caution can prevent accidental issues.
Once you have finished your tasks, it is advisable to hide the files again to maintain system integrity. You can simply press Command + Shift + . to reverse the action, keeping your workspace organised and secure.

<b>Why Buy Environics Device Disinfector</b><ul><li><b></b> for optimised disinfection</li><li><b></b> makes sure all the germs are killed</li></ul><p>To prevent harmful bacteria and fungi from getting in contact with you, buy <b>Environics Device Disinfector</b>. The usability of your device disinfector may be affected if its installation is complex. As this device disinfector has the it prevents the extra-spill and wastage of sanitizer. Your residence and office will stay clean and hygienic with products from this device disinfector that have 99.99% high resistance against germs and viruses. </p><p>The <b>Environics Device Disinfector's</b> price is cost-effective so you don't have to adjust your budget. The longer it takes for the device disinfector to disinfect, the longer you will have to wait. As a result of its efficient and effective operation, this device disinfector requires only to inject. Your device disinfector needs to have the latest technology to make sure it kills all the germs. As this device disinfector has the to prevent viruses, you can rest assured. Purchase the <b>Environics Device Disinfector</b> online at this instant!</p>
Pro Tip: Safeguard Your System While Accessing Hidden Files
Did you know? Modifying hidden files without proper knowledge can lead to system instability. Always back up your Mac before making changes to hidden files or folders.
Use the shortcut Command + Shift + . in Finder to toggle hidden files visibility.
Enter defaults write com.apple.finder AppleShowAllFiles TRUE followed by killall Finder in Terminal.
Yes, by adjusting the Finder preferences, you can make hidden files visible permanently.
Yes, several third-party applications offer enhanced features for find hidden files mac and overall file management.
Use the same Finder shortcut (Command + Shift + .) or revert the Terminal command to re-hide files.
Hidden files on your Mac can unlock a world of possibilities, from troubleshooting technical issues to customising your system. By following the methods outlined above, you can safely and effectively show hidden files mac whenever needed. Practice caution, regularly back up your system, and enjoy the streamlined experience that comes with understanding these key parts of your device. Just as Tata Neu empowers customers with innovative features like NeuCoins rewards and express delivery on purchases from trusted outlets, mastering your Mac’s functionalities can lead to smarter, more efficient tech experiences. This balanced approach helps you stay informed and in control of your digital space.
