Consumer Electronics
•03 min read

<b>Why Buy Environics Device Disinfector</b><ul><li><b></b> for optimised disinfection</li><li><b></b> makes sure all the germs are killed</li></ul><p>To prevent harmful bacteria and fungi from getting in contact with you, buy <b>Environics Device Disinfector</b>. The usability of your device disinfector may be affected if its installation is complex. As this device disinfector has the it prevents the extra-spill and wastage of sanitizer. Your residence and office will stay clean and hygienic with products from this device disinfector that have 99.99% high resistance against germs and viruses. </p><p>The <b>Environics Device Disinfector's</b> price is cost-effective so you don't have to adjust your budget. The longer it takes for the device disinfector to disinfect, the longer you will have to wait. As a result of its efficient and effective operation, this device disinfector requires only to inject. Your device disinfector needs to have the latest technology to make sure it kills all the germs. As this device disinfector has the to prevent viruses, you can rest assured. Purchase the <b>Environics Device Disinfector</b> online at this instant!</p>
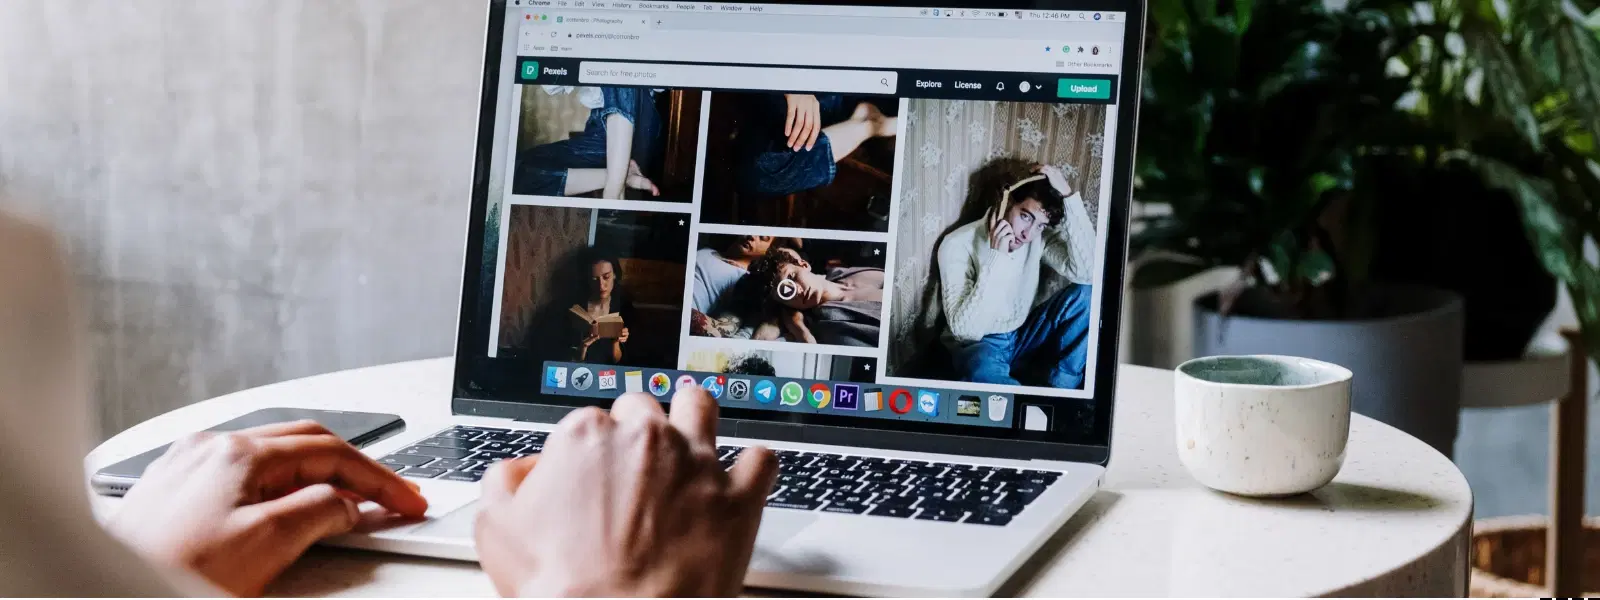
Screenshots are a handy feature for capturing moments, yet over time they can accumulate and take up valuable storage on your Mac. This guide walks you through how to delete screenshots on Mac and offers insights into managing your files effectively. By learning simple methods to delete files on Mac, you can clear Mac storage, organise Mac screenshots, and improve system performance.
Every screenshot you capture occupies space on your device. Over months or years, these images can add up, affecting your Mac's performance. By choosing to remove screenshots on Mac that are no longer needed, you help keep your storage clear and make room for new files, helping you manage screenshots on Mac without hassle.
A clutter-free workspace is not only visually appealing but also boosts productivity. When you delete photos on Mac and remove unnecessary images, you reduce distractions and create a working environment that inspires creativity and efficiency. This simple practice mirrors how Tata Neu makes your life easier with smart and intuitive solutions that empower you to shop and manage rewards effortlessly, including earning NeuCoins rewards with every transaction.
Typically, your Mac saves screenshots to the Desktop. However, they might also be found in Downloads or other folders depending on your settings. To locate screenshots quickly, use Finder's search function by typing keywords like 'Screen Shot' (or the filename format you usually see). Taking these steps can also help you manage screenshots Mac more efficiently.
Begin by selecting the screenshots you want to delete. You can do this by clicking on each file while holding the Command key. Once selected, right-click and choose the option to move them to the Trash. To permanently erase files on Mac, remember to empty the Trash. This process is a direct method to erase files on Mac and helps keep your system uncluttered.

<p>Danger can overpower you at any time and your voice will not be enough in such situations to get the required aid. The amazing new <strong>Juvo PSB01 Personal Alarm</strong> is crafted for all ages and is a necessary precaution from all kinds of danger. It rings a very loud alarm at 120 dB as well as flashes the torch to warn people nearby about a danger. Whether you have a medical emergency or you are attacked by predators your voice may not be heard but this alarm will be enough to deter attackers or draw attention of people close by to give you the immediate assistance required.</p> <p><strong>Extremely Easy To Use</strong></p> <p>The <strong>Juvo PSB01 Personal Alarm</strong> is small and portable, can be attacked to even a keychain if you want. To start the siren all you need to do is separate or pull the metal key chain from the main black unit. The siren may go on for 1 1/2 hours in case nobody heard it in the first minutes. This is very important for girls returning home alone at night as it acts as a security anti-attack panic alarm that is sure to scare off a molester. Its easy portability accentuates its use.</p> <p><strong>Lights Your Way</strong></p> <p>The little and portable <strong>Juvo PSB01 Personal Alarm</strong> also features a small LED torch that helps you find your way in the dark. Don’t be scared of dark alleys when you have this with you because it is equipped to save you from all dangers.</p>
Create a Smart Folder in Finder that automatically groups your screenshots. This folder will search and display all related images, making it effortless to review and remove screenshots on Mac. By sorting screenshots this way, you can delete images on Mac with ease during regular maintenance sessions.
For those who prefer automation, using Automator can simplify your mac screenshot cleanup process. With a few clicks, set up a workflow to automatically move older screenshots to the Trash or to another folder for archiving. This solution saves time and provides a systematic way to manage and clear Mac storage.
Pro Tip: Streamline Your Screenshot Workflow
Did you know? You can change your Mac's default screenshot location to a dedicated folder for better organisation. Simply open Terminal and type:
defaults write com.apple.screencapture location ~/YourFolderName, then restart your Mac for the changes to take effect.
If you want to better organise your screenshots, consider setting a specific folder as the new save location. This adjustment not only helps you organise Mac screenshots but also simplifies the process of locating and deleting images. The process is straightforward and ensures that all new screenshots are neatly filed away.
For important screenshots you wish to retain, consider compressing the files or moving them to an external drive or cloud storage. This strategy is useful when you need to manage space while keeping essential images safe and accessible, thus ensuring you are not forced to completely delete images on Mac that hold value.
If you encounter issues when trying to delete screenshots, it may be due to file permissions or system processes locking the file. In these cases, try restarting your Mac or booting in Safe Mode to resolve the issue. This approach ensures you can delete files on Mac without hassle and maintain a clean storage system.

<p><b>Enhanced Cleaning Technology</b><br/><br/>The MILAGROW 24W Robotic Vacuum Cleaner offers reliable wet and dry cleaning capabilities, which makes it an ideal choice for both home and office environments. Equipped with the enhanced NIDEC Brushless Motor, it delivers a powerful suction of 1500Pa, which ensures effective dirt and debris removal across various surfaces.<br/><br/><br/><b>Smart Navigation </b><br/><br/>Utilising cutting-edge Gyro Mapping technology, this robotic vacuum cleaner employs earth's gravity for optimal orientation and navigation. The rotor mechanism accurately measures rotation rates, which enables the device to stabilise and efficiently map out cleaning paths. It features four cleaning modes - smart, wall follow, spiral, and remote control – which allows for versatile cleaning strategies tailored to your space.<br/><br/><br/><b>Reliable Battery Life</b><br/><br/>Powered by a robust 2600mAh battery, this 24W vacuum cleaner boasts an optimum working time of up to 110 minutes. It can cover up to 1800 square feet on a single charge, which ensures comprehensive cleaning throughout your space without frequent interruptions. The 0.6-litre dustbin is designed to handle substantial dirt loads, while the 0.11-litre water tank facilitates effective wet cleaning.<br/><br/><br/><b>Efficient Filter System</b><br/><br/>Featuring a triple filter system which includes HEPA 12 filtration, this vacuum cleaner ensures the removal of most of the airborne particles as small as 0.3 microns. It effectively captures allergens, dust mites, mould spores, and even fine particles like smoke and bacteria, which creates a healthy environment in your home or office.<br/><br/><br/><b>User-Friendly Features </b><br/><br/>The MILAGROW vacuum cleaner affirms its reliability and safety for everyday use. Its user-friendly design allows for effortless operation and maintenance, which makes it an essential cleaning companion. With MILAGROW 9.0 Software Generation, it ensures optimal performance and user satisfaction.</b><br/><br/></p>
Sometimes screenshots remain temporarily in the clipboard even after capturing. To clear these, simply copy another item to replace the current clipboard content. This little trick helps prevent unintended clutter and makes sure your Mac is truly screenshot-free.
Select all the desired screenshots using the Command key, drag them to the Trash, and empty the Trash to permanently delete them.
By default, screenshots are saved to the Desktop. You can change this location via Terminal commands or system settings.
Yes, if you have not yet emptied the Trash, you can recover screenshots by right-clicking and selecting "Put Back."
You can change the default save location using Terminal or alternatively opt for third-party screenshot management tools to organise Mac screenshots better.
This issue could be due to file permissions or the file being used by a system process. Restarting your Mac or using Safe Mode can often resolve the problem.
Deleting and managing screenshots on your Mac is a practical step in maintaining a clutter-free and efficient system. Whether you choose manual deletion or automated workflows, clearing Mac storage by deleting images on Mac can significantly enhance your device's performance. By following these simple steps, you can ensure a tidier desktop and enjoy more space for your crucial files, allowing you to focus on what matters most. Just like Tata Neu offers streamlined shopping with benefits such as earning NeuCoins rewards along with unmatched support and express delivery, a well-organised digital workspace allows you to progress in life effortlessly.
