Consumer Electronics
•03 min read

<p>Danger can overpower you at any time and your voice will not be enough in such situations to get the required aid. The amazing new <strong>Juvo PSB01 Personal Alarm</strong> is crafted for all ages and is a necessary precaution from all kinds of danger. It rings a very loud alarm at 120 dB as well as flashes the torch to warn people nearby about a danger. Whether you have a medical emergency or you are attacked by predators your voice may not be heard but this alarm will be enough to deter attackers or draw attention of people close by to give you the immediate assistance required.</p> <p><strong>Extremely Easy To Use</strong></p> <p>The <strong>Juvo PSB01 Personal Alarm</strong> is small and portable, can be attacked to even a keychain if you want. To start the siren all you need to do is separate or pull the metal key chain from the main black unit. The siren may go on for 1 1/2 hours in case nobody heard it in the first minutes. This is very important for girls returning home alone at night as it acts as a security anti-attack panic alarm that is sure to scare off a molester. Its easy portability accentuates its use.</p> <p><strong>Lights Your Way</strong></p> <p>The little and portable <strong>Juvo PSB01 Personal Alarm</strong> also features a small LED torch that helps you find your way in the dark. Don’t be scared of dark alleys when you have this with you because it is equipped to save you from all dangers.</p>
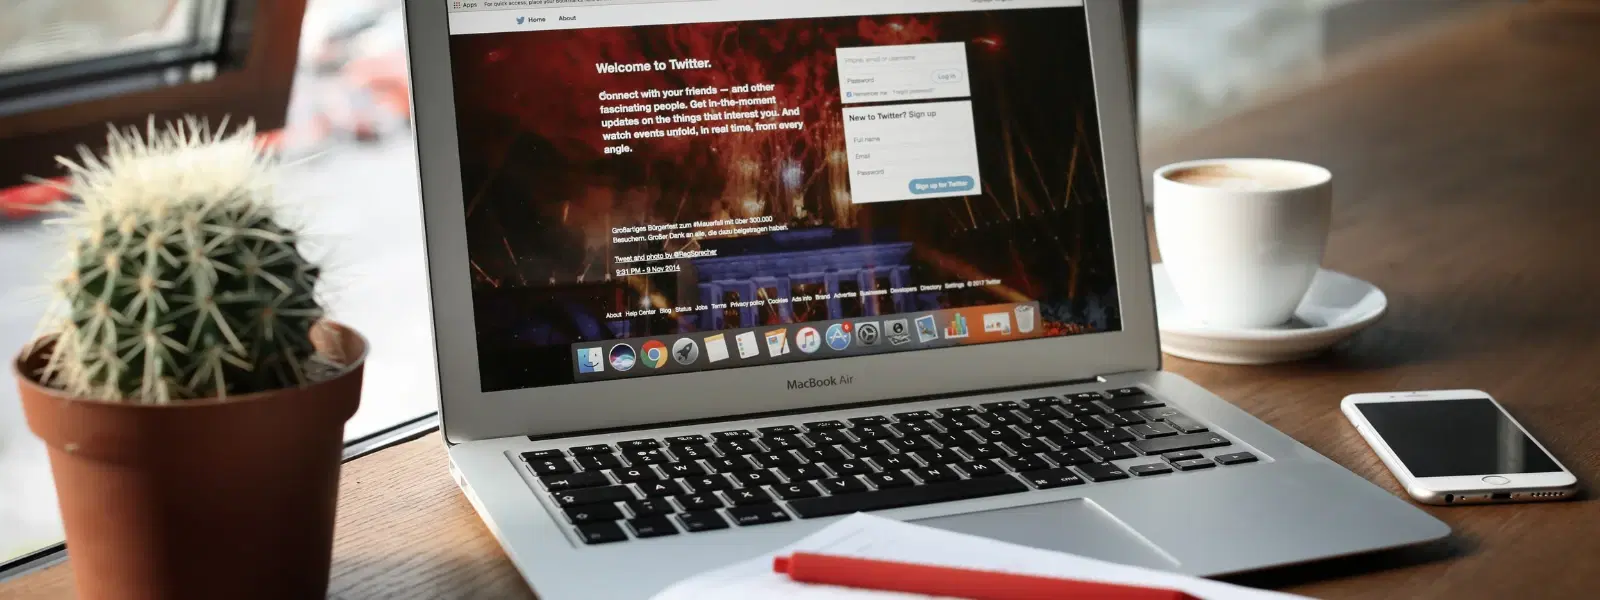
Ever struggled to capture the perfect screenshot on your Mac? Whether you are a seasoned user or just starting out, mastering the art of Mac screen capture can boost your productivity and help you share information effortlessly. In this guide, we answer your FAQs on how to take a snapshot on Mac, detailing various screenshot shortcuts for Mac, tips for saving and editing, and advanced techniques to enhance your workflow.
A screenshot is an image capture of the display on your Mac. It is a valuable tool for troubleshooting, sharing information, and preserving moments on your screen. Using the built-in Mac keyboard screenshot options, you can quickly take a snapshot on Mac without needing any extra software.
Mac offers several ways to capture your screen:
Entire screen: Capture every detail displayed.
Specific portion: Select an area you wish to capture.
Individual windows or menus: Capture focused sections on your screen.
Mac provides intuitive shortcuts for a quick snapshot. These include:
Cmd + Shift + 3: Capture the entire screen.
Cmd + Shift + 4: Capture a selected portion of the screen.
Cmd + Shift + 5: Open the screenshot toolbar offering advanced options.
Cmd + Shift + 6: Capture the Touch Bar (for MacBook Pro users).
Pressing Cmd + Shift + 5 brings up the screenshot toolbar. This feature allows you to select screen capture options, record your screen and choose various saving locations. It is a practical tool for customised screen capture experiences.

<p><strong>Effortless Performance</strong><br /> <br /> The sabichi Mono 24cm Whisk is designed for smooth and efficient whisking. Its polished stainless-steel wires and narrow shape ensure even blending and make it ideal for small bowls or containers. From whipping meringues to beating eggs, this whisk brings ease to every task.<br /> <br /> <br /> <strong>Versatile Whisking Tool</strong><br /> <br /> Whether you're blending batters, keeping lumps out of sauces, or creating airy meringues, this 24cm whisk is up to the challenge. It’s a kitchen essential that adapts to various culinary needs with precision and consistency.<br /> <br /> <br /> <strong>Safe for All Cookware</strong><br /> <br /> The whisk is gentle on all surfaces, including non-stick, ceramic, and metal cookware. You can whisk worry-free without scratching or damaging your kitchenware. This ensures long-lasting durability for your pots and pans.<br /> <br /> <br /> <strong>Ergonomic Design</strong><br /> <br /> Featuring an innovative handle with a soft, comfortable grip, this whisk absorbs pressure for strain-free usage. Its contoured shape ensures a secure hold, even during prolonged whisking tasks, for an effortless cooking experience.<br /> <br /> <br /> <strong>Convenient Storage</strong><br /> <br /> Equipped with a handy hanging loop, the whisk offers easy storage. It’s always within reach while saving counter and drawer space, making it as practical as it is efficient.</p>
While Mac does not offer a dedicated snipping tool like some systems, the Cmd + Shift + 4 shortcut works similarly. For users seeking more advanced options, several third-party apps can deliver additional editing and sharing features.
Pro Tip: Did You Know You Can Copy Screenshots to Clipboard Directly?
If you prefer not to save a file immediately, hold the Control key along with your chosen shortcut (for example, Cmd + Ctrl + Shift + 4). This copies the snapshot to your clipboard, perfect for quick pasting into documents or messages.
By default, your screenshots are saved to the Desktop. However, if you desire a different location, you can easily change it from the options in the screenshot toolbar. The floating thumbnail feature also gives quick access to recent captures, making it easy to review and share.
Editing your snapshots is simple. The floating thumbnail lets you access Markup tools for basic edits like cropping and adding annotations. For more advanced editing, use the Preview app or trusted third-party alternatives. These features ensure your Mac snapshot tutorial remains both practical and flexible.
If you have a MacBook Pro with a Touch Bar, you can capture it by using Cmd + Shift + 6. This enables you to document the dynamic and customisable nature of the Touch Bar efficiently.
The screenshot toolbar (Cmd + Shift + 5) also offers screen recording features. You can record your entire screen or a selected area, adjusting audio and video settings to suit your requirements. This method is an excellent screen capture tip for Mac users who frequently need to share dynamic tutorials or presentations.

<p>The <strong>Lyfro Battery Powered Disinfectant Solution Generator</strong> is non-toxic and has no side effects</p> <ul> <li><strong>Free of Chemical Residues</strong> makes it an eco-friendly, cost-effective disinfectant</li> <li><strong>Uses Electrolysis</strong> to produce natural powerful disinfectant</li> <li><strong>300 mAh Battery</strong> with USB recharging facility</li> </ul> <p>Buy <strong>Lyfro Battery Powered Disinfectant Solution Generator</strong> to experience its awesome usages. It is an ultra-portable non-toxic disinfectant maker. It comes with an electrolysed water generator. Useful to sterilize public places as well. Use <strong>Lyfro Battery Powered Disinfectant Solution Generator</strong> which allows you to create your own non-toxic disinfectant in just 3 minutes. Simply add salt and water together. Uses electrolysis to produce natural powerful disinfectants proven to be effective against bacteria, viruses, and mold.</p> <p>When you get <strong>Lyfro Battery Powered Disinfectant Solution Generator</strong> online, you also get an awesome eco-friendly, cost-effective disinfectant for your everyday life. It is equipped with a 300 mAh battery with USB recharging facility. It is usable at home, office, or in transit. It eliminates up to 99.9 percent pathogens. It is free of chemical residues. It is a self-made disinfectant.</p>
For the tech-savvy, Terminal commands provide a powerful alternative to take a screenshot on Mac. While not commonly needed, this method allows advanced users more control over the screenshot process.
By default, screenshots are saved to your Desktop. You can change the location using the screenshot toolbar options.
After capturing a snapshot, click the floating thumbnail to open Markup tools which allow you to easily crop your image.
Yes. Hold the Control key along with your screenshot shortcut (for example, Cmd + Ctrl + Shift + 4) to copy the image to your clipboard for pasting.
Mac does not have a dedicated snipping tool. However, Cmd + Shift + 4 serves a similar function by letting you select specific areas to capture.
Open your screenshot in the Preview app and select Export. You can then choose a different file format such as JPG or PDF.
This guide has detailed how to take a snapshot on Mac using simple shortcuts, editing tools, and advanced methods like screen recording and Touch Bar capture. Understanding these features can simplify your workflow and empower you to share your screen effectively. With valuable rewards like NeuCoins offered through Tata Neu, you can also enjoy special benefits every time you shop smartly while enhancing your tech-savvy lifestyle.
