Consumer Electronics
•04 min read

Buy SanDisk Ultra Fair 32GB USB Type A (3.0) Pen Drive (Stylish and Tough, Silver) online at best prices from Croma. Check product details, reviews & more. Shop now!
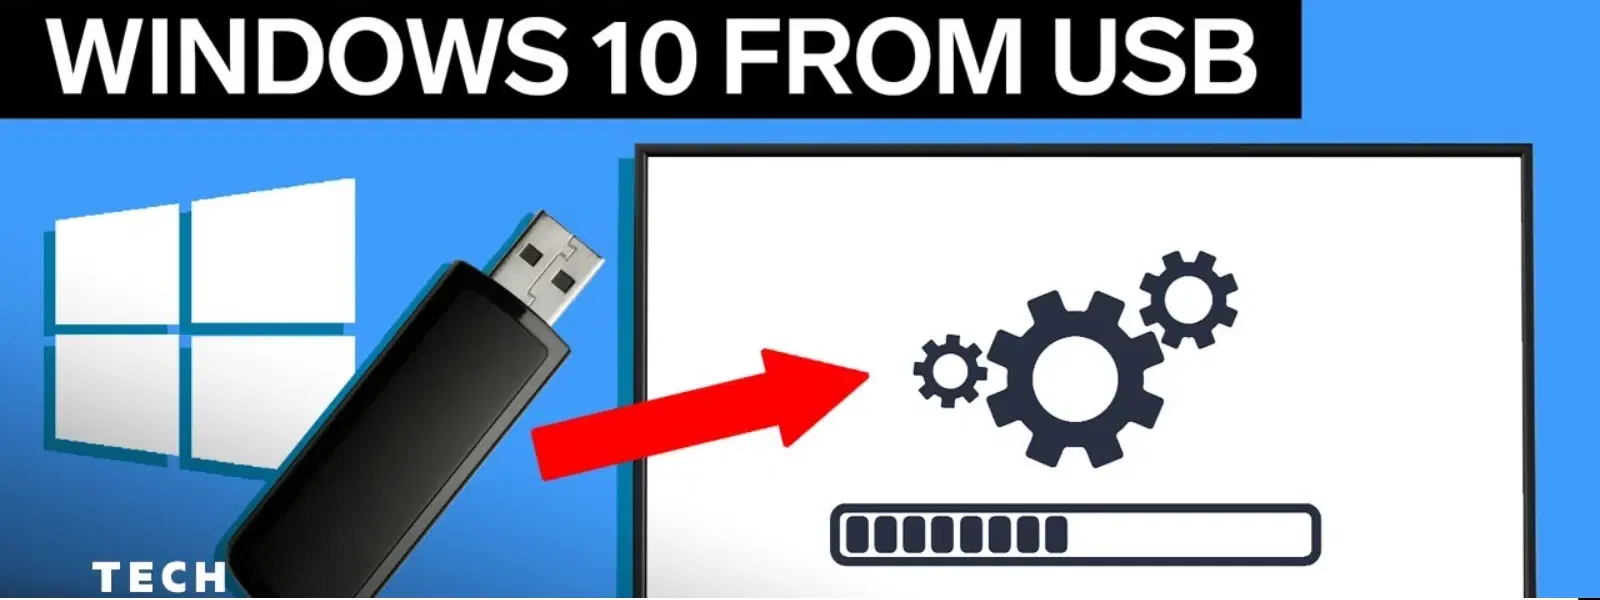
Installing Windows 10 has never been easier, thanks to the power of USB flash drives. As a valued Tata Neu customer, you can earn exclusive NeuCoins rewards on your tech purchases, making this process even more rewarding. Many people choose this method because it’s convenient, fast, and reliable, enabling you to install Windows on almost any computer without hassle. This guide addresses the most frequently asked questions about how to install Windows 10 from USB flash drive, providing you with step-by-step instructions and expert tips to get the job done with confidence.
Before you begin, ensure you have a USB flash drive with at least 8GB capacity. You will also need a computer with a compatible BIOS/UEFI system and a stable internet connection to download the Windows 10 ISO file. These basic requirements help guarantee a seamless installation process.
It is important to format your USB drive to FAT32 for maximum compatibility with different systems. Tools such as the Windows Media Creation Tool provide a user-friendly way to prepare your drive, setting you on the right path to create a bootable USB for Windows. Remember, properly formatting the drive can prevent installation issues later on.
Downloading the Windows 10 ISO is the first step. Once you’ve got the ISO file, using the Windows Media Creation Tool is a straightforward method to create your bootable USB. For those who are more comfortable with advanced options, third-party tools like Rufus can also be used to speed up the process. We understand that technical setups can be challenging, but these straightforward steps are designed to make your experience as smooth as possible. This method is part of a comprehensive windows installation guide usb that ensures your install operating system from usb is smooth.
One common error is forgetting to check your system’s compatibility before starting the process. Another is using an improperly formatted USB drive. By double-checking these details, you ensure a trouble-free setup that fits into a windows bootable usb instructions and sets up windows from flash drive correctly.

Buy SanDisk Ultra Fair 64GB USB Type A (3.0) Pen Drive (Stylish and tough, Black) online at best prices from Croma. Check product details, reviews & more. Shop now!
Once your bootable USB is ready, the next step is to access the boot menu. This is achieved by adjusting the boot order in your computer's BIOS/UEFI system. Typically, you can access this by pressing keys such as F2, F12, or DEL during startup. Setting your USB as the primary boot device is essential for creating bootable windows setup experiences.
After selecting the USB drive in the boot menu, follow the on-screen instructions to begin the installation. The process involves choosing the correct partition and selecting the drive on which you wish to install Windows 10. This windows usb installation tutorial is designed to be clear and simple, reducing the complexities that some users face during traditional setups. Don’t forget, Tata Neu customers can benefit from Croma’s express delivery and expert installation guidance for their tech purchases.
If your USB is not detected during boot, there are several possible causes. It might be related to the BIOS settings that need to be adjusted, such as enabling USB boot or switching between legacy boot and UEFI modes. A quick check of these settings can solve the problem and help you install windows using usb successfully.
Occasionally, you may encounter error messages such as "Windows cannot be installed to this disk." This may require you to change the partition format or use specific tools to prepare the drive correctly. Such common issues are easily resolved by following the proper setup instructions outlined in this guide.
Even after a successful installation, you might run into driver-related problems or activation errors. Following trusted guidance and ensuring that all drivers are updated can help maintain the system’s performance. Remember that a smooth installation process continues beyond the initial setup.
Pro Tip: Streamline Your Installation
Did you know? Using a USB 3.0 flash drive and port can significantly reduce installation time compared to USB 2.0. Make sure your PC supports USB 3.0 for faster performance!
Buy SanDisk Ultra Dual Drive 32GB USB Type A (3.1), USB Type C (3.1) OTG Pen Drive (High-speed Performance, Black) online at best prices from Croma. Check product details, reviews & more. Shop now!
Insert the bootable USB, restart your computer, and access the boot menu. Select the USB drive as the boot device and follow the on-screen instructions to complete the installation.
Use the Windows Media Creation Tool to download the Windows 10 ISO and create a bootable USB. Alternatively, third-party tools like Rufus offer advanced options for customising your setup.
Format your USB drive to FAT32 for compatibility with most systems. Use built-in tools like Disk Management or other software to ensure the drive is properly formatted.
Check that the USB is correctly formatted, connected to a working port, and that the BIOS is set to enable USB boot. Ensure the boot order is prioritised for the USB drive.
Yes, you can reformat the USB drive for other purposes, but it’s wise to keep a backup of the installation media in case you need it again.
Installing Windows 10 from a USB flash drive is a straightforward process when you have the right tools and guidance. Whether you are setting up a new system or upgrading your current one, following these steps and troubleshooting tips will help you overcome common issues and achieve a seamless installation experience. Enjoy the ease and convenience this method offers, and remember that trusted, reliable guidance is always at your fingertips.
