Consumer Electronics
•04 min read
Ever wondered how to create a bootable USB drive to install Windows effortlessly? Burning a Windows ISO file to a USB drive is a crucial step for many users looking to set up or repair systems seamlessly. Whether you need to install Windows from USB for a new system build or perform a repair installation on your existing setup, knowing how to burn an ISO file to USB is an essential skill.
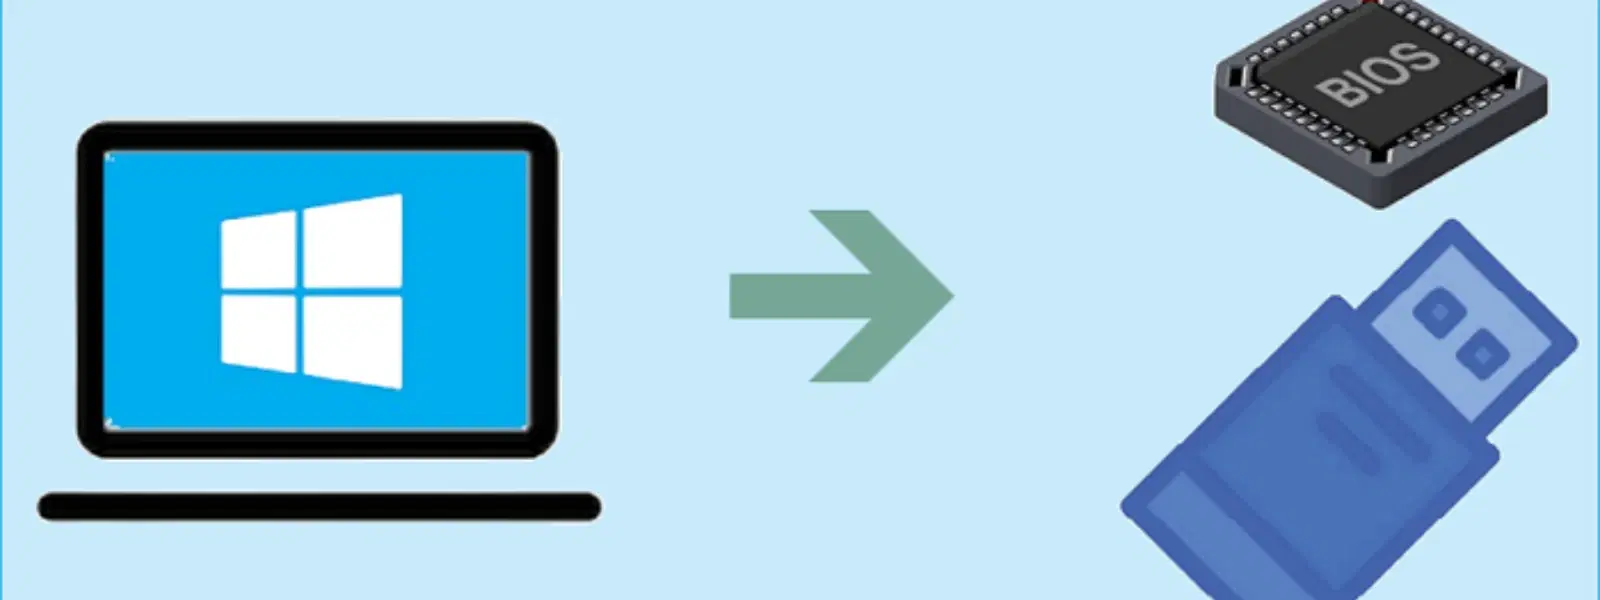
A Windows ISO file is a single archive file that comprises all the data required for a Windows installation. Think of it as a complete image of the installation media including the operating system files, drivers, and other necessary resources. To install Windows from USB, the ISO file must be transferred onto a USB drive in a manner that makes the drive bootable.
USB drives offer several advantages over traditional DVD installations. They are portable, faster, and more reliable. A USB drive for a Windows installation not only speeds up the process, but it also simplifies the task of setting up or repairing your operating system. This versatility is especially beneficial for situations where Express Delivery options are utilised, ensuring you receive your tools promptly, much like the convenience offered by platforms you already trust.
Before you begin the process, gather a few essential items: a valid Windows ISO file, a USB drive with sufficient storage (typically 8GB or more), and reliable ISO to USB software tools such as Rufus. Additionally, ensure that your USB drive is formatted correctly to support the ISO's file system requirements. Adequate preparation leads directly to fewer errors and a smoother setup process.
Selecting the right USB drive is key. Aside from the minimum storage threshold, opting for a USB 3.0 drive or higher is recommended. These drives offer improved speed, which makes the process of transferring the Windows ISO file and the subsequent installation quicker and more efficient. Just as Tata Neu prioritises seamless service, choosing the appropriate hardware can simplify your setup journey.
Rufus stands out as one of the most popular ISO to USB software tools for its simplicity and efficiency. Begin by launching Rufus after inserting your USB drive. Select your device in the tool’s interface, then locate and choose the Windows ISO file from your computer. You can customise settings such as partition schemes and file systems based on your system’s requirements; these options help optimise compatibility. Once you click Start, Rufus handles the process automatically, creating a bootable USB drive ready for Windows installation.
While Rufus is a dependable option, other tools like BalenaEtcher, UNetbootin, and the Windows Media Creation Tool also offer effective solutions. Each tool comes with its own set of features that make ISO to USB transfers straightforward. For instance, some tools might provide a slightly different interface or offer unique options during the configuration process. Choose the tool that best fits your needs after considering factors such as ease of use, additional customisation features, and compatibility with your computer.
Pro Tip: Optimize Your Bootable USB Creation Process
Did you know that formatting your USB drive to FAT32 before transferring the ISO file can improve compatibility with older systems? For modern setups, NTFS formatting may be more effective. Choose wisely based on your device!
During the process of burning the ISO file, you may encounter several common errors. Corrupted ISO files and incorrect USB drive formatting are among the typical issues. It is important to verify the integrity of your ISO file through checksums or other methods before beginning the process. Additionally, double-check that your USB drive is formatted as per the recommendations provided by your chosen software tool. Keeping these steps in mind helps in avoiding common pitfalls that may result in a non-bootable drive.
After successfully transferring the Windows ISO to your USB drive, it is prudent to test its bootability. This can be done by configuring your computer’s BIOS or UEFI settings to boot from USB. Look out for settings that allow you to prioritise the USB drive during the startup sequence. If the USB drive boots into the Windows installation media, you have successfully completed the process. In the event of boot failures, consider revisiting your formatting and transfer steps to troubleshoot any potential issues.
Software like Rufus or Windows Media Creation Tool simplifies the process. Simply select the ISO file on your computer, choose your USB drive, and follow the provided steps to complete the transfer.
The process is largely identical to burning a regular Windows ISO. Use the same ISO to USB software, ensuring that your USB drive fulfils the required storage and formatting criteria.
Open Rufus, then select your USB drive and your desired ISO file. Configure the partition scheme and file system settings as needed, then click on the Start button and let Rufus handle the process.
Download the Windows 10 ISO and use a tool like Rufus or the Windows Media Creation Tool. Follow the on-screen prompts carefully to transfer the ISO to the USB drive, making sure it becomes fully bootable for your installation process.
Burning a Windows ISO file to a USB drive is an important process that simplifies both the installation and repair of Windows operating systems. By understanding exactly what a Windows ISO is, preparing your USB drive with the right tools, and following step-by-step instructions, you can confidently create a bootable USB drive. This detailed guidance not only helps in building your technical skills but also aligns with the trusted and seamless offerings that platforms like Tata Neu bring to their customers. As you explore further solutions in consumer electronics, remember that a well-prepared USB drive can be a valuable tool in your tech toolkit.
Embrace the ease and reliability of creating your own bootable media and let your journey into proficient technical setups continue with confidence. With rewards like NeuCoins enhancing your experience and ensuring you get the best of value every time, Tata Neu remains a trusted partner in your digital endeavours.