Consumer Electronics
•03 min read
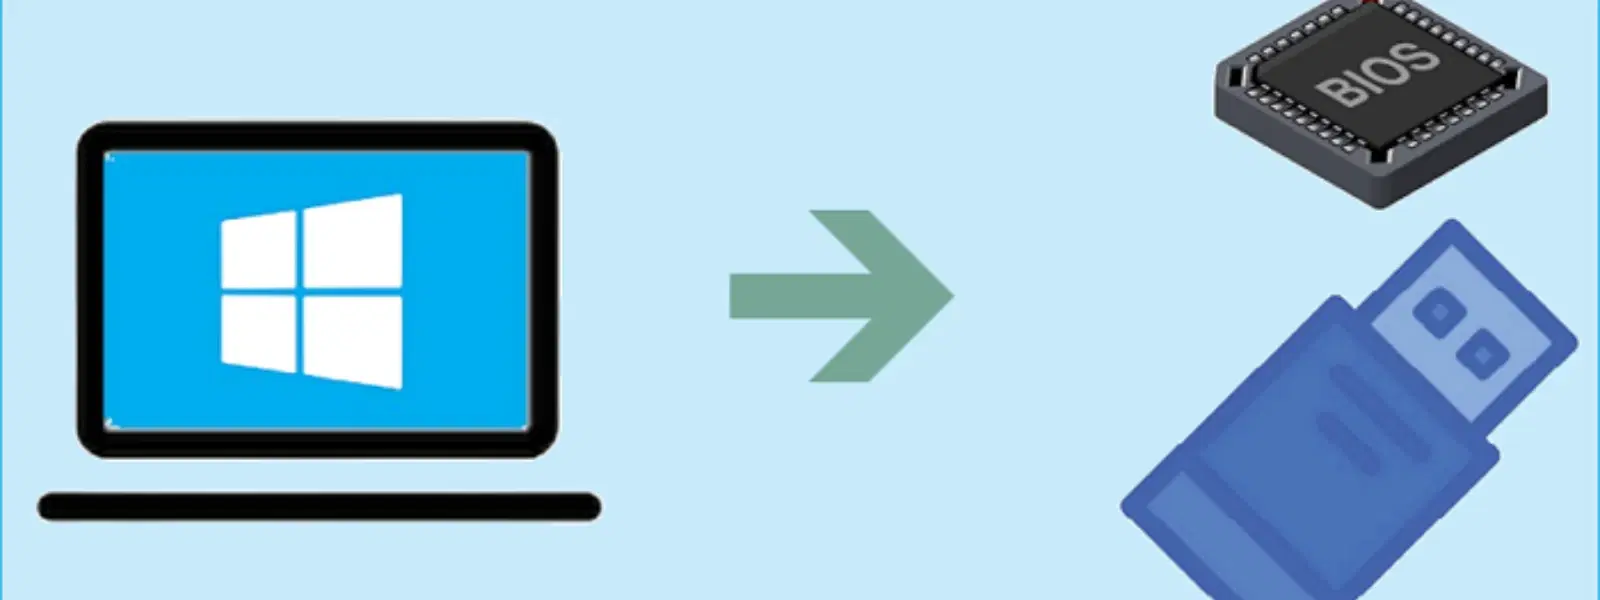
Ever wondered how to boot Windows 10 from a USB drive seamlessly? Many users face challenges when setting up a bootable USB, but it doesn’t have to be complicated. This guide answers frequently asked questions on how to boot a USB drive for Windows 10 installation and troubleshooting, providing you with clear, step-by-step explanations and practical tips for a smooth experience.
USB booting means starting your computer using a USB device instead of the built-in hard drive. This method is especially useful for installing or reinstalling operating systems like Windows 10. A bootable USB drive offers speed, portability, and flexibility to help you work through tasks quickly when compared to traditional installation methods.
Booting from USB is vital in situations such as upgrading your system or when troubleshooting issues on a malfunctioning computer. It is also compatible with modern devices and provides a convenient alternative if you prefer the simplicity of a portable drive rather than using a disc-based solution.
Before you start, ensure that you have a USB drive that meets the minimum storage requirements for Windows 10 installation. A drive of 8GB or 16GB is typically sufficient. Opt for reliable, high-quality USB brands to avoid any complications during the installation process.
Creating a bootable drive involves several simple steps. Tools such as the Windows Media Creation Tool or Rufus can assist you in this process. Start by formatting the USB drive and setting the primary partition as active. These steps are crucial to avoid errors during the boot process and ensure that your USB drive is recognised correctly by your system.
To boot from the USB drive, you must access your computer's BIOS or UEFI settings. Typically, you will need to press a specific key such as F2, DEL, or ESC during startup. Once you are in the BIOS, look for the option to enable USB booting. This small adjustment is often all you need to grant your computer the ability to recognise the USB drive as a potential boot device.
After accessing the BIOS settings, change the boot order so that the USB drive is prioritised as the primary boot device. While navigating through BIOS menus can sometimes be challenging, a calm and patient approach will help you ensure that your intended device has been set correctly.
Once your computer is set up, it’s time to initiate the boot process. Restart your device and press the designated hotkey (such as F12 or ESC) to bring up the boot menu. Select your USB drive from the list of available bootable devices. Following these steps should lead you to the Windows 10 installation screen with ease.
After accessing the installation screen, follow the instructions displayed on your monitor. This includes selecting the correct partitions and ensuring a proper installation. Keep in mind that you should review the options and proceed step-by-step to avoid selecting the wrong drive partition.
Pro Tip: Ensure your USB drive is formatted to NTFS or FAT32 before creating a bootable drive. An improperly formatted USB can cause errors during the boot process.
If you encounter issues like the USB not being recognised or a 'No bootable device found' error, start by reformatting the USB drive and verifying that your BIOS settings are correct. Doing so often resolves minor yet common problems and gets you back on track in no time.
Sometimes hardware compatibility issues can be the root cause. In such cases, consider creating a new bootable USB drive as a first step. Additionally, re-check your BIOS configurations and ensure that every setting aligns with the requirements for booting from USB.
To boot from a USB drive in Windows 10, restart your computer and enter BIOS/UEFI settings. Set the USB drive as the primary boot device, save changes, and restart.
Access BIOS settings by pressing the designated key during startup, such as F2 or DEL. Navigate to the boot settings menu and ensure that 'USB Boot' is enabled.
To enter boot mode, restart your computer and press the boot menu hotkey during startup, such as F12 or ESC. Then, select your USB drive from the list of available boot options.
Popular and user-friendly tools include the Windows Media Creation Tool and Rufus. Both tools are well-regarded for creating a bootable USB drive efficiently.
Potential reasons include incorrect formatting, outdated BIOS settings, or hardware compatibility issues. Verify your BIOS configurations and reformat your USB drive to see if the issue resolves.
This guide has outlined the key steps and common pitfalls encountered when trying to boot Windows 10 from a USB drive. From preparing your USB to troubleshooting issues, you now have a clear understanding of the process. The ease and convenience provided by these methods mirror the ease of shopping on Tata Neu, where earning NeuCoins rewards and enjoying unparalleled benefits is just another example of how technology is made accessible and practical. Leveraging technology to simplify tasks—whether creating a bootable drive or shopping smartly—empowers you to progress efficiently.