Consumer Electronics
•04 min read

<p><strong>Effortless Performance</strong><br /> <br /> The sabichi Mono 24cm Whisk is designed for smooth and efficient whisking. Its polished stainless-steel wires and narrow shape ensure even blending and make it ideal for small bowls or containers. From whipping meringues to beating eggs, this whisk brings ease to every task.<br /> <br /> <br /> <strong>Versatile Whisking Tool</strong><br /> <br /> Whether you're blending batters, keeping lumps out of sauces, or creating airy meringues, this 24cm whisk is up to the challenge. It’s a kitchen essential that adapts to various culinary needs with precision and consistency.<br /> <br /> <br /> <strong>Safe for All Cookware</strong><br /> <br /> The whisk is gentle on all surfaces, including non-stick, ceramic, and metal cookware. You can whisk worry-free without scratching or damaging your kitchenware. This ensures long-lasting durability for your pots and pans.<br /> <br /> <br /> <strong>Ergonomic Design</strong><br /> <br /> Featuring an innovative handle with a soft, comfortable grip, this whisk absorbs pressure for strain-free usage. Its contoured shape ensures a secure hold, even during prolonged whisking tasks, for an effortless cooking experience.<br /> <br /> <br /> <strong>Convenient Storage</strong><br /> <br /> Equipped with a handy hanging loop, the whisk offers easy storage. It’s always within reach while saving counter and drawer space, making it as practical as it is efficient.</p>
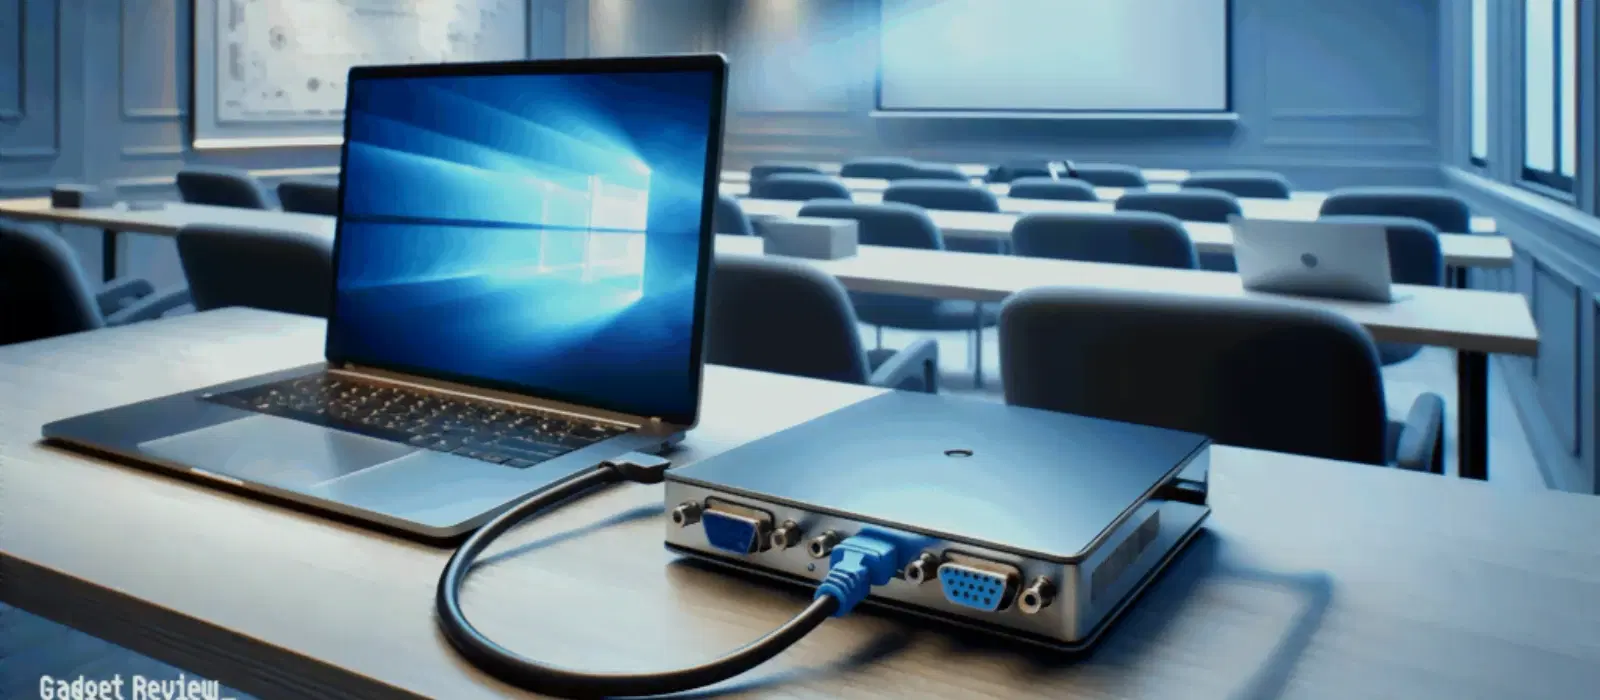
Installing Windows 10 from a USB drive using BIOS settings can seem overwhelming, but with clear guidance and a step-by-step process, you'll soon realise it is an accessible way to reinvigorate your computer. This guide is crafted in an FAQ-style format to help you understand how to prepare a bootable USB, access BIOS settings, and navigate the Windows installation process with confidence.
Before you begin, gather all the essentials: a bootable USB drive, the Windows 10 ISO file, and a PC with BIOS or UEFI support. The bootable USB drive is crucial as it holds the installation files required to install the operating system. Ensuring that your drive meets the minimum storage requirements and compatibility standards is key for a smooth experience.
To create a bootable USB drive, you can use trusted tools such as Rufus or the official Windows Media Creation Tool. First, download the Windows 10 ISO file from a reliable source, then use the selected tool to format your USB drive. It is important to follow the guidelines provided by the tool to ensure the drive is correctly formatted and made bootable. This process ensures that the installation media is correctly set up to guide you through a seamless installation experience on your PC.
The BIOS, or its modern counterpart UEFI, controls how your computer boots up, including which device it should load the operating system from. While BIOS is the traditional system, UEFI offers enhanced security and faster boot times. Understanding the differences can help you decide which mode best suits your hardware setup.
Accessing your BIOS settings is generally straightforward. As you turn on your computer, a prompt usually instructs you to press a specific key—commonly F2, F12, or the DEL key—to enter BIOS configuration. If the correct key isn’t immediately obvious, refer to your PC’s manual or on-screen instructions. Should you encounter any challenges, ensure you’re pressing the key at the right moment during startup.

<p style="margin-left:0cm; margin-right:0cm">Keep away from breathing in harmful germs, dust and pollution by using the <strong>Arctic Fox N95 Gold Series</strong> <strong>Face Respirator Mask.</strong> The mask is designed specially ensuring that it fits comfortably on your face and covers all the essential parts of your face. The soft ear loops ensure the comfort-ability for longer use. It has a 3 mm foam material for comfort fit and air seal.</p> <p style="margin-left:0cm; margin-right:0cm">The <strong>Arctic Fox N95 Gold Series</strong> <strong>Face Respirator Mask</strong> is super breathable because of the comfortable fabric and is also splash resistant.</p> <p style="margin-left:0cm; margin-right:0cm">Whether you are travelling or for that matter, moving out of your house, wearing the <strong>Arctic Fox N95 Gold Series</strong> <strong>Face Respirator Mask </strong>will ensure security to your health by helping you keep the dust and germs out from inhaling it.</p>
Once inside the BIOS, the next step is to adjust the boot order so that your PC prioritises the USB drive over the internal hard drive. Navigate to the boot menu using the arrow keys and select your USB device to move it to the top of the list. After making these changes, be sure to save the settings before exiting. This adjustment enables your computer to detect the bootable USB and begin the Windows installation process from it during the next startup.
With your USB drive prepared and BIOS settings adjusted, restart your PC to begin the installation. If all settings are correct, your computer should boot from the USB drive, presenting you with the Windows installation screen. At this point, you will be prompted to choose a language and other preferences. Follow the on-screen instructions carefully. In certain instances, your device may display options for partitioning your hard drive; choose the configuration that best suits your needs.
When the installation process begins, you will have a choice between performing a clean installation—which wipes all previous data—and reinstalling Windows without losing your existing data. Consider a clean installation if you wish to start afresh. For those who prefer to retain their files and applications, opting to reinstall may prove more beneficial. During the installation, you will also be able to select which partition to use and format the drive if necessary.
Pro Tip: Simplify Your Installation Process
Did you know? Using a USB 3.0 drive significantly speeds up the Windows installation process compared to USB 2.0. Ensure your PC supports USB 3.0 for optimal performance.
At times, even a well-prepared bootable USB may encounter obstacles. Common issues include the USB drive not being recognised by the PC, an incorrect boot order in the BIOS settings, or an outdated BIOS that lacks full compatibility with USB booting. Identifying the source of the problem is the first step towards resolving it efficiently.
If your USB is not detected, double-check that it has been correctly formatted and created as a bootable drive. Confirm that it is plugged into a supported port on your PC, especially if you are using an older system. Updating your BIOS firmware may also resolve compatibility issues. For those with persistent boot issues, revisiting the boot order in the BIOS and ensuring any security settings are appropriately configured can help iron out the problem. By methodically working through these steps, you can overcome many of the typical USB boot challenges.

Buy PHILIPS BT3302/15 Rechargeable Cordless Dry Trimmer for Beard and Body with 10 Length Settings for Men (60mins Runtime, Stainless Steel Blade, Black and Grey) online at best prices from Croma. Check product details, reviews & more. Shop now!
Follow the steps to create a bootable USB, access BIOS settings, and change the boot priority to USB. Once done, restart your PC, and the Windows installation process will begin.
BIOS itself doesn’t make a USB bootable. You need to use tools like Rufus or the Windows Media Creation Tool to create a bootable USB before configuring BIOS to boot from it.
Insert the bootable USB, access BIOS settings, set the boot order to prioritise USB, and restart your PC. During installation, select the partition where Windows should be reinstalled.
Choose the “Upgrade” option during installation instead of a clean install. This preserves files, apps, and settings while reinstalling Windows.
Ensure the USB is properly formatted and created as bootable. Check if it is plugged into a supported port and consider updating your BIOS firmware if necessary.
This comprehensive guide should have equipped you with the knowledge to manage your Windows 10 installation via a USB drive using BIOS settings. By carefully preparing your materials, configuring your BIOS, and following each step meticulously, you are well-prepared to execute a successful installation. Whether you are a tech enthusiast, a busy professional, or someone who appreciates the trust and reliability offered by platforms like Tata Neu and Croma, having control over your technology is empowering.
At Tata Neu, we are committed to simplifying your digital journeys. With rewarding benefits such as earning NeuCoins on your transactions, every step you take towards a smarter way of shopping and upgrading your technology is recognised and appreciated. Trust in guided technology and expert support can transform a seemingly complex process into an achievable task. Explore more about how modern conveniences can complement your everyday life, and enjoy security and rewards that accompany every smart choice you make.
