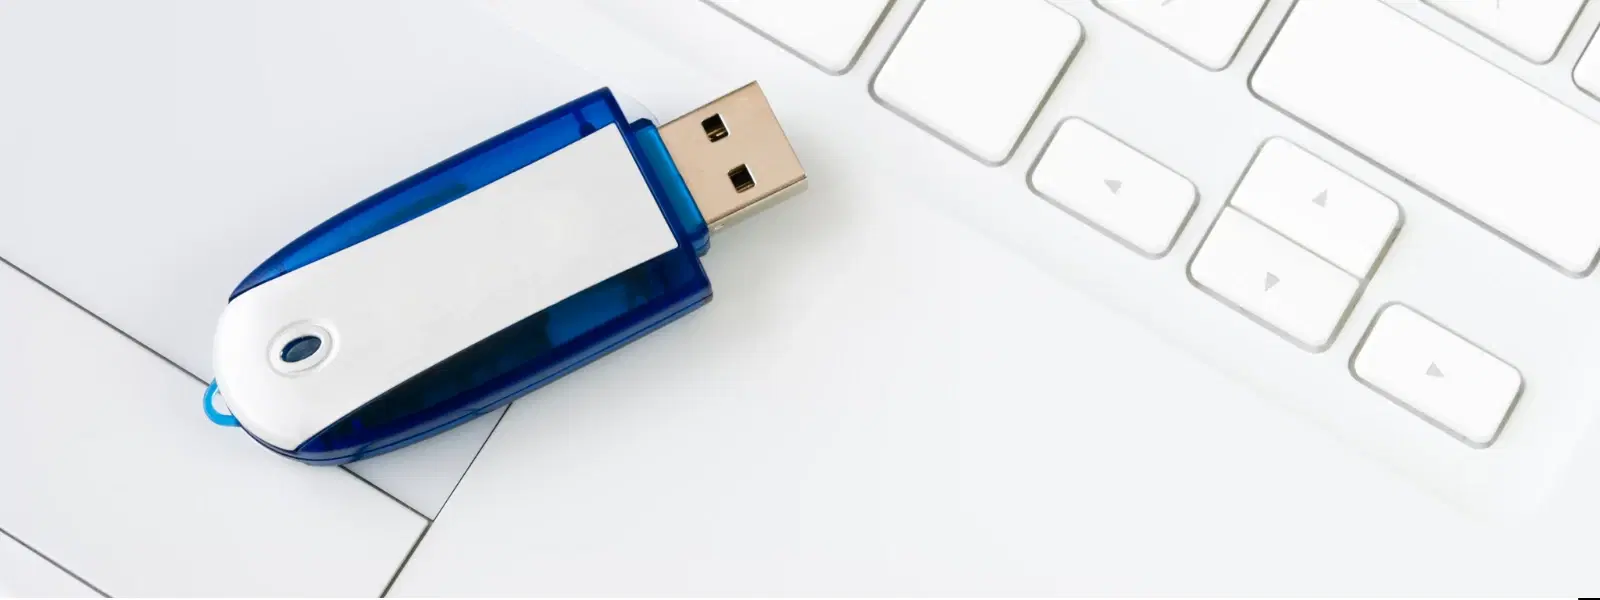
Consumer Electronics
•04 min read
Have you ever wondered how to install Windows 10 from a USB pen drive without dealing with DVDs or extra software hassles? We understand that upgrading an operating system can be challenging; our step-by-step guide is designed to simplify the process and give you confidence in every step. In this article, you will learn how to create a bootable USB, configure your computer’s BIOS to recognise the drive, and successfully install Windows 10. By following these steps, you can upgrade or reinstall your operating system with confidence while earning up to 5% NeuCoins on every tech purchase and enjoying express delivery with Tata Neu.
A USB drive offers unmatched portability, faster data transfer and an overall ease of use that is ideal for modern devices, especially laptops that lack an optical drive. Whether you are setting up a new system or looking to upgrade, a USB drive provides the perfect solution to install an operating system swiftly.
To create a bootable USB, begin by downloading the Windows Media Creation Tool. This tool guides you step by step, ensuring your USB meets the required specifications. Make sure you have a USB drive of at least 8GB storage and that it is formatted in FAT32 or NTFS. FAT32 is a file system format used for USB drives. It is essential to avoid mistakes such as selecting the incorrect file system format which can lead to installation errors. This Windows 10 bootable USB guide will walk you through the process of installing your operating system from a USB drive.
Before you can install Windows 10, you need to access your PC's BIOS or UEFI settings. The BIOS plays a crucial role in determining which device your computer should boot from. Common keys to enter BIOS are F2, F10, or DEL, although this may vary depending on your hardware model. Note: The exact key to enter BIOS/UEFI settings may vary by manufacturer; please refer to your device manual if these keys do not work. A clear understanding of these settings is key to ensuring your system recognises the bootable USB drive.
Once in the BIOS, look for the Boot Order or Boot Priority settings. Here, you need to prioritise your USB drive so that the computer boots from it first. If you experience issues where the USB is not detected, consider updating your BIOS firmware or checking the USB drive for corruption. Breaking this process into smaller steps can help you quickly identify and resolve any boot issues.
With your bootable USB properly prepared and your computer set to launch from it, begin the installation process. Insert the USB into an available port, restart your PC, and follow the prompts to select ‘Install Windows’. This marks the start of the Windows 10 installation journey.
During the installation, you will face several important choices. You may choose either an "Upgrade" or a "Custom" installation based on your current setup. It is essential to carefully select the partition where Windows 10 will be installed. Ensure you format the correct drive to avoid losing any vital data. Making informed decisions at these steps leads to a smoother transition to your new operating system.
After the installation files have been copied, complete the setup by activating Windows 10, either with a product key or by selecting the option to activate later. Final touches include setting your language preferences, creating a user account and connecting to Wi-Fi. Each step is designed to help tailor the operating system to your personal needs while maintaining the overall trustworthiness of your setup.
If your USB drive is not recognised, several factors might be at play. An outdated BIOS or a corrupted USB file may be responsible. Reformatting your USB drive, ensuring it meets the required specifications, or even updating your BIOS firmware can address these issues effectively.
Should the installation process fail midway, consider common causes like system incompatibility, insufficient storage or a faulty USB drive. Checking that your system meets Windows 10 requirements and verifying that you have enough storage can help. In some cases, recreating the bootable USB drive is the quickest solution.
Pro Tip: "Always check your hardware compatibility and backup your data before installing a new operating system. This can save you from unnecessary headaches during the installation process. Plus, with Tata Neu, you can access expert guidance and same-day delivery for all your tech needs!"
Use the Windows Media Creation Tool to format and create a bootable USB. Ensure the USB is at least 8GB and formatted as FAT32 or NTFS.
Download the Windows Media Creation Tool, select "Create installation media for another PC," and follow the prompts to create a bootable USB drive.
Start by creating a bootable USB and then configure your BIOS to boot from USB. Follow the on-screen instructions throughout the installation process.
A USB drive with a minimum of 8GB storage is required.
No, the USB contains all the necessary files for installation. However, an internet connection can be useful for downloading updates and drivers post-installation.
Installing Windows 10 from a USB pen drive is a manageable process when you are well-prepared with the right knowledge and tools. This guide has helped you understand each stage, from creating a bootable USB and configuring BIOS settings to undertaking the installation process and troubleshooting potential issues. With these steps, you can ensure a seamless transition to your new operating system while enjoying a secure and efficient setup experience. Explore more content to continue optimising your consumer electronics journey while benefiting from rewards like NeuCoins on Tata Neu and express delivery for your tech purchases.