Consumer Electronics
•03 min read

<b>Why Buy Environics Device Disinfector</b><ul><li><b></b> for optimised disinfection</li><li><b></b> makes sure all the germs are killed</li></ul><p>To prevent harmful bacteria and fungi from getting in contact with you, buy <b>Environics Device Disinfector</b>. The usability of your device disinfector may be affected if its installation is complex. As this device disinfector has the it prevents the extra-spill and wastage of sanitizer. Your residence and office will stay clean and hygienic with products from this device disinfector that have 99.99% high resistance against germs and viruses. </p><p>The <b>Environics Device Disinfector's</b> price is cost-effective so you don't have to adjust your budget. The longer it takes for the device disinfector to disinfect, the longer you will have to wait. As a result of its efficient and effective operation, this device disinfector requires only to inject. Your device disinfector needs to have the latest technology to make sure it kills all the germs. As this device disinfector has the to prevent viruses, you can rest assured. Purchase the <b>Environics Device Disinfector</b> online at this instant!</p>
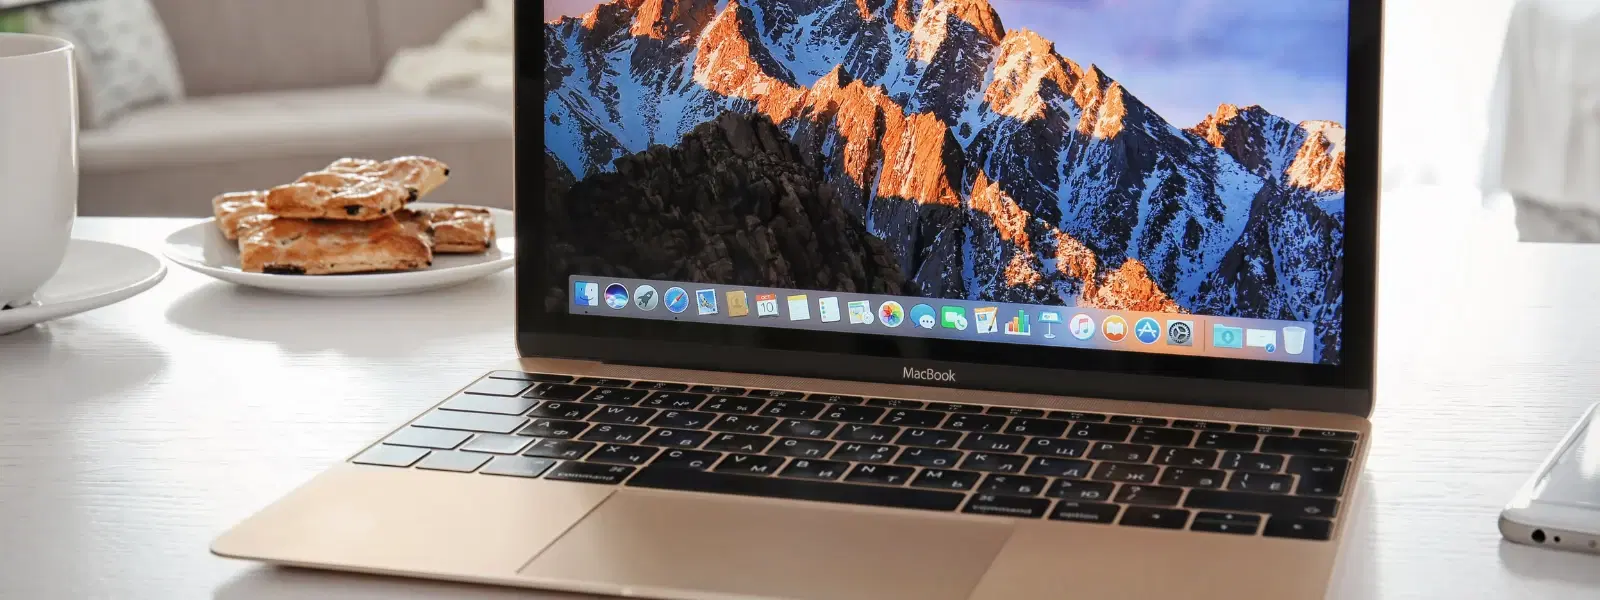
Ever wondered how to keep your files and folders on your Mac truly private? Whether it's sensitive work documents or cherished personal photos, protecting your data is easier than you might think. In this guide, we explore various techniques on how to hide files on Mac, ensuring your valuable information remains secure and out of sight.
Many users choose to conceal files on Mac for several reasons. Some may need extra privacy for sensitive work files or personal information, while others simply want to prevent accidental deletion or modification. Hiding files can also help to organise cluttered desktops or folders effectively.
Leaving files visible on your system can expose them to unauthorized access, especially in shared environments. This can lead to accidental exposure or loss of important data. With proper file hiding techniques, you can safeguard essential information and maintain your digital privacy.
FileVault is a built-in encryption tool available on macOS that helps to protect your data. This method not only secures your files but also offers an additional layer of privacy by encrypting your whole disk. To activate FileVault on your Mac, navigate to your System Preferences, select Security & Privacy, and then click on FileVault. Follow the simple steps, and you will be rewarded with enhanced security.
A simple yet effective technique to make files invisible on Mac is by adding a dot (.) at the beginning of your file name. This method is popular among many users who are keen on hiding folders on Mac without relying on additional software.

<p>Danger can overpower you at any time and your voice will not be enough in such situations to get the required aid. The amazing new <strong>Juvo PSB01 Personal Alarm</strong> is crafted for all ages and is a necessary precaution from all kinds of danger. It rings a very loud alarm at 120 dB as well as flashes the torch to warn people nearby about a danger. Whether you have a medical emergency or you are attacked by predators your voice may not be heard but this alarm will be enough to deter attackers or draw attention of people close by to give you the immediate assistance required.</p> <p><strong>Extremely Easy To Use</strong></p> <p>The <strong>Juvo PSB01 Personal Alarm</strong> is small and portable, can be attacked to even a keychain if you want. To start the siren all you need to do is separate or pull the metal key chain from the main black unit. The siren may go on for 1 1/2 hours in case nobody heard it in the first minutes. This is very important for girls returning home alone at night as it acts as a security anti-attack panic alarm that is sure to scare off a molester. Its easy portability accentuates its use.</p> <p><strong>Lights Your Way</strong></p> <p>The little and portable <strong>Juvo PSB01 Personal Alarm</strong> also features a small LED torch that helps you find your way in the dark. Don’t be scared of dark alleys when you have this with you because it is equipped to save you from all dangers.</p>
For those comfortable with command line, the Terminal offers powerful options. One useful command is chflags hidden, which allows you to instantly hide files. This hidden files Mac tutorial step-by-step instruction can be summarised as follows: open Terminal, type the command along with the file or folder path you wish to hide, and then press enter to execute.
If you wish to protect files on Mac more robustly, consider creating hidden folders manually. This method, often referred to as Mac hidden folder creation, involves setting up secret directories where you can store sensitive files. By maintaining an organised structure, you ensure that your secure files remain set apart from everyday folders.
One common issue is that recently accessed files can appear in the Recents folder. Adjusting your mac file privacy settings allows you to exclude sensitive files from this view. Taking a few simple steps in macOS privacy settings can help you ensure that only the files you want to be visible are accessible.
For users seeking additional features, third-party applications offer enhanced file hiding and security. These solutions often provide more intuitive interfaces and extended capabilities compared to native methods. As part of mac file hiding tips, these tools can simplify the process and ensure your files remain discrete. Moreover, shopping smartly on platforms like Tata Neu can earn you NeuCoins rewards, showcasing how you can progress in life by engaging with both technology and smart shopping choices, with benefits like same-day Express Delivery for orders placed before 6 PM along with reliable after-sales support.
Pro Tip: "Did you know you can make files invisible simply by renaming them with a ‘.’ at the beginning of the file name? This simple trick is perfect for quick concealment without the need for additional software."
Revealing your hidden files is just as straightforward as hiding them. You can use the chflags nohidden command in Terminal to restore file visibility. Additionally, adjusting Finder preferences to display hidden items offers a user-friendly way to manage your files.

<p>The <strong>Lyfro Battery Powered Disinfectant Solution Generator</strong> is non-toxic and has no side effects</p> <ul> <li><strong>Free of Chemical Residues</strong> makes it an eco-friendly, cost-effective disinfectant</li> <li><strong>Uses Electrolysis</strong> to produce natural powerful disinfectant</li> <li><strong>300 mAh Battery</strong> with USB recharging facility</li> </ul> <p>Buy <strong>Lyfro Battery Powered Disinfectant Solution Generator</strong> to experience its awesome usages. It is an ultra-portable non-toxic disinfectant maker. It comes with an electrolysed water generator. Useful to sterilize public places as well. Use <strong>Lyfro Battery Powered Disinfectant Solution Generator</strong> which allows you to create your own non-toxic disinfectant in just 3 minutes. Simply add salt and water together. Uses electrolysis to produce natural powerful disinfectants proven to be effective against bacteria, viruses, and mold.</p> <p>When you get <strong>Lyfro Battery Powered Disinfectant Solution Generator</strong> online, you also get an awesome eco-friendly, cost-effective disinfectant for your everyday life. It is equipped with a 300 mAh battery with USB recharging facility. It is usable at home, office, or in transit. It eliminates up to 99.9 percent pathogens. It is free of chemical residues. It is a self-made disinfectant.</p>
At times, hidden files may not appear as expected after using Terminal commands. To resolve such issues, double-check your command syntax and ensure that Finder settings are configured correctly. These troubleshooting steps can help you stay on top of your file security measures, ensuring you never lose track of your essential data.
You can hide files by renaming them with a dot (.) prefix or by moving them into a hidden folder created manually.
The easiest approach is to use FileVault encryption or third-party tools that offer a seamless folder concealment process.
You can reveal hidden files by using the chflags nohidden command in Terminal or by enabling the display of hidden files in Finder preferences.
Yes, you can adjust your privacy settings in macOS to prevent files from showing up in the Recents folder.
Reputable third-party applications are designed to offer advanced privacy features, ensuring your data remains protected while providing user-friendly experiences.
Hiding files and folders on your Mac is an essential step towards securing your data and ensuring your personal information remains private. By following the techniques discussed—from using built-in tools in macOS to leveraging Terminal commands and advanced third-party solutions—you can confidently protect your sensitive files. With resources like Tata Neu that prioritise customer care and offer exclusive benefits such as NeuCoins rewards and Express Delivery, you can make informed decisions with ease and enjoy a seamless shopping experience alongside enhanced digital security.
