Consumer Electronics
•03 min read
Ever wondered how to make your USB drive the ultimate tool for installing Windows 10? Whether you're upgrading your system, repairing your OS, or setting up a new computer, creating a bootable USB is an essential skill every tech-savvy user should master. This guide provides answers to common queries while walking you through the entire process step-by-step, ensuring a hassle-free experience.
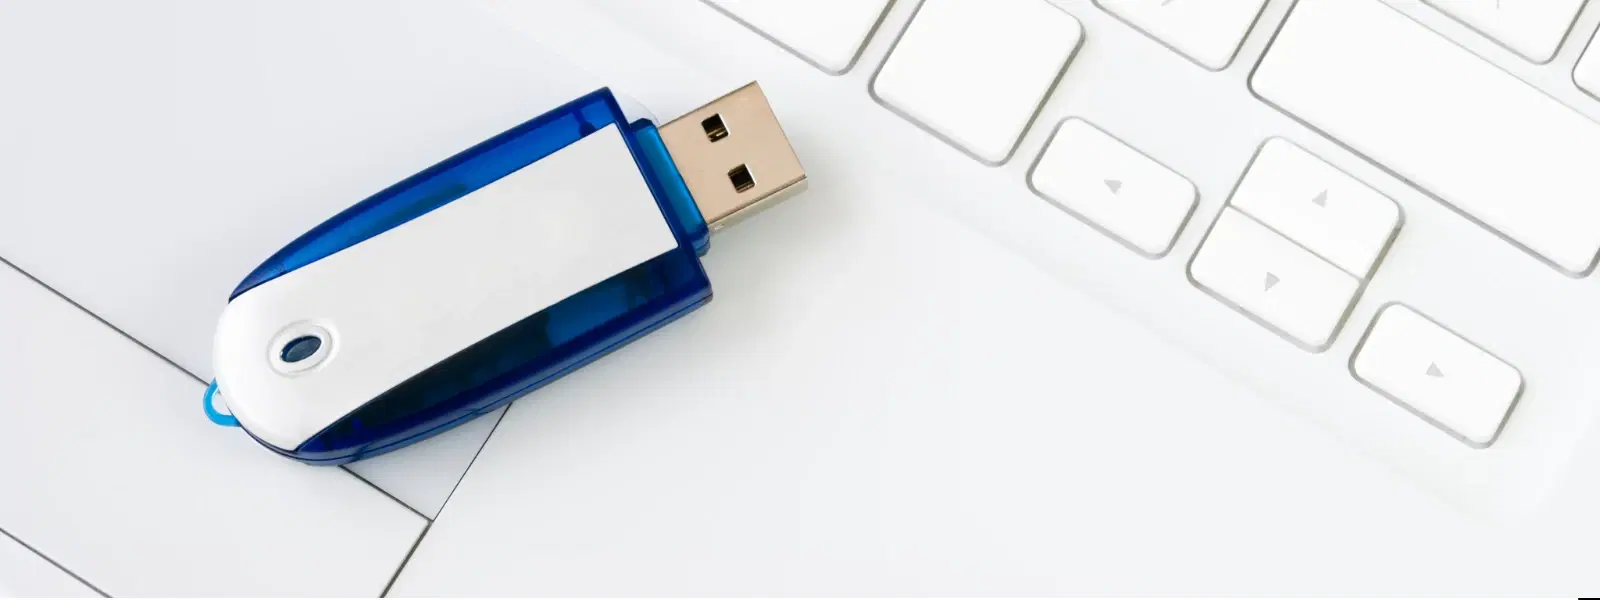
A bootable USB is a removable drive configured with an operating system installer, allowing you to start and repair a computer without relying on an internal hard disk. Unlike a regular USB drive, a bootable USB holds the necessary installation files for Windows 10, making it indispensable for installation, maintenance, or repair tasks.
Creating a bootable USB for Windows 10 is ideal for upgrading your current system, troubleshooting operating system issues, or even setting up a completely new computer. The benefits are clear: portability, convenience, and often faster installation times compared to traditional optical media. With modern technology and robust support from trusted platforms like Tata Neu, your tech journey becomes smoother and more rewarding. Earn up to 5% NeuCoins on Tata Neu with every tech purchase, and enjoy the convenience of Express Delivery for orders placed before 6 PM.
Before you start, ensure you have these essential items: a Windows 10 ISO file, a USB drive with a minimum storage capacity of 8GB, and either the Windows Media Creation Tool or a trusted third-party utility like Rufus. All tools should be safely downloaded from their official sources to guarantee authenticity and security. Embracing these reliable channels aligns with the commitment to a secure and efficient digital experience.
Prior to loading the installation files, it’s important to prepare your USB drive. Begin by backing up any personal files, as formatting the drive will erase all data. Then, choose the appropriate file system format. For most cases, FAT32 works well; however, for compatibility or file size reasons, NTFS might be preferable. This initial step is crucial to avoid unexpected issues during the bootable USB setup process.
The official Windows Media Creation Tool offers a streamlined method to create your bootable USB. After downloading and launching the tool, begin by selecting the option to create installation media for another PC. Follow the on-screen instructions meticulously, ensuring you pick the correct Windows 10 version and language that suits your needs. This method is perfect for those who appreciate guided, straightforward processes.
For users seeking more control over their bootable USB setup, Rufus is a popular alternative. Once you have downloaded Rufus, open the software and select your USB drive. Load the Windows 10 ISO, and Rufus will automatically configure settings for both BIOS and UEFI compatibility. This advanced method is best for those who are comfortable with a bit more technical detail while still aiming for a smooth installation experience.
Regardless of the method selected, it is important to verify that your USB drive is properly configured. To check, restart your computer and enter the boot menu. If the USB drive is detected as a boot option, your setup is ready for the Windows installation process. Confirming this step helps prevent potential installation hiccups and ensures every detail is in place.
After creating your bootable USB, configure your system to boot from this drive. Access your computer’s BIOS or UEFI settings, and modify the boot sequence by setting the USB drive as the primary device. If your computer doesn’t recognise the USB, check for secure boot settings or legacy mode configurations. Remember to review the boot options carefully and check availability if you encounter issues.
With the BIOS/UEFI settings prepared, you can now proceed to execute the Windows installation. Insert the bootable USB, restart your computer, and follow the prompts to begin the installation. This involves selecting the appropriate partitions, formatting if needed, and progressing through the guided setup process. Focus on the provided instructions to prevent common pitfalls often encountered during OS setup.
Pro Tip: Speed Up Your Installation Process
Did you know? Using a USB 3.0 drive significantly reduces Windows installation time compared to USB 2.0. Make sure your computer supports USB 3.0 for optimal performance.
Use the Windows Media Creation Tool or Rufus, which efficiently formats your USB drive and pre-loads the necessary OS files.
Download the Windows 10 ISO and utilise the Media Creation Tool, ensuring you select the right version and architecture suitable for the target computer.
By using the Media Creation Tool, you can generate a bootable USB and then opt for the 'Repair your computer' feature during installation to access recovery tools.
Creating a Windows 10 bootable USB is a straightforward yet vital procedure for anyone looking to install or repair an operating system. By following the clear steps in this guide, you can boost your technical capabilities and ensure your systems are always up-to-date and secure. Enjoy the benefits of seamless installation, the reward of NeuCoins on Tata Neu, and the peace of mind that comes with expert-backed procedures. Explore additional consumer electronics guides and broaden your tech expertise with confidence.