Consumer Electronics
•04 min read

<p>Danger can overpower you at any time and your voice will not be enough in such situations to get the required aid. The amazing new <strong>Juvo PSB01 Personal Alarm</strong> is crafted for all ages and is a necessary precaution from all kinds of danger. It rings a very loud alarm at 120 dB as well as flashes the torch to warn people nearby about a danger. Whether you have a medical emergency or you are attacked by predators your voice may not be heard but this alarm will be enough to deter attackers or draw attention of people close by to give you the immediate assistance required.</p> <p><strong>Extremely Easy To Use</strong></p> <p>The <strong>Juvo PSB01 Personal Alarm</strong> is small and portable, can be attacked to even a keychain if you want. To start the siren all you need to do is separate or pull the metal key chain from the main black unit. The siren may go on for 1 1/2 hours in case nobody heard it in the first minutes. This is very important for girls returning home alone at night as it acts as a security anti-attack panic alarm that is sure to scare off a molester. Its easy portability accentuates its use.</p> <p><strong>Lights Your Way</strong></p> <p>The little and portable <strong>Juvo PSB01 Personal Alarm</strong> also features a small LED torch that helps you find your way in the dark. Don’t be scared of dark alleys when you have this with you because it is equipped to save you from all dangers.</p>
Have you ever wondered what to do with your Dell recovery USB drive once it’s served its purpose? Whether you’re troubleshooting issues, giving your drive a fresh start, or preparing it for reuse, knowing how to properly format your recovery USB drive is a must. This blog post will guide you step-by-step through the process, ensuring your technology stays as reliable and user-friendly as you deserve. Shop with Tata Neu to earn NeuCoins with every purchase and enjoy same-day Express Delivery for orders placed before 6 PM.
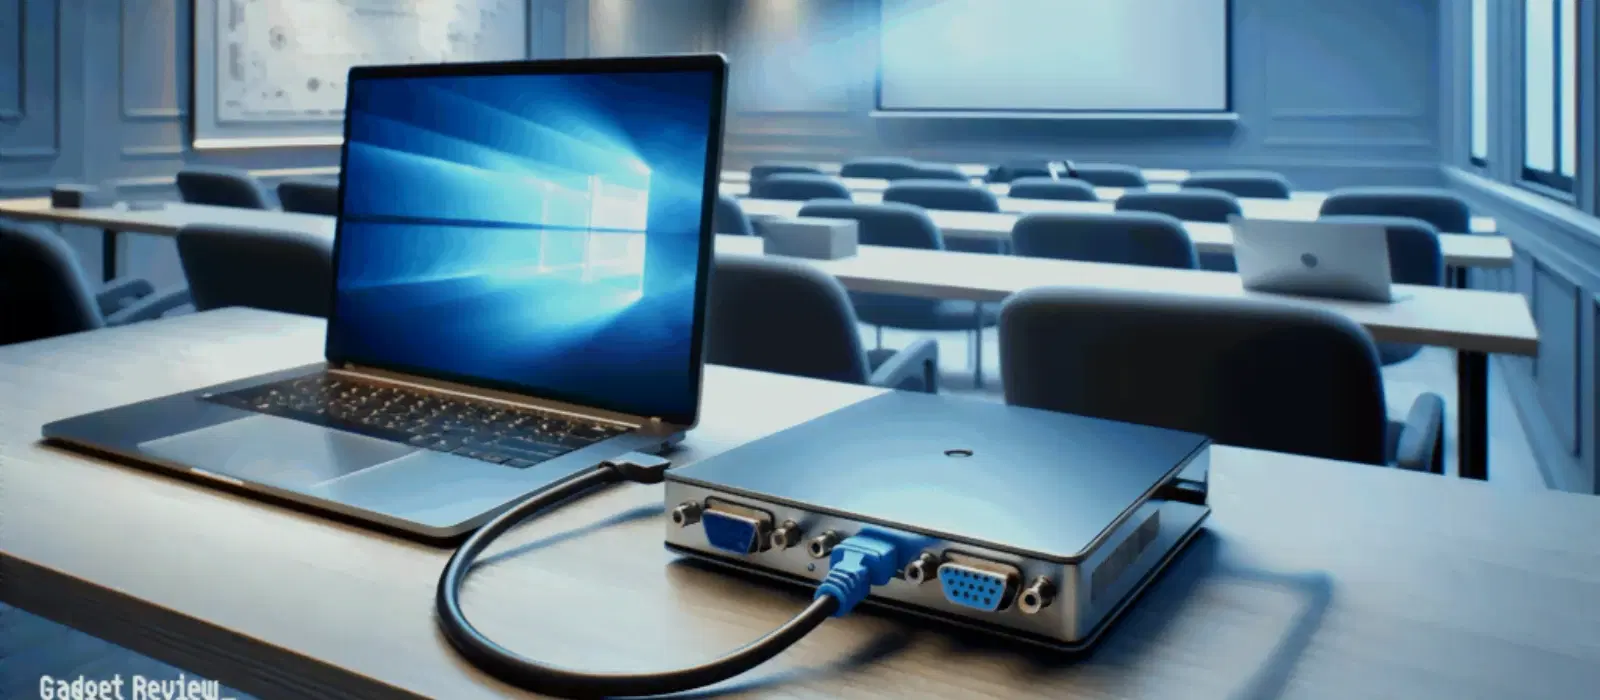
A Dell recovery USB drive is an invaluable tool designed to reinstall your operating system and troubleshoot errors on Dell laptops. It acts as a safety net, allowing you to recover your system quickly and efficiently should any issues arise.
There are several scenarios where formatting your Dell recovery USB drive becomes essential. Perhaps you need to erase corrupted recovery data, prepare the drive for reuse as external storage or bootable media, or simply ensure that sensitive data is securely removed. It is always advisable to back up any important recovery data before proceeding with a format, thus keeping your critical system files safe in case they are needed again.
Before attempting to format your drive, it's crucial to create a backup of the recovery data. Using tools like the Dell OS Recovery Tool, you can easily duplicate the recovery partition onto another secure storage device. This step guarantees that you have a copy of the essential files. Remember, it’s better to be safe than sorry.
Many users may overlook the possibility that the drive is write-protected. To check, try copying a file to the drive; if it fails, write protection may be enabled. In such cases, consult the drive’s manual or system settings to disable write protection before moving ahead.
The file system you choose for formatting your drive can depend on its intended use. Options such as FAT32, NTFS, and exFAT all offer different benefits. For a drive that will host a new recovery partition or be used as bootable media, selecting the recommended file system for Dell recovery drives is key. Doing so will ensure optimal performance and compatibility.

<b>Why Buy Environics Device Disinfector</b><ul><li><b></b> for optimised disinfection</li><li><b></b> makes sure all the germs are killed</li></ul><p>To prevent harmful bacteria and fungi from getting in contact with you, buy <b>Environics Device Disinfector</b>. The usability of your device disinfector may be affected if its installation is complex. As this device disinfector has the it prevents the extra-spill and wastage of sanitizer. Your residence and office will stay clean and hygienic with products from this device disinfector that have 99.99% high resistance against germs and viruses. </p><p>The <b>Environics Device Disinfector's</b> price is cost-effective so you don't have to adjust your budget. The longer it takes for the device disinfector to disinfect, the longer you will have to wait. As a result of its efficient and effective operation, this device disinfector requires only to inject. Your device disinfector needs to have the latest technology to make sure it kills all the germs. As this device disinfector has the to prevent viruses, you can rest assured. Purchase the <b>Environics Device Disinfector</b> online at this instant!</p>
Windows provides a user-friendly way to format your drive. For users on Windows 11, 10, or 7, simply open File Explorer, right-click on the USB drive, and select 'Format'. Adjust the settings by choosing your preferred file system, then click 'Start' to commence the process. Alternatively, you can use the Disk Management tool for added control, which is particularly useful if the drive is not immediately detected. According to Dell’s official documentation, this method is reliable for most scenarios.
If you prefer a different approach or need more flexible options, reliable third-party formatting tools are available. These tools walk you through the process in a few simple steps. They also offer extra features that can help process stubborn formatting issues seamlessly.
Encountering issues during the formatting process is not uncommon. If your drive isn’t recognised, check the connection and verify that the USB port is working properly. Persistent write protection errors may require another look at the drive's settings. By following these troubleshooting tips, you can avoid common pitfalls and ensure your drive is formatted successfully.
Pro Tip: Avoid Data Loss During Formatting
Did you know? Before formatting your Dell recovery USB drive, always create a backup of the recovery partition using the Dell OS Recovery Tool. This ensures you’ll have access to critical system files if you ever need to reinstall your operating system.
Once formatted, your Dell recovery USB drive can be repurposed for everyday use. Many users find it convenient to convert the drive into a portable file storage unit or even a bootable media for system diagnostics. Such versatility is perfect for tech enthusiasts and young professionals who appreciate seamless, efficient solutions.
If you wish to maintain the recovery functionality, it’s possible to create a fresh recovery drive using Dell’s dedicated tools. An updated recovery drive not only provides peace of mind but also ensures that you are working with the latest system updates and troubleshooting features. This approach underscores the convenience and security of your device management.

<p>The <strong>Lyfro Battery Powered Disinfectant Solution Generator</strong> is non-toxic and has no side effects</p> <ul> <li><strong>Free of Chemical Residues</strong> makes it an eco-friendly, cost-effective disinfectant</li> <li><strong>Uses Electrolysis</strong> to produce natural powerful disinfectant</li> <li><strong>300 mAh Battery</strong> with USB recharging facility</li> </ul> <p>Buy <strong>Lyfro Battery Powered Disinfectant Solution Generator</strong> to experience its awesome usages. It is an ultra-portable non-toxic disinfectant maker. It comes with an electrolysed water generator. Useful to sterilize public places as well. Use <strong>Lyfro Battery Powered Disinfectant Solution Generator</strong> which allows you to create your own non-toxic disinfectant in just 3 minutes. Simply add salt and water together. Uses electrolysis to produce natural powerful disinfectants proven to be effective against bacteria, viruses, and mold.</p> <p>When you get <strong>Lyfro Battery Powered Disinfectant Solution Generator</strong> online, you also get an awesome eco-friendly, cost-effective disinfectant for your everyday life. It is equipped with a 300 mAh battery with USB recharging facility. It is usable at home, office, or in transit. It eliminates up to 99.9 percent pathogens. It is free of chemical residues. It is a self-made disinfectant.</p>
Use File Explorer or the Disk Management tool in Windows. Right-click on the drive, select 'Format', choose the desired file system, and click 'Start'.
Insert the recovery USB, boot the PC from the drive, and follow the on-screen instructions to reset the system.
Disable write protection if enabled, then use formatting tools such as File Explorer or third-party software to erase all data.
Format the drive and select an appropriate file system according to its new purpose. Optionally, create a new recovery drive using Dell’s recovery tool.
First, check for physical damage and disable write protection. Then, reformat the drive. If problems persist, recreate the recovery drive using Dell’s OS Recovery Tool.
This guide has walked you through understanding and preparing your Dell recovery USB drive, formatting it safely, and repurposing it for modern-day needs. Following these expert tips ensures that you maximise the utility of your drive while maintaining the data protection and reliability you expect from trusted technology solutions. Enjoy the ease and convenience inherent in managing your digital world, and continue to explore innovative ways to further enhance your tech experiences with a balanced approach to modern consumer electronics.
