%20(Presentation)%20(1600%20x%20600%20px)(453)-3cc13b80-136b-4dd6-8ec9-5138b38f87c1.webp&w=3840&q=75)
Consumer Electronics
•05 min read

<p>The <strong>Lyfro Battery Powered Disinfectant Solution Generator</strong> is non-toxic and has no side effects</p> <ul> <li><strong>Free of Chemical Residues</strong> makes it an eco-friendly, cost-effective disinfectant</li> <li><strong>Uses Electrolysis</strong> to produce natural powerful disinfectant</li> <li><strong>300 mAh Battery</strong> with USB recharging facility</li> </ul> <p>Buy <strong>Lyfro Battery Powered Disinfectant Solution Generator</strong> to experience its awesome usages. It is an ultra-portable non-toxic disinfectant maker. It comes with an electrolysed water generator. Useful to sterilize public places as well. Use <strong>Lyfro Battery Powered Disinfectant Solution Generator</strong> which allows you to create your own non-toxic disinfectant in just 3 minutes. Simply add salt and water together. Uses electrolysis to produce natural powerful disinfectants proven to be effective against bacteria, viruses, and mold.</p> <p>When you get <strong>Lyfro Battery Powered Disinfectant Solution Generator</strong> online, you also get an awesome eco-friendly, cost-effective disinfectant for your everyday life. It is equipped with a 300 mAh battery with USB recharging facility. It is usable at home, office, or in transit. It eliminates up to 99.9 percent pathogens. It is free of chemical residues. It is a self-made disinfectant.</p>
A broken Android screen can feel like you've lost your lifeline, especially when you urgently need access to your device. Yet, there are expert methods that can help you salvage your data and connect your phone to a PC despite the damage. In this article, you'll learn how to enable USB debugging on Android with broken screen, a crucial tool for developers and everyday users alike who need to transfer files or troubleshoot device issues. While recovering your data, remember that shopping smartly on Tata Neu not only gives you seamless service but also lets you earn NeuCoins and enjoy express delivery on top tech purchases from Croma.
USB debugging is an essential developer tool that establishes a bridge between your Android device and your computer through the Android Debug Bridge (ADB). This connection allows you to perform advanced functions, including file transfers, troubleshooting, and even device recovery. Enabling USB debugging is particularly invaluable when dealing with devices that have lost a significant amount of functionality, such as those with broken screens.
When the touchscreen becomes unresponsive or the display is completely black, routine operations can turn into an ordeal. Whether you need to retrieve cherished memories, important documents, or simply ensure that your device remains functional, USB debugging can be a lifesaver. Moreover, advanced users regularly rely on this setting for fixing software issues or installing updates remotely. Overcoming the challenge of a non-functioning screen starts with knowing that there are practical solutions available.
The first step is to assess whether your device’s screen is partially functional or completely unresponsive. If there are traces of touch reacts on the screen, you might have more options available. However, if the screen is entirely black, you may need to use external aids to gauge your device’s working condition. Tools such as an OTG (On-The-Go) cable can be used to connect an external display or a mouse, offering a window into the device’s interface.
Before diving into advanced troubleshooting steps, ensure that your device has sufficient battery life to avoid interruption during the recovery process. Equally important is installing the necessary ADB drivers and the Android debugging suite on your computer. Double-check that you have a compatible USB cable and, where relevant, accessories like OTG cables. This preparation lays the foundation for smoothly bridging the gap between your broken device and your PC.
One of the more accessible approaches is to leverage an OTG cable paired with an external mouse. When you connect the mouse to your Android device via an OTG cable, you can navigate through your device’s settings even if the touchscreen remains unresponsive. Once connected, follow these steps:
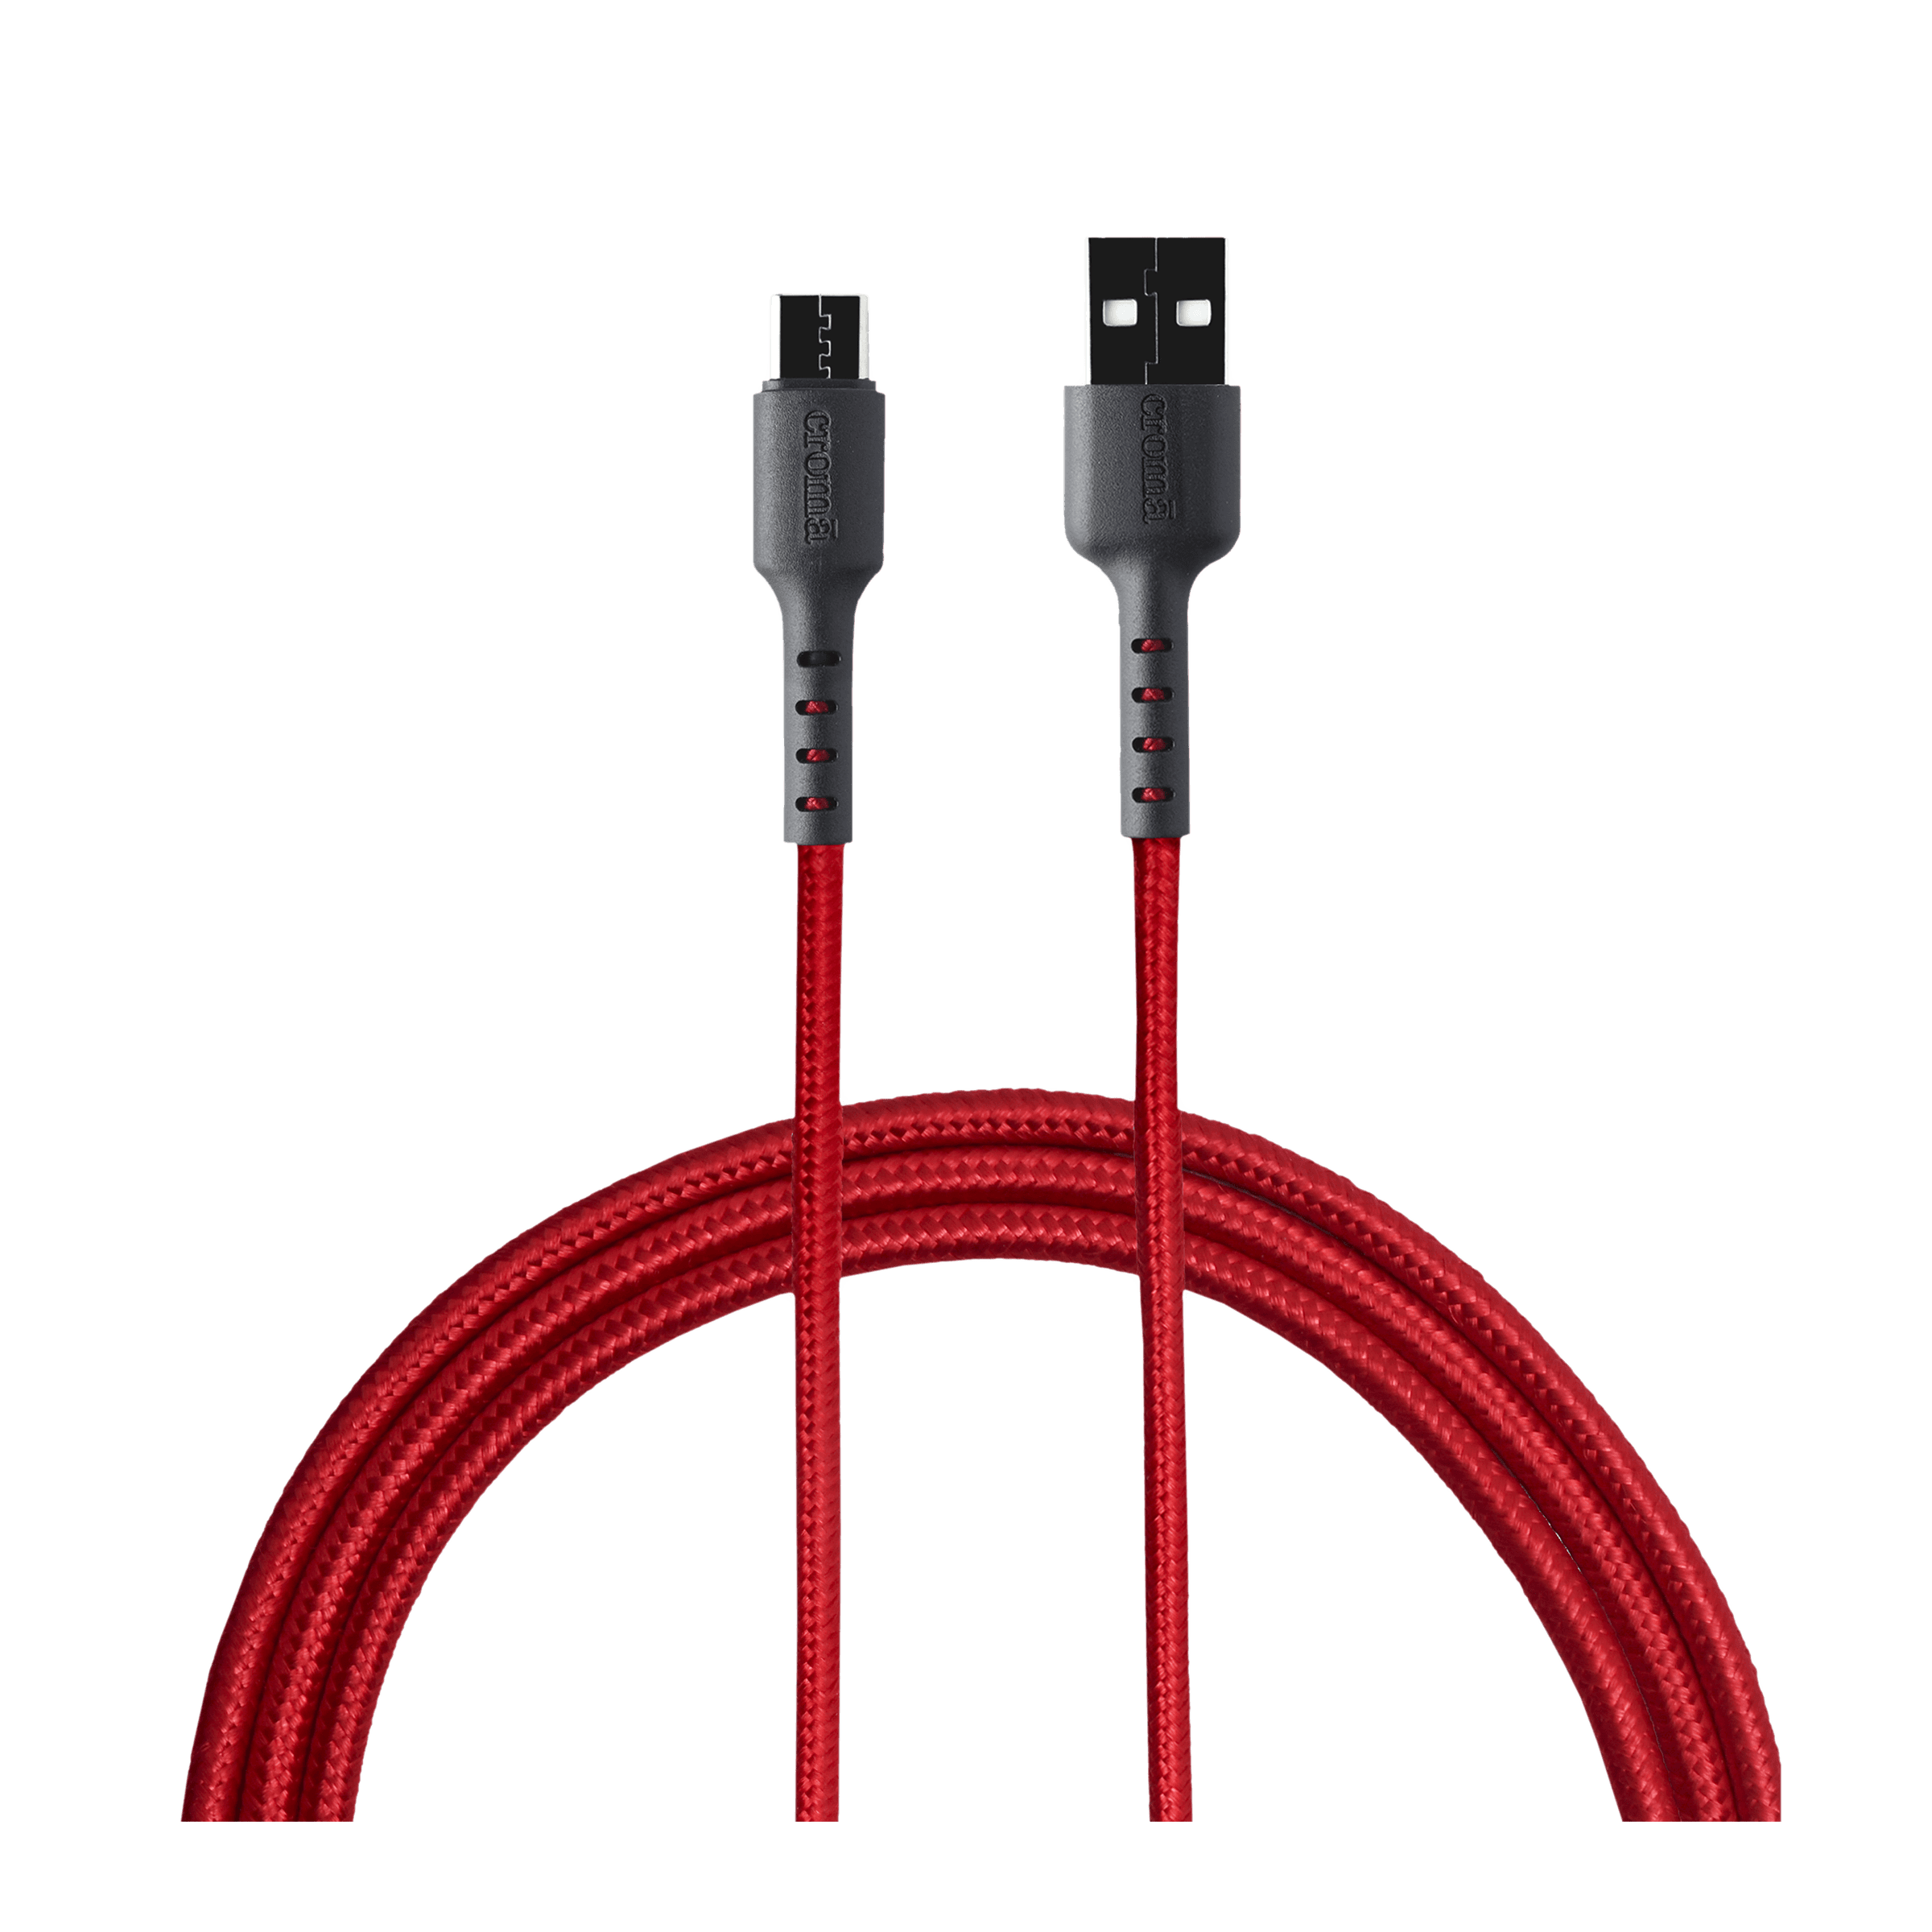
Buy Croma USB 2.0 Type A to USB 2.0 Type C 1 Meter Charging Cable (Braided Outer Exterior, Red) online at best prices from Croma. Check product details, reviews & more. Shop now!
Connect the OTG cable to your device and plug in your mouse.
Use the mouse to navigate to the Settings menu.
Scroll through to the Developer Options and enable USB debugging.
Remember to check the compatibility of your device with OTG, as not every Android phone or tablet supports this functionality. This method is highly practical when you need instant access without the need for specialised software.
Another effective method is utilising ADB commands directly from your computer. If your screen is completely unresponsive, this method allows you to enable USB debugging without interacting with the damaged interface.
Begin by installing the required ADB tools on your computer. Once installed, connect your device through a USB cable and execute specific commands via the command prompt. Here’s a general outline:
Launch the command prompt or terminal as an administrator.
Type the necessary commands to detect your device and enable the debugging mode.
This approach demands some technical knowledge but proves indispensable when all other interactions fail. The clarity of instructions provided in each command step makes it manageable even for those with basic computer literacy.
When traditional methods seem too daunting, third-party tools like Scrcpy or AirDroid offer alternative solutions. These software packages enable remote control of your Android device directly from your computer. By setting up these tools in advance, you can navigate through your device’s menus and ultimately enable USB debugging on a device that appears lifeless due to a broken screen.
Expert Tip: Unlock Hidden Potential with ADB Commands
Did you know you can enable USB debugging on Android without using the touchscreen? By installing ADB tools on your computer, you can execute commands to activate debugging mode, even on a completely black screen. This method is a lifesaver for recovering data or troubleshooting inaccessible devices.
Once USB debugging is enabled, you can commence transferring important files. Using the Media Transfer Protocol (MTP) mode, your computer can access the internal storage of the device, facilitating the transfer of photos, documents, and other essential files. If additional recovery tools are required, consider reputable file recovery software that can help retrieve data that might be on the verge of being lost.
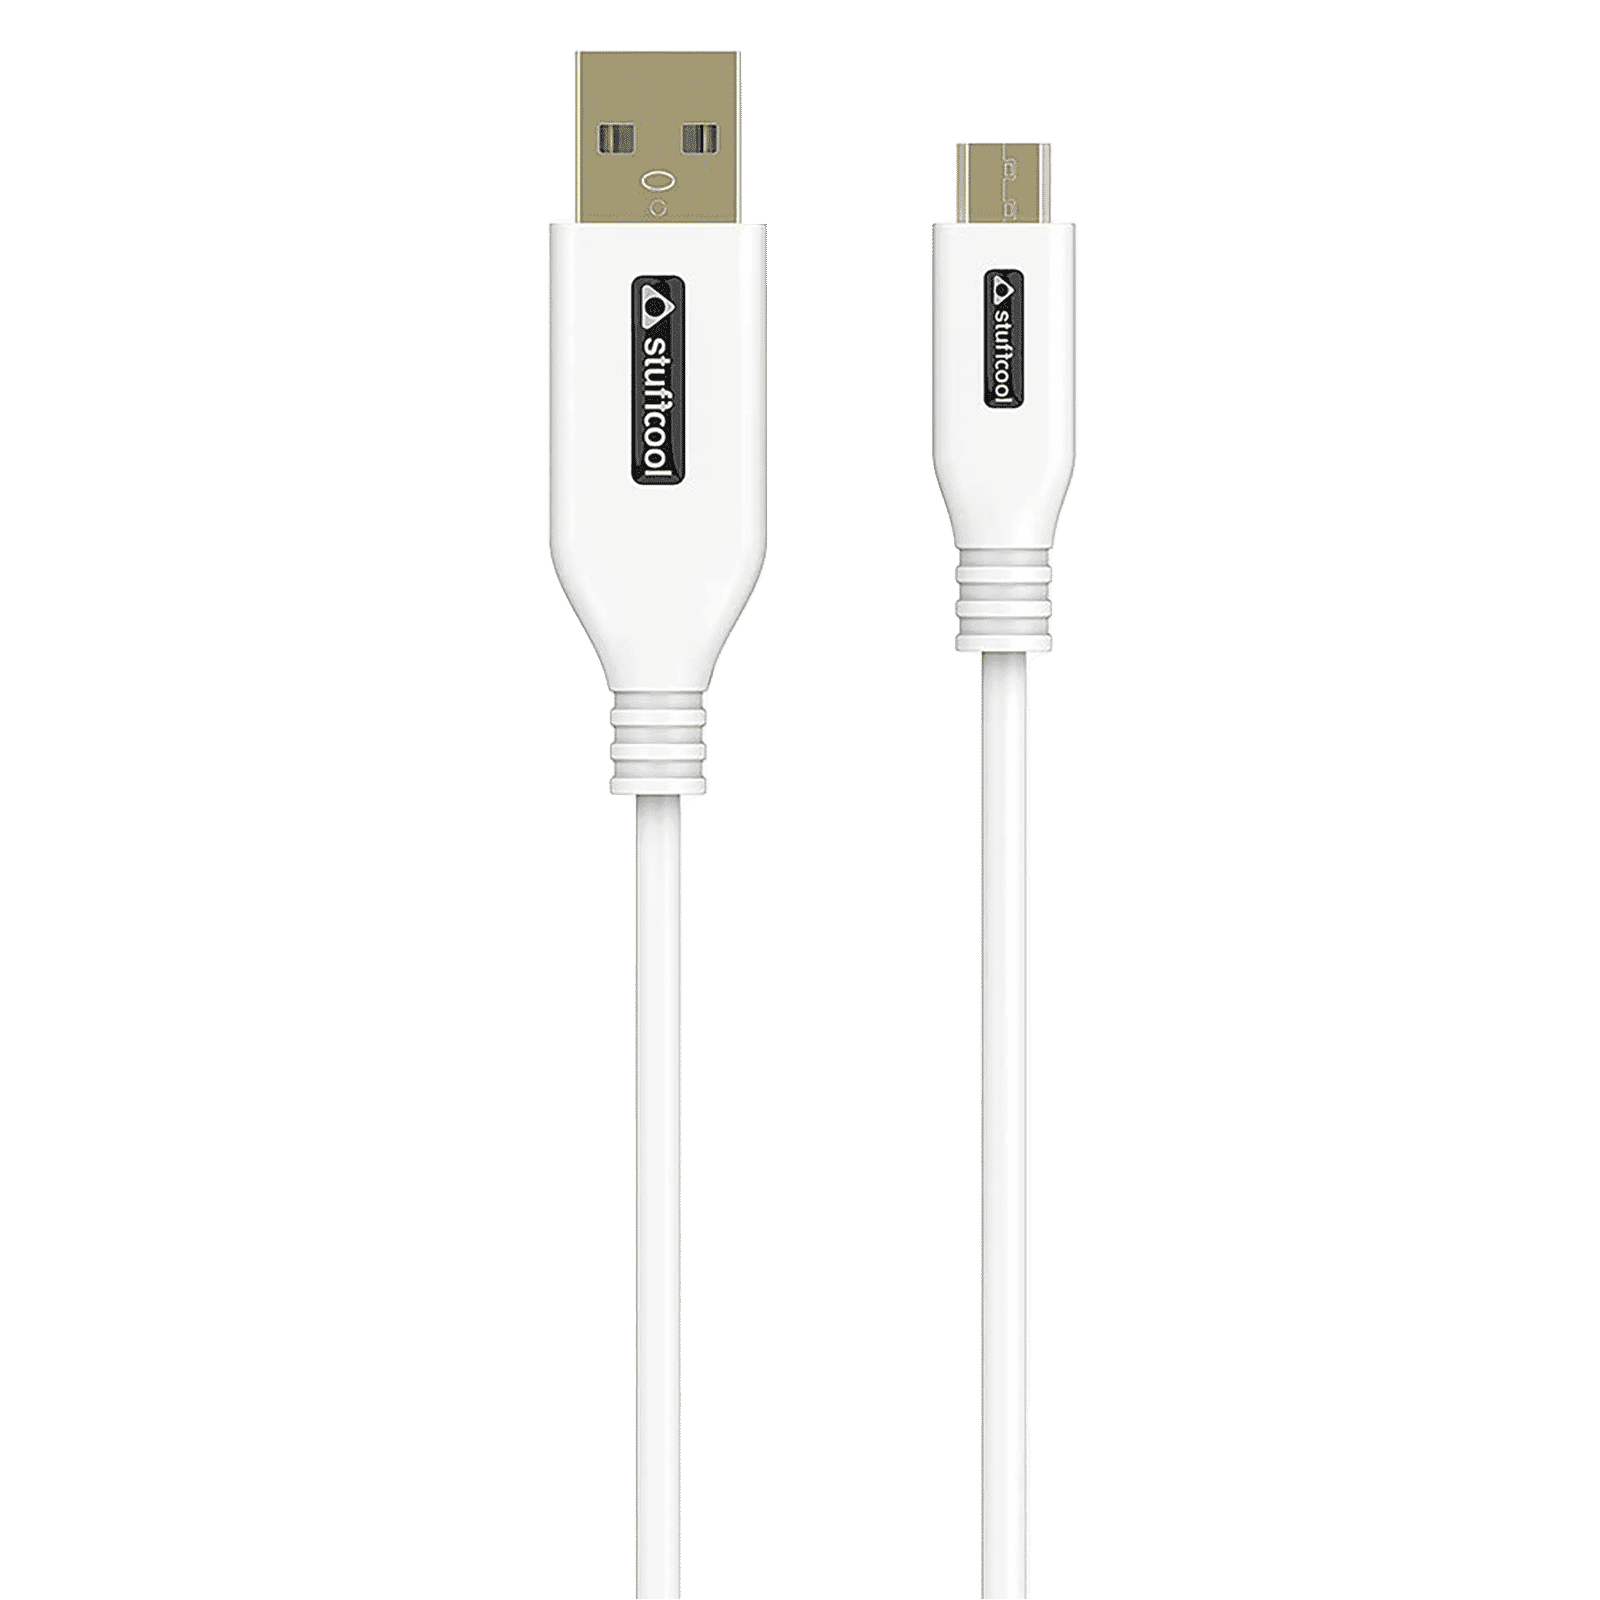
Buy stuffcool Rapido Type A to Micro USB 4.9 Feet (1.5M) Cable (Sleek Design, White) online at best prices from Croma. Check product details, reviews & more. Shop now!
There are instances wherein temporary fixes or professional repairs might be essential to regain complete functionality of your touchscreen. While USB debugging often provides a workaround during the interim, addressing the physical damage remains a priority. Temporary repairs such as screen mirroring techniques or connecting to a secondary display can provide emergency solutions until a proper fix is implemented.
Even after repair, re-enabling USB debugging can ensure that you continue to have an additional avenue for troubleshooting. This becomes especially valuable should hardware issues persist or further software interventions become necessary.
You can use an OTG cable with a mouse to navigate settings, or alternatively, employ ADB commands from your computer to activate debugging mode remotely.
If your device is locked, ADB commands may bypass the lock to enable debugging provided that you have access to the device’s credentials or linked Google account.
Installing ADB tools on your computer and connecting your device via USB allows you to execute commands that can enable debugging, circumventing the need for a functional touchscreen.
This method is feasible only if the phone was previously set up for debugging. Otherwise, physical repairs or advanced interventions may be necessary.
Yes, by using ADB commands or third-party tools like Scrcpy, you can successfully enable USB debugging directly from your computer even when the screen is not operational.
In summary, enabling USB debugging on Android with a broken screen offers a gateway to salvaging important data, troubleshooting issues remotely, and achieving a sense of control over an otherwise compromised device. Whether you opt for an OTG cable with a mouse, utilise ADB commands, or explore third-party tools, being prepared both on the device and the computer is essential for a smooth experience. Remember, every step taken towards addressing a technical glitch, no matter how minor, is a stride towards reclaiming the potential hidden within your device. Stay empowered by learning these techniques and enjoy the peace of mind that comes with knowing you are equipped to handle even the most challenging situations in the realm of consumer electronics. While you’re addressing your tech challenges, remember Tata Neu’s unmatched benefits—earn NeuCoins, enjoy express delivery, and get expert guidance on top tech products from Croma.
