Consumer Electronics
•03 min read
Imagine turning a simple USB drive into a powerful tool that can install or recover Windows on any computer. Although it might seem complex, creating a Windows boot USB is simpler than you might think. Whether you are a tech enthusiast or someone stepping into the world of technology for the first time, this guide provides expert insights to safely and efficiently create your own bootable USB drive.
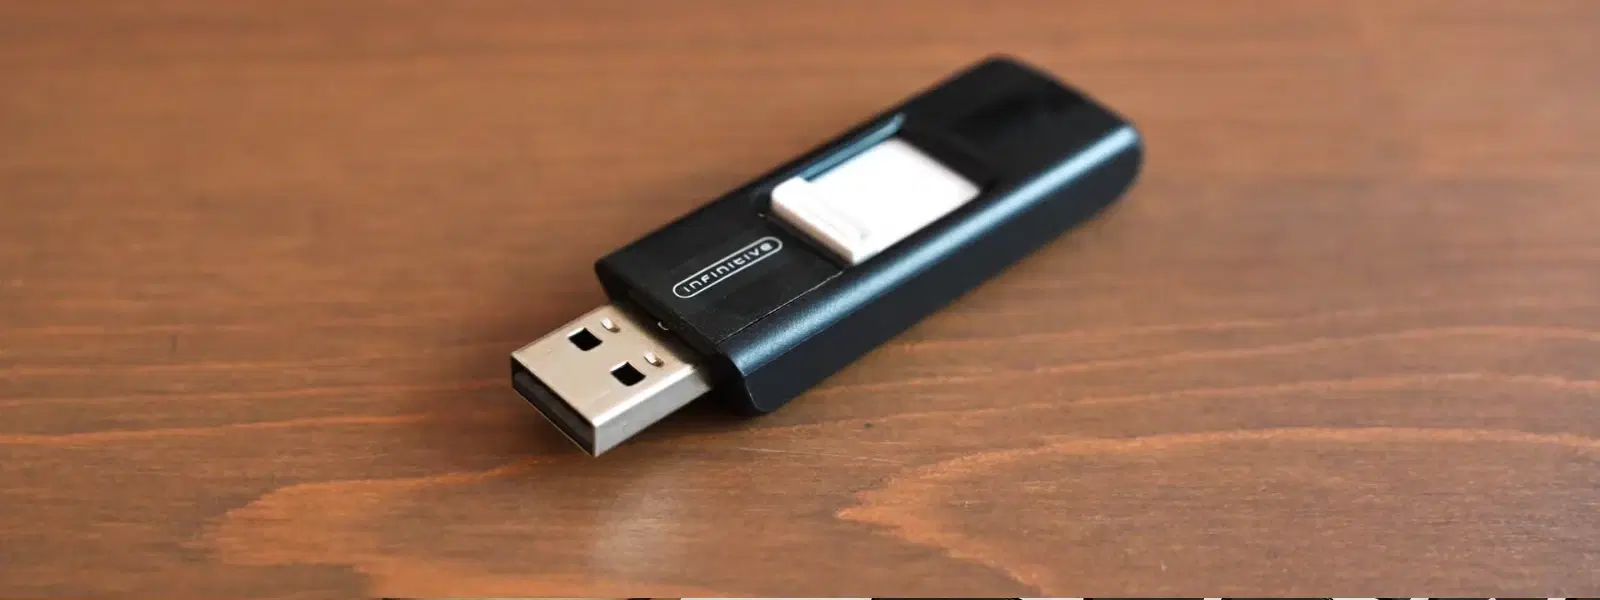
A Windows boot USB is a portable drive that contains all the files needed to install or repair Windows. Unlike traditional CDs or DVDs, a USB boot drive offers faster installation, enhanced portability and greater ease of use. It is particularly useful for system recovery and troubleshooting, providing a reliable solution when your computer needs a quick fix.
Creating a bootable USB drive for Windows can significantly speed up the installation process. Its portability and compatibility with modern devices—most of which no longer include optical drives—make it an indispensable tool. With the ability to carry your Windows installation in your pocket, you are empowered to manage system setups and recoveries anytime, anywhere.
Before you begin, gather a few essentials. You will need a USB drive, ideally with a capacity of at least 8GB, and a genuine Windows ISO file. Tools such as the Windows Media Creation Tool or third-party applications like Rufus are recommended for this process. Do not overlook the importance of formatting your USB drive beforehand to ensure a smooth setup.
When selecting a USB drive to create your bootable installation tool, consider factors such as capacity, read/write speed, and reliability. A high-quality USB drive ensures that your bootable device remains consistent and dependable, minimising any risk of errors during installation. Reliable hardware is essential, much like the promises made by trusted brands in our daily shopping experiences on Tata Neu.
This method is very popular due to its simplicity and official support. First, download and run the Windows Media Creation Tool from Microsoft’s website. Follow the on-screen instructions to select the correct Windows version, whether it is Windows 10 or Windows 11. Next, choose your USB drive as the destination and let the tool write the ISO file to your drive. This method is particularly useful for users who prefer a straightforward approach with minimal technical adjustments.
For those seeking greater control over the process, Rufus offers a robust alternative. This third-party utility is favoured by many for its flexibility and customisation options. After downloading Rufus, select the ISO file and plug in your USB drive. The software allows you to adjust settings such as partition scheme and boot mode (UEFI vs. Legacy boot). This flexibility is critical for users with specific installation requirements or those looking to optimise performance.
Once your Windows boot USB is created, the next step is to access your computer’s BIOS or UEFI settings. These settings control the order in which your computer checks for bootable devices. Typically, you can enter these settings by pressing a designated key, such as F2 or DEL, during startup. This interface is your gateway to ensuring that your system recognises the bootable USB drive.
Adjusting the boot order is straightforward. Within the BIOS or UEFI menu, locate the boot sequence and move your USB drive to the top of the list. This change prioritises the USB drive during system startup. If you encounter issues where the device does not boot, checking the boot order and confirming that the USB drive is correctly formatted can resolve many common problems.
Even with thorough preparation, issues may arise. If your USB drive is not recognised, consider checking the USB port or trying a different drive. Similarly, if the bootable USB fails to load, inspect your BIOS settings to ensure the boot order is correct or recheck the integrity of your ISO file. Addressing such concerns promptly is key to maintaining a seamless experience.
Expert Tip: Maximising USB Boot Success
Always use a high-quality USB drive and double-check the integrity of the ISO file before proceeding. Faulty hardware or corrupted files are the most common culprits behind boot failures.
Download the Windows Media Creation Tool from Microsoft, follow the prompts to select your USB drive, and write the ISO file to make it bootable.
Use tools like Rufus or the Windows Media Creation Tool. Ensure you have a valid ISO file and a properly formatted USB drive.
Access BIOS/UEFI settings during startup, usually by pressing a key like F2 or DEL, then change the boot order to prioritise USB devices.
Most exe files for creating bootable USBs are packaged tools, such as Rufus. Run the exe file, follow the instructions, and select your USB drive and ISO file.
In summary, creating a Windows boot USB is a valuable skill that empowers users to manage installations and recoveries with confidence. By understanding the process and utilising the recommended tools and techniques, you can simplify what once seemed a daunting task. This comprehensive guide provides a clear, step-by-step approach, ensuring you are well-equipped to handle system installations smoothly. Much like achieving savings with NeuCoins on Tata Neu, mastering this process adds value to your tech toolkit, providing both convenience and efficiency.