Consumer Electronics
•04 min read

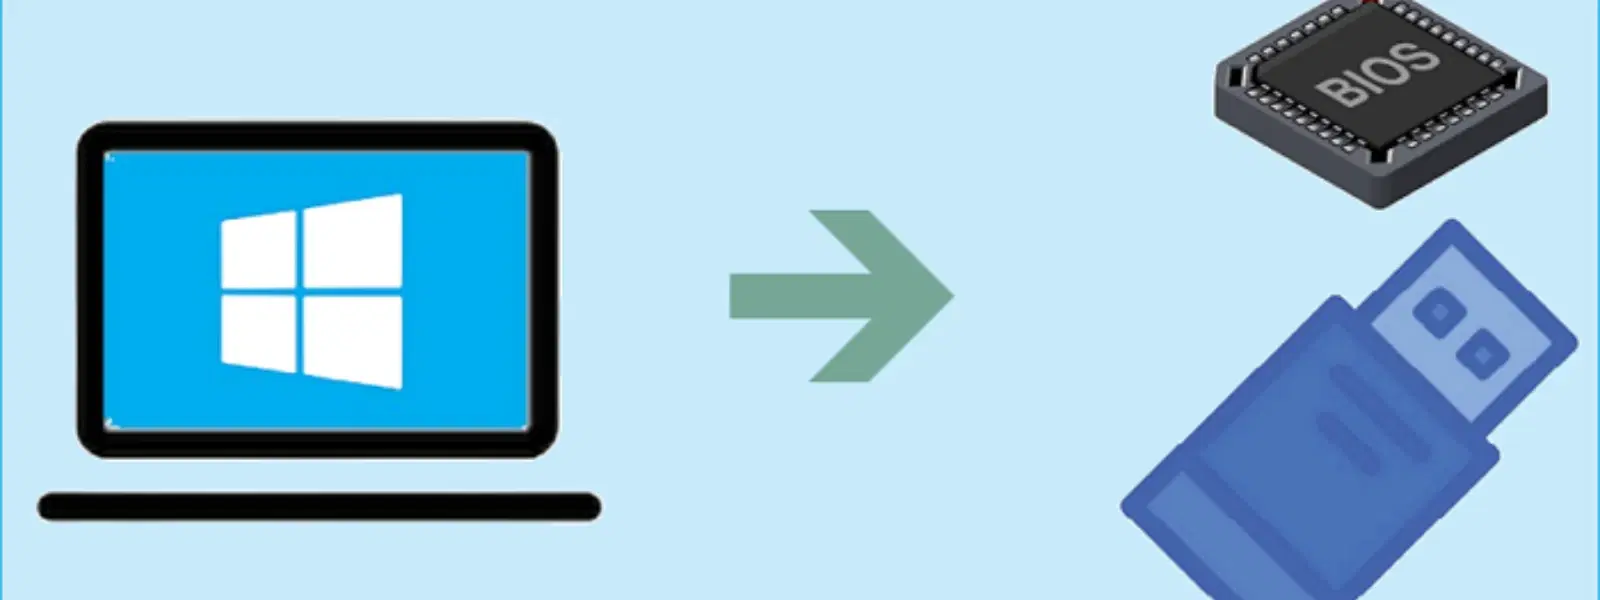
Ever found yourself needing to install Windows 7 but lacking a DVD drive? Creating a bootable USB drive offers a portable and efficient alternative. This guide will walk you through the process of how to create bootable USB in Windows 7: from understanding what a bootable USB is to preparing your drive and using the best tools available. Embodying ease and convenience, the steps outlined here are designed to empower you with a clear, step-by-step process, ensuring that even the most complex procedures feel approachable.
A bootable USB is a removable storage device preloaded with the necessary system files that allow you to install an operating system directly from the USB drive. This method is especially beneficial for installing older operating systems like Windows 7 on machines without DVD drives. Its advantages include faster installation times, portability, and enhanced compatibility with modern devices.
To embark on this process, you will need a USB drive with at least 4GB of storage, the Windows 7 ISO file, and a tool or method to make the USB bootable. Whether you decide to use a dedicated software solution such as Rufus or the Windows USB/DVD Download Tool, or whether you lean towards a software-free approach using the Command Prompt, having access to a Windows machine to perform these steps is essential.
Start by inserting your USB drive into your computer. Open Disk Management or use the DISKPART command from the Command Prompt as an Administrator. Next, format the drive to FAT32, which is widely compatible with most BIOS configurations; this ensures that your drive is ready for use. Finally, assign a drive letter that is easy to identify. The steps are simple, yet critical, to avoiding potential installation errors later.
Proper formatting is more than just a routine task—it is the foundation for a smooth OS installation. When the USB is formatted correctly, it ensures that your device can be read by the computer’s BIOS, thereby preventing any installation errors. This clear and concise preparation work saves you from unnecessary troubleshooting during the installation process.
Expert Tip: Streamline Your Bootable USB Setup
Did you know that using tools like Rufus allows you to create a bootable USB in under 10 minutes? Its user-friendly interface and advanced options, such as UEFI compatibility, make Rufus a preferred choice for both tech enthusiasts and seasoned professionals.
Insert a USB drive, format it correctly, and use tools like Rufus or the Windows USB/DVD Download Tool to load your Windows 7 ISO file onto the drive.
Use software like Rufus to choose the ISO file and the target USB drive, then initiate the process to transfer the ISO content onto the USB.
Yes, Rufus is highly reliable for creating bootable USB drives for Windows 7, thanks to its efficient performance and ease of use.
Enter the BIOS settings during startup, navigate to the boot order section, and set the USB drive as the primary boot device.
Use Command Prompt commands through DISKPART to clean, format, and prepare your USB, then manually copy the Windows 7 ISO files onto it.
Creating a bootable USB for Windows 7 is a straightforward and empowering process when you follow the correct steps and utilise reliable tools. Whether you opt for the simplicity of Rufus or prefer the hands-on approach with the Command Prompt, this guide provides you with comprehensive instructions to ensure success. Much like the rewards you earn as NeuCoin on Tata Neu, every step in this process builds towards enhanced convenience and reliability in your tech journey. Explore more thought leadership insights and trusted guidance on consumer electronics, and enjoy the confidence that comes from mastering your devices.
If you prefer a straightforward, automated process, the Windows USB/DVD Download Tool offers a reliable method. Install the software on your computer and load your Windows 7 ISO file into the tool. Then, simply select your USB drive, and allow the tool to automatically create your bootable USB. This method is especially appreciated for its simplicity and effectiveness.
Rufus is another popular tool known for its efficiency and advanced options. Begin by downloading Rufus from its official site. Once installed, select your USB drive and the Windows 7 ISO file, then configure the settings such as partition scheme and file system to match your system’s requirements. Finally, initiate the process and watch as Rufus transforms your USB into a powerful installation tool. Its user-friendly interface makes it a favourite among tech enthusiasts and professionals alike.
For those who appreciate working directly with system commands, using the Command Prompt via DISKPART offers a viable alternative. Open the Command Prompt as an Administrator, then run a series of commands to clean, format, and prepare your USB drive. After this, copy the Windows 7 ISO files manually. While this method may require deeper technical knowledge, it provides flexibility and control over each step of the process. However, keep in mind it may be less intuitive than software-based tools.
After creating your bootable USB, the next step is to configure your computer’s BIOS settings to recognise the device. Restart your computer and enter the BIOS or UEFI settings. Change the boot priority so that the USB drive appears before the internal hard drive. Save your settings and exit BIOS to allow the changes to take effect. Remember that some systems may require you to check availability of USB booting in the BIOS.
With the USB drive ready, plug it into your computer and restart the device. If the process was successful, the Windows 7 installation should begin automatically. In case the installation does not start, check that the BIOS is correctly configured and that the USB is properly recognised. Common troubleshooting issues include verifying the ISO file’s integrity and ensuring the drive is formatted correctly.
Sometimes, you might face issues such as the USB not booting. In these situations, double-check that you have formatted the drive to FAT32 and that the BIOS boot settings are correct. Additionally, ensure that your Windows 7 ISO file is intact and free of errors. Compatibility between your USB drive and your system’s specifications is also a critical factor to consider.

<p>Danger can overpower you at any time and your voice will not be enough in such situations to get the required aid. The amazing new <strong>Juvo PSB01 Personal Alarm</strong> is crafted for all ages and is a necessary precaution from all kinds of danger. It rings a very loud alarm at 120 dB as well as flashes the torch to warn people nearby about a danger. Whether you have a medical emergency or you are attacked by predators your voice may not be heard but this alarm will be enough to deter attackers or draw attention of people close by to give you the immediate assistance required.</p> <p><strong>Extremely Easy To Use</strong></p> <p>The <strong>Juvo PSB01 Personal Alarm</strong> is small and portable, can be attacked to even a keychain if you want. To start the siren all you need to do is separate or pull the metal key chain from the main black unit. The siren may go on for 1 1/2 hours in case nobody heard it in the first minutes. This is very important for girls returning home alone at night as it acts as a security anti-attack panic alarm that is sure to scare off a molester. Its easy portability accentuates its use.</p> <p><strong>Lights Your Way</strong></p> <p>The little and portable <strong>Juvo PSB01 Personal Alarm</strong> also features a small LED torch that helps you find your way in the dark. Don’t be scared of dark alleys when you have this with you because it is equipped to save you from all dangers.</p>

<p><b>HEUV Technology</b><br/><br/>Thanks to the HEUV technology, the SVARAS Home X2 Pro UV Steriliser effectively targets and eliminates a wide range of viruses and bacteria, including those responsible for illnesses such as the coronavirus. As a result, you can have peace of mind knowing that you can effectively protect yourself and your family from potential health threats.<br/><br/><br/><b>Enhanced Sterilisation</b><br/><br/>This rechargeable UV steriliser provides optimal sterilisation capabilities, which eliminates harmful germs. This high level of effectiveness makes it an ideal choice for homes, offices, and shops, ensuring that surfaces remain clean and safe. Thus, you can trust this steriliser to protect your health and the health of your loved ones by efficiently disinfecting various surfaces.<br/><br/><br/><b>User-Friendly Functionality</b><br/><br/>This home steriliser boasts convenient features that enhance its usability. It includes a voice alarm that signals when the sterilisation process is complete, ensuring you never forget to turn it off. Additionally, the device offers a safe automatic power-off feature, which enhances safety during operation. Convenient charging capabilities further simplify the user experience, which makes it easy to keep the steriliser ready for action.<br/><br/><br/><b>Eco-Friendly Design</b><br/><br/>Designed with sustainability in mind, this SVARAS steriliser promotes an eco-friendly lifestyle. It operates without mercury or harsh chemicals, which makes it safe for both users and the environment. This design choice allows you to maintain a clean living space while reducing your ecological footprint. Moreover, the sleek, modern appearance of the steriliser ensures that it complements any decor.</p>

<p>The <strong>Lyfro Battery Powered Disinfectant Solution Generator</strong> is non-toxic and has no side effects</p> <ul> <li><strong>Free of Chemical Residues</strong> makes it an eco-friendly, cost-effective disinfectant</li> <li><strong>Uses Electrolysis</strong> to produce natural powerful disinfectant</li> <li><strong>300 mAh Battery</strong> with USB recharging facility</li> </ul> <p>Buy <strong>Lyfro Battery Powered Disinfectant Solution Generator</strong> to experience its awesome usages. It is an ultra-portable non-toxic disinfectant maker. It comes with an electrolysed water generator. Useful to sterilize public places as well. Use <strong>Lyfro Battery Powered Disinfectant Solution Generator</strong> which allows you to create your own non-toxic disinfectant in just 3 minutes. Simply add salt and water together. Uses electrolysis to produce natural powerful disinfectants proven to be effective against bacteria, viruses, and mold.</p> <p>When you get <strong>Lyfro Battery Powered Disinfectant Solution Generator</strong> online, you also get an awesome eco-friendly, cost-effective disinfectant for your everyday life. It is equipped with a 300 mAh battery with USB recharging facility. It is usable at home, office, or in transit. It eliminates up to 99.9 percent pathogens. It is free of chemical residues. It is a self-made disinfectant.</p>