Consumer Electronics
•04 min read

<p>The <strong>Lyfro Battery Powered Disinfectant Solution Generator</strong> is non-toxic and has no side effects</p> <ul> <li><strong>Free of Chemical Residues</strong> makes it an eco-friendly, cost-effective disinfectant</li> <li><strong>Uses Electrolysis</strong> to produce natural powerful disinfectant</li> <li><strong>300 mAh Battery</strong> with USB recharging facility</li> </ul> <p>Buy <strong>Lyfro Battery Powered Disinfectant Solution Generator</strong> to experience its awesome usages. It is an ultra-portable non-toxic disinfectant maker. It comes with an electrolysed water generator. Useful to sterilize public places as well. Use <strong>Lyfro Battery Powered Disinfectant Solution Generator</strong> which allows you to create your own non-toxic disinfectant in just 3 minutes. Simply add salt and water together. Uses electrolysis to produce natural powerful disinfectants proven to be effective against bacteria, viruses, and mold.</p> <p>When you get <strong>Lyfro Battery Powered Disinfectant Solution Generator</strong> online, you also get an awesome eco-friendly, cost-effective disinfectant for your everyday life. It is equipped with a 300 mAh battery with USB recharging facility. It is usable at home, office, or in transit. It eliminates up to 99.9 percent pathogens. It is free of chemical residues. It is a self-made disinfectant.</p>
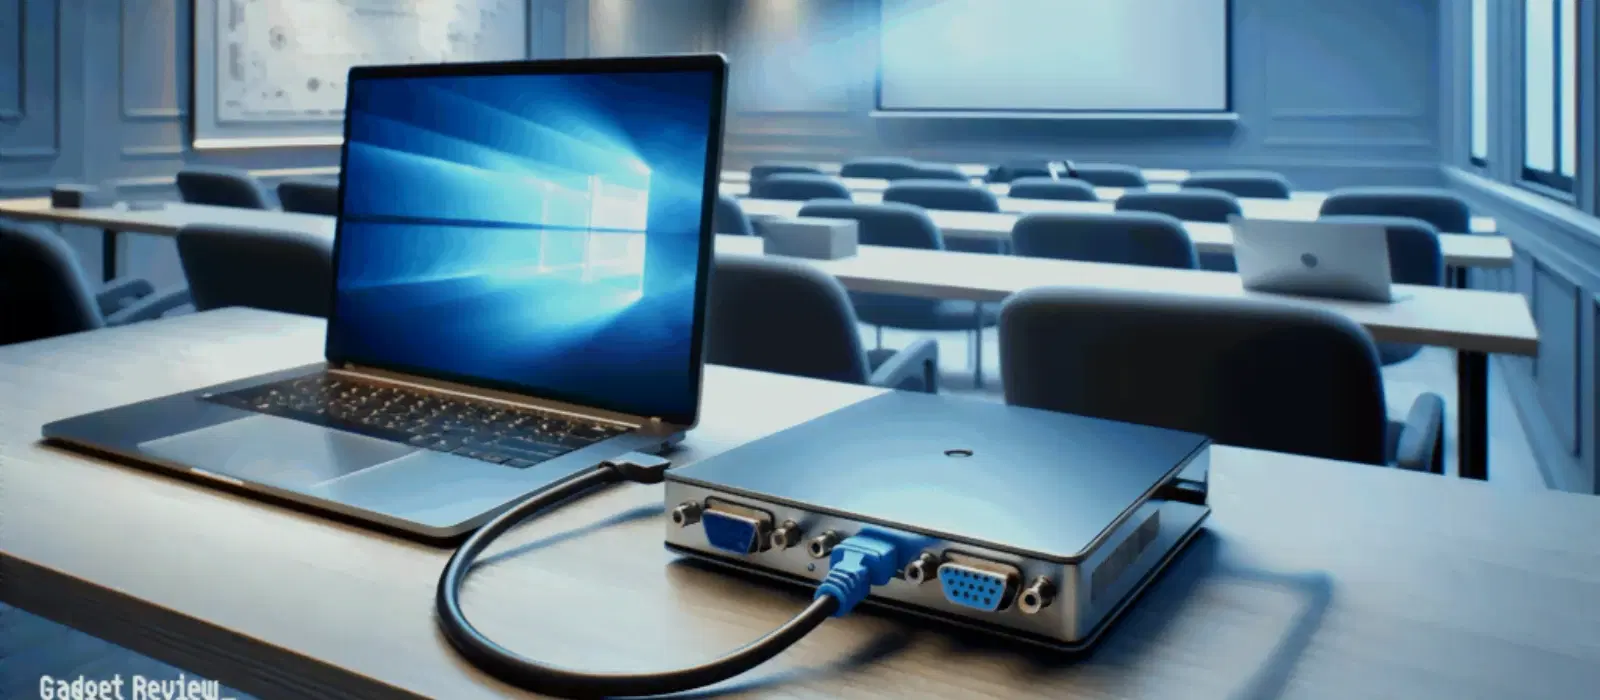
Imagine being able to install or repair Windows 7 without needing a physical DVD—simply using a USB drive. In today’s fast-paced world, the ability to create a bootable USB for Windows 7 is not only a valuable technical skill but also a comfort during troubleshooting or installation problems. This comprehensive guide will walk you through the process step-by-step, empowering you with expert knowledge on how to bootable USB Windows 7, so you can confidently create a reliable USB drive for any installation or repair needs.
Using a USB drive for installing Windows 7 offers several advantages. A bootable USB provides a faster installation process compared to DVDs, making it a time-saving tool. Furthermore, its portability and ease of use mean you can carry your operating system in your pocket. This is particularly useful for devices without optical drives, ensuring that hardware limitations no longer hold you back from installing or repairing your system.
Bootable USB drives come in handy in numerous scenarios. Whether you are setting up a new computer, recovering a corrupted operating system, or simply upgrading or reinstalling Windows without hassle, having a bootable drive prepared keeps you ready for any challenge. The versatility of a USB drive transforms it into an essential tool for every tech-savvy user.
Before you start, ensure you have the necessary tools. A USB drive with at least 4GB of storage (8GB or more is preferable) is required. You will also need a Windows 7 ISO file, which should be acquired from an official or legitimate source. To make the process straightforward, consider using trusted bootable USB creation tools such as Rufus or the Windows USB/DVD Download Tool. These tools are known for their speed, simplicity, and reliability, making the overall experience smooth.
A crucial step before loading the ISO is formatting your USB drive correctly. You can use in-built utilities like Disk Management or Command Prompt. Pay particular attention to selecting the appropriate file system; typically, NTFS is preferred for Windows installations, but FAT32 might be necessary for compatibility with certain systems. Getting the formatting right is key to ensuring a successful bootable USB creation process.

<p><strong>Effortless Performance</strong><br /> <br /> The sabichi Mono 24cm Whisk is designed for smooth and efficient whisking. Its polished stainless-steel wires and narrow shape ensure even blending and make it ideal for small bowls or containers. From whipping meringues to beating eggs, this whisk brings ease to every task.<br /> <br /> <br /> <strong>Versatile Whisking Tool</strong><br /> <br /> Whether you're blending batters, keeping lumps out of sauces, or creating airy meringues, this 24cm whisk is up to the challenge. It’s a kitchen essential that adapts to various culinary needs with precision and consistency.<br /> <br /> <br /> <strong>Safe for All Cookware</strong><br /> <br /> The whisk is gentle on all surfaces, including non-stick, ceramic, and metal cookware. You can whisk worry-free without scratching or damaging your kitchenware. This ensures long-lasting durability for your pots and pans.<br /> <br /> <br /> <strong>Ergonomic Design</strong><br /> <br /> Featuring an innovative handle with a soft, comfortable grip, this whisk absorbs pressure for strain-free usage. Its contoured shape ensures a secure hold, even during prolonged whisking tasks, for an effortless cooking experience.<br /> <br /> <br /> <strong>Convenient Storage</strong><br /> <br /> Equipped with a handy hanging loop, the whisk offers easy storage. It’s always within reach while saving counter and drawer space, making it as practical as it is efficient.</p>
Rufus is one of the most popular tools for this purpose. To use Rufus, first insert your USB drive into your computer. Open the application and select your USB, then choose the Windows 7 ISO file. Rufus will handle the formatting and bootable setup, making the entire procedure streamlined and efficient. Its key features, such as support for both UEFI and legacy BIOS systems, provide an extra layer of compatibility and convenience.
For those who prefer an official approach, the Windows USB/DVD Download Tool is an excellent choice. This tool is straightforward, guiding you through the process with clear instructions. After inserting your USB drive, simply run the software, choose your Windows 7 ISO, and let the tool do the rest. This method is especially friendly for beginners who want a reliable solution without diving deep into technical specifications.
If you have more technical expertise and prefer manual control, using Command Prompt with Diskpart commands might be the way to go. This method involves manually formatting the drive, marking it as active, and copying the necessary files. Though this requires a more detailed understanding of the process, it offers a level of customisation. For many, this manual control ensures everything is set up exactly the way they want it.
Once your bootable USB has been created, it is important to test it. Restart your computer and access the BIOS or UEFI settings. Change the boot order to prioritise the USB drive and observe if the system boots correctly. If any errors are detected during the boot process, revisiting the preparation steps can help resolve common mistakes.
With your bootable drive ready, you can now proceed with installing Windows 7. Insert the USB drive, restart your computer, and follow the on-screen instructions to install the operating system. During the installation, if you encounter any issues, refer back to this guide for troubleshooting common installation problems. The seamless process ensures you can set up Windows without unnecessary delays.
Pro Tip: Optimize Your Bootable USB Creation Process
Did you know that using tools like Rufus not only creates a bootable USB faster but also guarantees compatibility with both UEFI and legacy BIOS systems? Always verify your ISO file before proceeding to prevent installation errors.

<p>Danger can overpower you at any time and your voice will not be enough in such situations to get the required aid. The amazing new <strong>Juvo PSB01 Personal Alarm</strong> is crafted for all ages and is a necessary precaution from all kinds of danger. It rings a very loud alarm at 120 dB as well as flashes the torch to warn people nearby about a danger. Whether you have a medical emergency or you are attacked by predators your voice may not be heard but this alarm will be enough to deter attackers or draw attention of people close by to give you the immediate assistance required.</p> <p><strong>Extremely Easy To Use</strong></p> <p>The <strong>Juvo PSB01 Personal Alarm</strong> is small and portable, can be attacked to even a keychain if you want. To start the siren all you need to do is separate or pull the metal key chain from the main black unit. The siren may go on for 1 1/2 hours in case nobody heard it in the first minutes. This is very important for girls returning home alone at night as it acts as a security anti-attack panic alarm that is sure to scare off a molester. Its easy portability accentuates its use.</p> <p><strong>Lights Your Way</strong></p> <p>The little and portable <strong>Juvo PSB01 Personal Alarm</strong> also features a small LED torch that helps you find your way in the dark. Don’t be scared of dark alleys when you have this with you because it is equipped to save you from all dangers.</p>
Use tools like Rufus, Power ISO, or the Windows USB/DVD Download Tool to create a bootable USB drive. Simply format the USB, load the Windows 7 ISO file, and follow the tool's instructions.
You can make a USB drive bootable by formatting it and using software like Rufus or Command Prompt to load the operating system's ISO file onto the drive.
Use Rufus or the Windows USB/DVD Download Tool to transfer the ISO file onto the USB drive. These tools automate the process and ensure the USB becomes bootable.
Open Power ISO, insert your USB drive, load the Windows 7 ISO file, and use the 'Create Bootable USB Drive' option to complete the process.
You can use Command Prompt and Diskpart commands to manually format the USB and copy the ISO contents, though this method demands advanced knowledge.
Creating a bootable USB for Windows 7 is an essential skill that simplifies installations, repairs, and upgrades. With the right tools and a clear understanding of the process, you can prepare a reliable USB drive that meets your immediate needs. Whether you opt for a user-friendly tool like Rufus or prefer the manual control of Command Prompt, your newly acquired expertise will make future troubleshooting or installations seamless. Enjoy the peace of mind that comes with being prepared, and explore more ways to optimise your tech setup with platforms that reward your savvy choices. With each purchase, earn up to 5% NeuCoins, adding an extra layer of benefit to your evolving digital lifestyle.
