%20(Presentation)%20(1600%20x%20600%20px)(74)-e74fc6a6-7421-4984-bb37-18620810bf2c.webp&w=3840&q=75)
Consumer Electronics
•03 min read

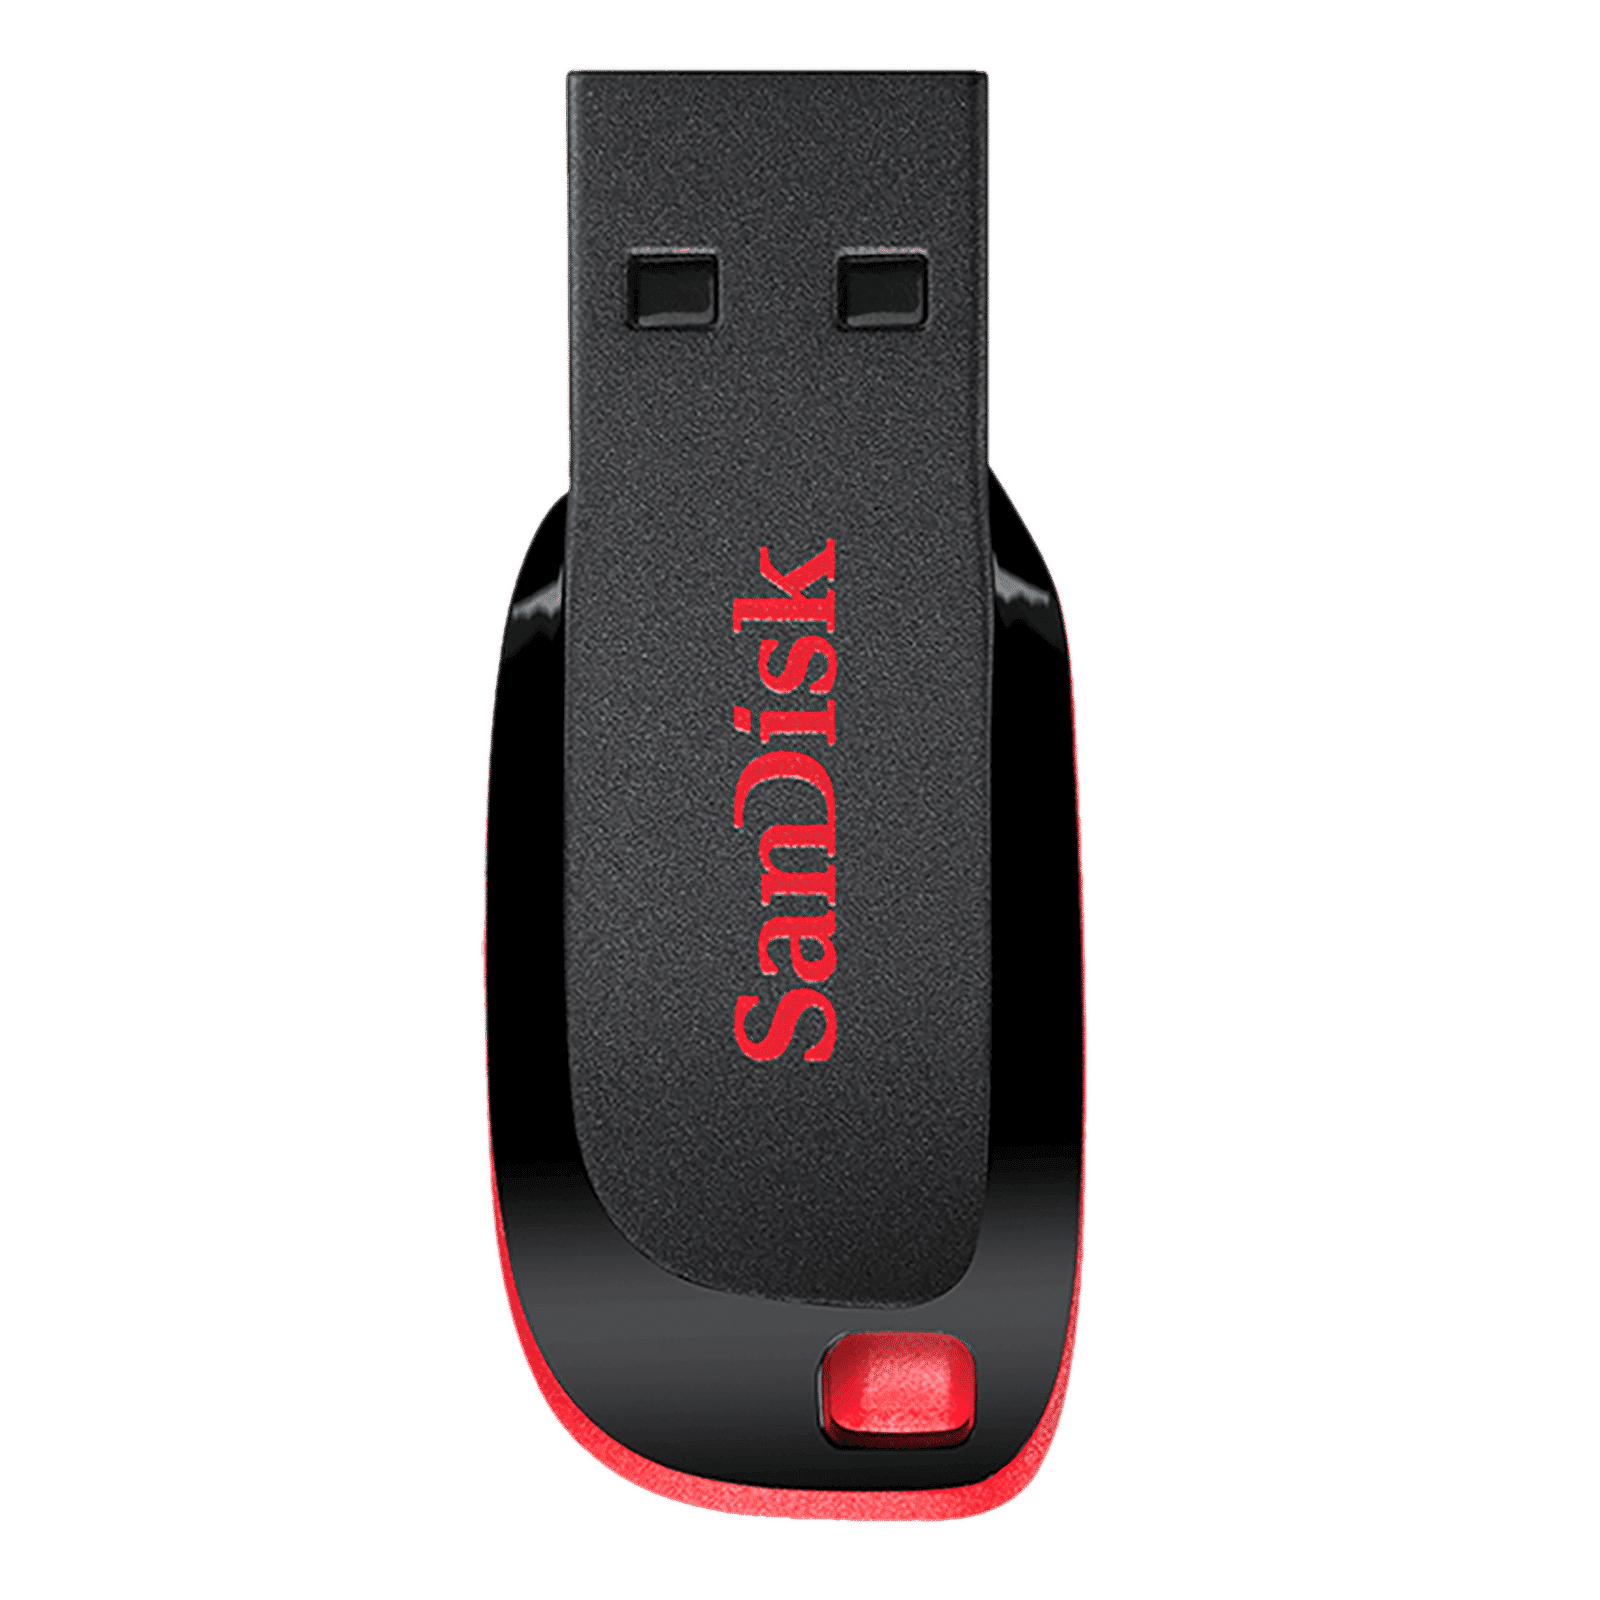
Buy SanDisk Cruzer Blade 64GB USB (2.0) Pen Drive (High-Capacity Drive, Red) online at best prices from Croma. Check product details, reviews & more. Shop now!
Ever plugged in a USB drive to your Mac only to realise it’s not working as expected? Perhaps you need to erase it for a fresh start. This guide offers a concise checklist to help you format a USB drive on Mac, ensuring it is compatible and runs smoothly for any use case.
Formatting a USB drive means erasing all data and setting up a new file system. This process is crucial for maintaining drive performance, protecting your files, and ensuring cross-platform compatibility. Whether you are looking to format usb drive mac for macOS or prepare the drive for use on multiple systems, this step is key to a smooth experience.
Many situations call for formatting. You might need to erase old data securely, fix errors on a corrupted drive, or ensure the USB drive is ready for both macOS and Windows use. This checklist helps you understand when and why you should erase usb mac or reformat usb mac.
Before you proceed, always back up your important files. Formatting will erase all data, so save what you need elsewhere.
Your Mac offers several file system options. For macOS-exclusive use, consider APFS or Mac OS Extended (Journaled). For drives that must work across macOS, Windows, and even Linux, FAT32 or exFAT are great choices. Understanding these mac usb file system options is key to prepare usb for mac for your specific needs.
It’s also important to check the physical condition and compatibility of your USB drive with macOS. This simple step ensures that your hardware is in good working order, supporting smooth usb drive mac compatibility.
Start by opening Finder and navigating to Applications > Utilities > Disk Utility. Locate the USB drive on the left-hand sidebar. This is the first step towards a successful usb formatting mac process.

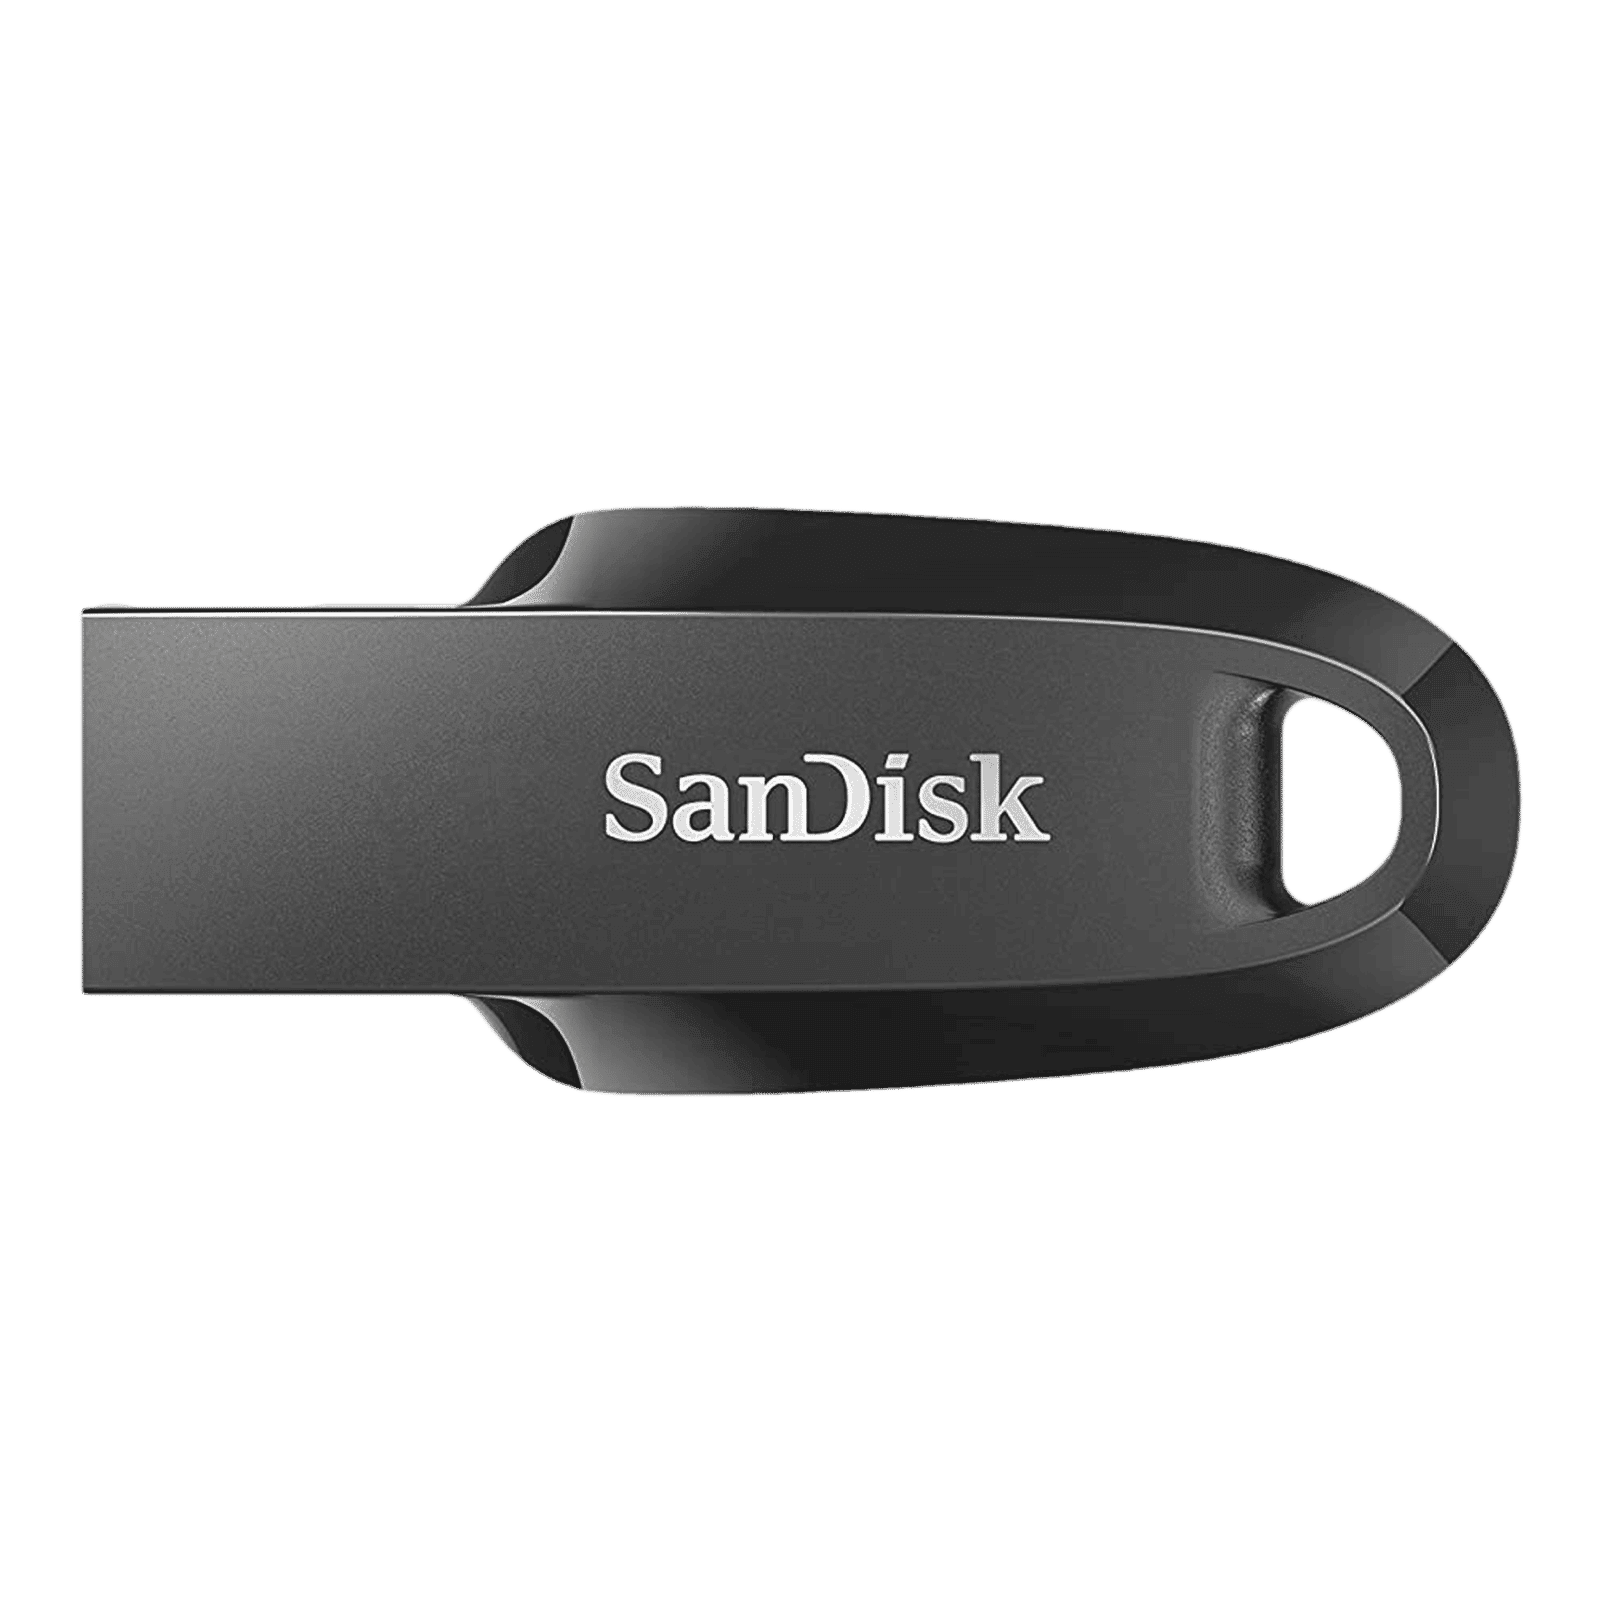
Buy SanDisk Ultra Curve 64GB USB (3.2) Pen Drive (Compact Design, Black ) online at best prices from Croma. Check product details, reviews & more. Shop now!
Select the USB drive and click on the "Erase" option. Choose a suitable name for the drive and then select your desired file system from the dropdown. Finally, click "Erase" to confirm and initiate the process. This is how you erase usb drive mac safely using your Mac Disk Utility.
After the process completes, take a moment to review the drive’s details in Disk Utility. Confirm that the formatting has been successfully applied. This final check helps ensure the drive is ready for use and that you have correctly reset usb drive mac.
If you need your drive to function on both macOS and Windows, consider formatting it to FAT32 or exFAT. This ensures broader compatibility without compromising on performance.
For those comfortable with the command line, Terminal offers an alternative approach. Commands such as diskutil list and diskutil eraseDisk provide more control over the process. This method can be ideal if you want to reformat usb mac using advanced techniques.
If your drive doesn’t appear in Disk Utility, double-check its connection. Try another port or inspect for hardware issues. In cases of errors or an unresponsive drive, these troubleshooting steps are invaluable to successfully format usb drive mac.
Did You Know? Choosing the Right File System Matters
Selecting the correct file system is crucial for USB drive compatibility. For example, FAT32 works on both Mac and Windows but has a 4GB file size limit, while exFAT supports larger files and is ideal for cross-platform use.
Once formatted, test the drive by transferring a few files. This confirmation ensures that your drive operates smoothly and is ready for real-world use.
Consider naming your drive according to its intended purpose. Organised labelling can assist in quickly identifying your drive when using several devices.
Always use the safe eject option before removing the drive from your computer. This simple step helps prevent file corruption. Additionally, periodically check and maintain the drive for continued reliability, ensuring long-term efficiency.
Open Disk Utility, select the USB drive, click "Erase," and choose "MS-DOS (FAT)" as the format.
Yes, by formatting the drive to exFAT or FAT32, you ensure compatibility with both macOS and Windows.
For exclusive macOS use, APFS or Mac OS Extended (Journaled) is ideal. For cross-platform functionality, exFAT is preferred.
Ensure the drive is correctly connected. If the issue persists, try a different port or inspect for any hardware issues.
No, reformatting will erase all the data. Always back up your files beforehand.
This checklist makes it easier to understand how to format a USB drive on Mac with clear, step-by-step guidance. With each process outlined from beginning to end, you will know how to prepare usb for mac efficiently and even earn NeuCoins rewards on Tata Neu along the way. The platform is designed to support your smart shopping experience by offering value-driven benefits, such as express delivery for orders placed before 6pm in selected locations and expert guidance to help you make informed decisions.
By following the steps above, you ensure that your USB drive is optimally set up whether you're using it for file transfers, cross-platform work, or starting afresh. With Tata Neu, our aim is to help you progress through technology seamlessly, offering conveniences that contribute to your everyday efficiency and lifestyle.