Consumer Electronics
•03 min read

<p style="margin-left:0cm; margin-right:0cm">Keep away from breathing in harmful germs, dust and pollution by using the <strong>Arctic Fox N95 Gold Series</strong> <strong>Face Respirator Mask.</strong> The mask is designed specially ensuring that it fits comfortably on your face and covers all the essential parts of your face. The soft ear loops ensure the comfort-ability for longer use. It has a 3 mm foam material for comfort fit and air seal.</p> <p style="margin-left:0cm; margin-right:0cm">The <strong>Arctic Fox N95 Gold Series</strong> <strong>Face Respirator Mask</strong> is super breathable because of the comfortable fabric and is also splash resistant.</p> <p style="margin-left:0cm; margin-right:0cm">Whether you are travelling or for that matter, moving out of your house, wearing the <strong>Arctic Fox N95 Gold Series</strong> <strong>Face Respirator Mask </strong>will ensure security to your health by helping you keep the dust and germs out from inhaling it.</p>
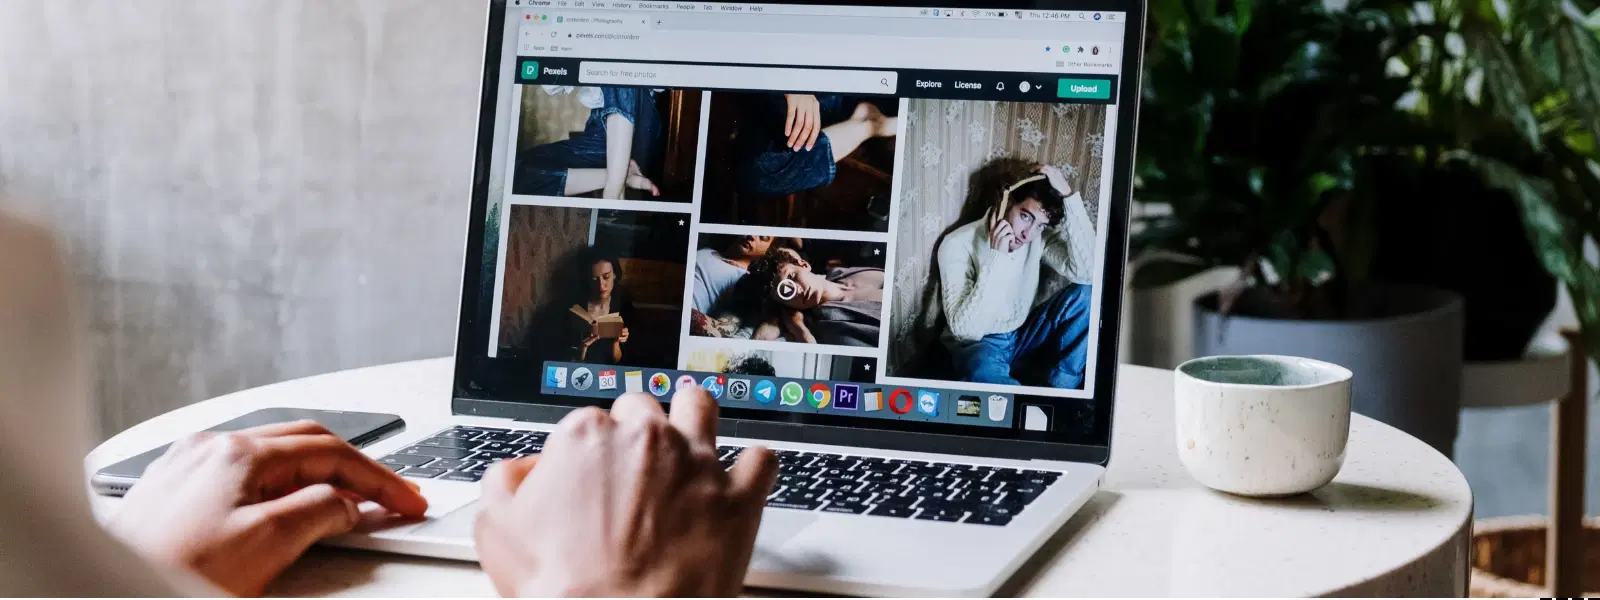
Ever struggled to record your Mac screen with crystal-clear audio, only to end up with frustrating results? You're not alone. Recording tutorials, webinars, or presentations can seem daunting, but with the right checklist, you can achieve smooth recordings with professional quality. This guide explains how to record screen with audio in Mac, clearly outlining each step to ensure your recordings are flawless.
Screen recording enables you to capture what is happening on your Mac display along with sound. This functionality is essential for creating engaging tutorials, impactful presentations, and detailed demos. When you record Mac screen with sound, you add a layer of clarity and engagement to your message, making it easier for viewers to follow along.
macOS offers native tools like QuickTime Player and the Screenshot toolbar. These tools provide basic but effective ways to record desktop screen on Mac with audio. However, while they offer the necessary screen recording settings on Mac, they may have some limitations in terms of robust audio capture features.
Your macOS version can affect the screen record functionality on Mac. It is important to ensure your system is updated to access the latest recording features. Simply click on the Apple logo, select 'About This Mac', and update if necessary.
Before you begin, adjust your Mac's settings for optimal performance. Verify your sound input/output configurations, and close unnecessary applications. This will help prevent interruptions and ensure that you record Mac screen with audio clearly and efficiently.
macOS requires you to grant permissions for screen recording. Head to System Preferences, select Security & Privacy, and allow access for screen recording as well as microphone permissions. This step is crucial to ensure that your chosen application can record audio successfully.

<p><b>Enhanced Cleaning Technology</b><br/><br/>The MILAGROW 24W Robotic Vacuum Cleaner offers reliable wet and dry cleaning capabilities, which makes it an ideal choice for both home and office environments. Equipped with the enhanced NIDEC Brushless Motor, it delivers a powerful suction of 1500Pa, which ensures effective dirt and debris removal across various surfaces.<br/><br/><br/><b>Smart Navigation </b><br/><br/>Utilising cutting-edge Gyro Mapping technology, this robotic vacuum cleaner employs earth's gravity for optimal orientation and navigation. The rotor mechanism accurately measures rotation rates, which enables the device to stabilise and efficiently map out cleaning paths. It features four cleaning modes - smart, wall follow, spiral, and remote control – which allows for versatile cleaning strategies tailored to your space.<br/><br/><br/><b>Reliable Battery Life</b><br/><br/>Powered by a robust 2600mAh battery, this 24W vacuum cleaner boasts an optimum working time of up to 110 minutes. It can cover up to 1800 square feet on a single charge, which ensures comprehensive cleaning throughout your space without frequent interruptions. The 0.6-litre dustbin is designed to handle substantial dirt loads, while the 0.11-litre water tank facilitates effective wet cleaning.<br/><br/><br/><b>Efficient Filter System</b><br/><br/>Featuring a triple filter system which includes HEPA 12 filtration, this vacuum cleaner ensures the removal of most of the airborne particles as small as 0.3 microns. It effectively captures allergens, dust mites, mould spores, and even fine particles like smoke and bacteria, which creates a healthy environment in your home or office.<br/><br/><br/><b>User-Friendly Features </b><br/><br/>The MILAGROW vacuum cleaner affirms its reliability and safety for everyday use. Its user-friendly design allows for effortless operation and maintenance, which makes it an essential cleaning companion. With MILAGROW 9.0 Software Generation, it ensures optimal performance and user satisfaction.</b><br/><br/></p>
QuickTime Player is an easy-to-use tool for capturing your screen and external audio. Open QuickTime, select File, then New Screen Recording. Click the dropdown next to the record button to choose your audio source, whether it's an internal or external microphone. Follow the on-screen instructions to start and stop your recording.
For many users, the Screenshot toolbar provides a straightforward method to record on Mac. Press Command + Shift + 5 and choose the screen recording option. While this tool is user-friendly, it has some limitations with recording audio seamlessly. Should you require advanced audio recording with screen capture Mac, exploring alternative methods might be necessary.
If you need more robust features, third-party screen recording software for Mac like OBS Studio can be a reliable choice. These tools often offer advanced options for capturing internal audio and enhance both video and sound quality. Evaluating these apps can help determine what works best for your needs when you record Mac screen with sound.
If you experience issues with audio recording during a session, check that the correct microphone is selected and that permissions are in place. Consider revisiting your system’s audio input configurations if the problem persists.
Sometimes recordings stop due to system overload or insufficient disk space. Ensure that you free up storage and close unnecessary apps before beginning the recording process.
Quality issues may stem from resolution settings or suboptimal audio inputs. Adjust these settings as needed and test settings before recording important content.
Verify macOS version compatibility.
Adjust screen recording and audio settings.
Check permissions and microphone access.

<p><strong>Effortless Performance</strong><br /> <br /> The sabichi Mono 24cm Whisk is designed for smooth and efficient whisking. Its polished stainless-steel wires and narrow shape ensure even blending and make it ideal for small bowls or containers. From whipping meringues to beating eggs, this whisk brings ease to every task.<br /> <br /> <br /> <strong>Versatile Whisking Tool</strong><br /> <br /> Whether you're blending batters, keeping lumps out of sauces, or creating airy meringues, this 24cm whisk is up to the challenge. It’s a kitchen essential that adapts to various culinary needs with precision and consistency.<br /> <br /> <br /> <strong>Safe for All Cookware</strong><br /> <br /> The whisk is gentle on all surfaces, including non-stick, ceramic, and metal cookware. You can whisk worry-free without scratching or damaging your kitchenware. This ensures long-lasting durability for your pots and pans.<br /> <br /> <br /> <strong>Ergonomic Design</strong><br /> <br /> Featuring an innovative handle with a soft, comfortable grip, this whisk absorbs pressure for strain-free usage. Its contoured shape ensures a secure hold, even during prolonged whisking tasks, for an effortless cooking experience.<br /> <br /> <br /> <strong>Convenient Storage</strong><br /> <br /> Equipped with a handy hanging loop, the whisk offers easy storage. It’s always within reach while saving counter and drawer space, making it as practical as it is efficient.</p>
Ensure that your tools, whether it's QuickTime Player, the Screenshot toolbar, or a third-party Mac screen recorder with audio, are configured correctly.
Monitor your system’s performance to avoid interruption.
Save and export your recordings in the desired format.
Edit using built-in or external editing tools.
Review your audio and video quality before sharing.
Expert Tip: Did You Know? Many third-party screen recording tools for Mac allow you to record internal audio directly, bypassing macOS's native limitations. This is a game-changer for creating high-quality tutorials and demos.
Use third-party software like OBS Studio, as macOS doesn't natively support internal audio recording.
Yes, QuickTime can record screen and external audio, but it requires additional setup to capture internal audio.
By default, screen recordings are saved to your desktop, though you can change this location in your settings.
Many users find that third-party tools offer the best solution for recording both screen and internal audio effectively.
Press Command + Control + Esc or click the Stop button in the menu bar to end the recording.
Recording your Mac screen with audio does not have to be complicated. By following this checklist, you can ensure smooth, professional-quality recordings every time. Whether you choose native tools like QuickTime Player or a more advanced third-party solution, the steps outlined here will help you capture content with clarity and precision. Much like how Tata Neu rewards every smart transaction with NeuCoins offers and exceptional benefits for each purchase, this checklist ensures that your technical endeavours are always supported. Enjoy seamless digital experiences and reliable after-sales support, ensuring that both your content and shopping experiences are handled with utmost care and efficiency.
