Home Appliances
•05 min read

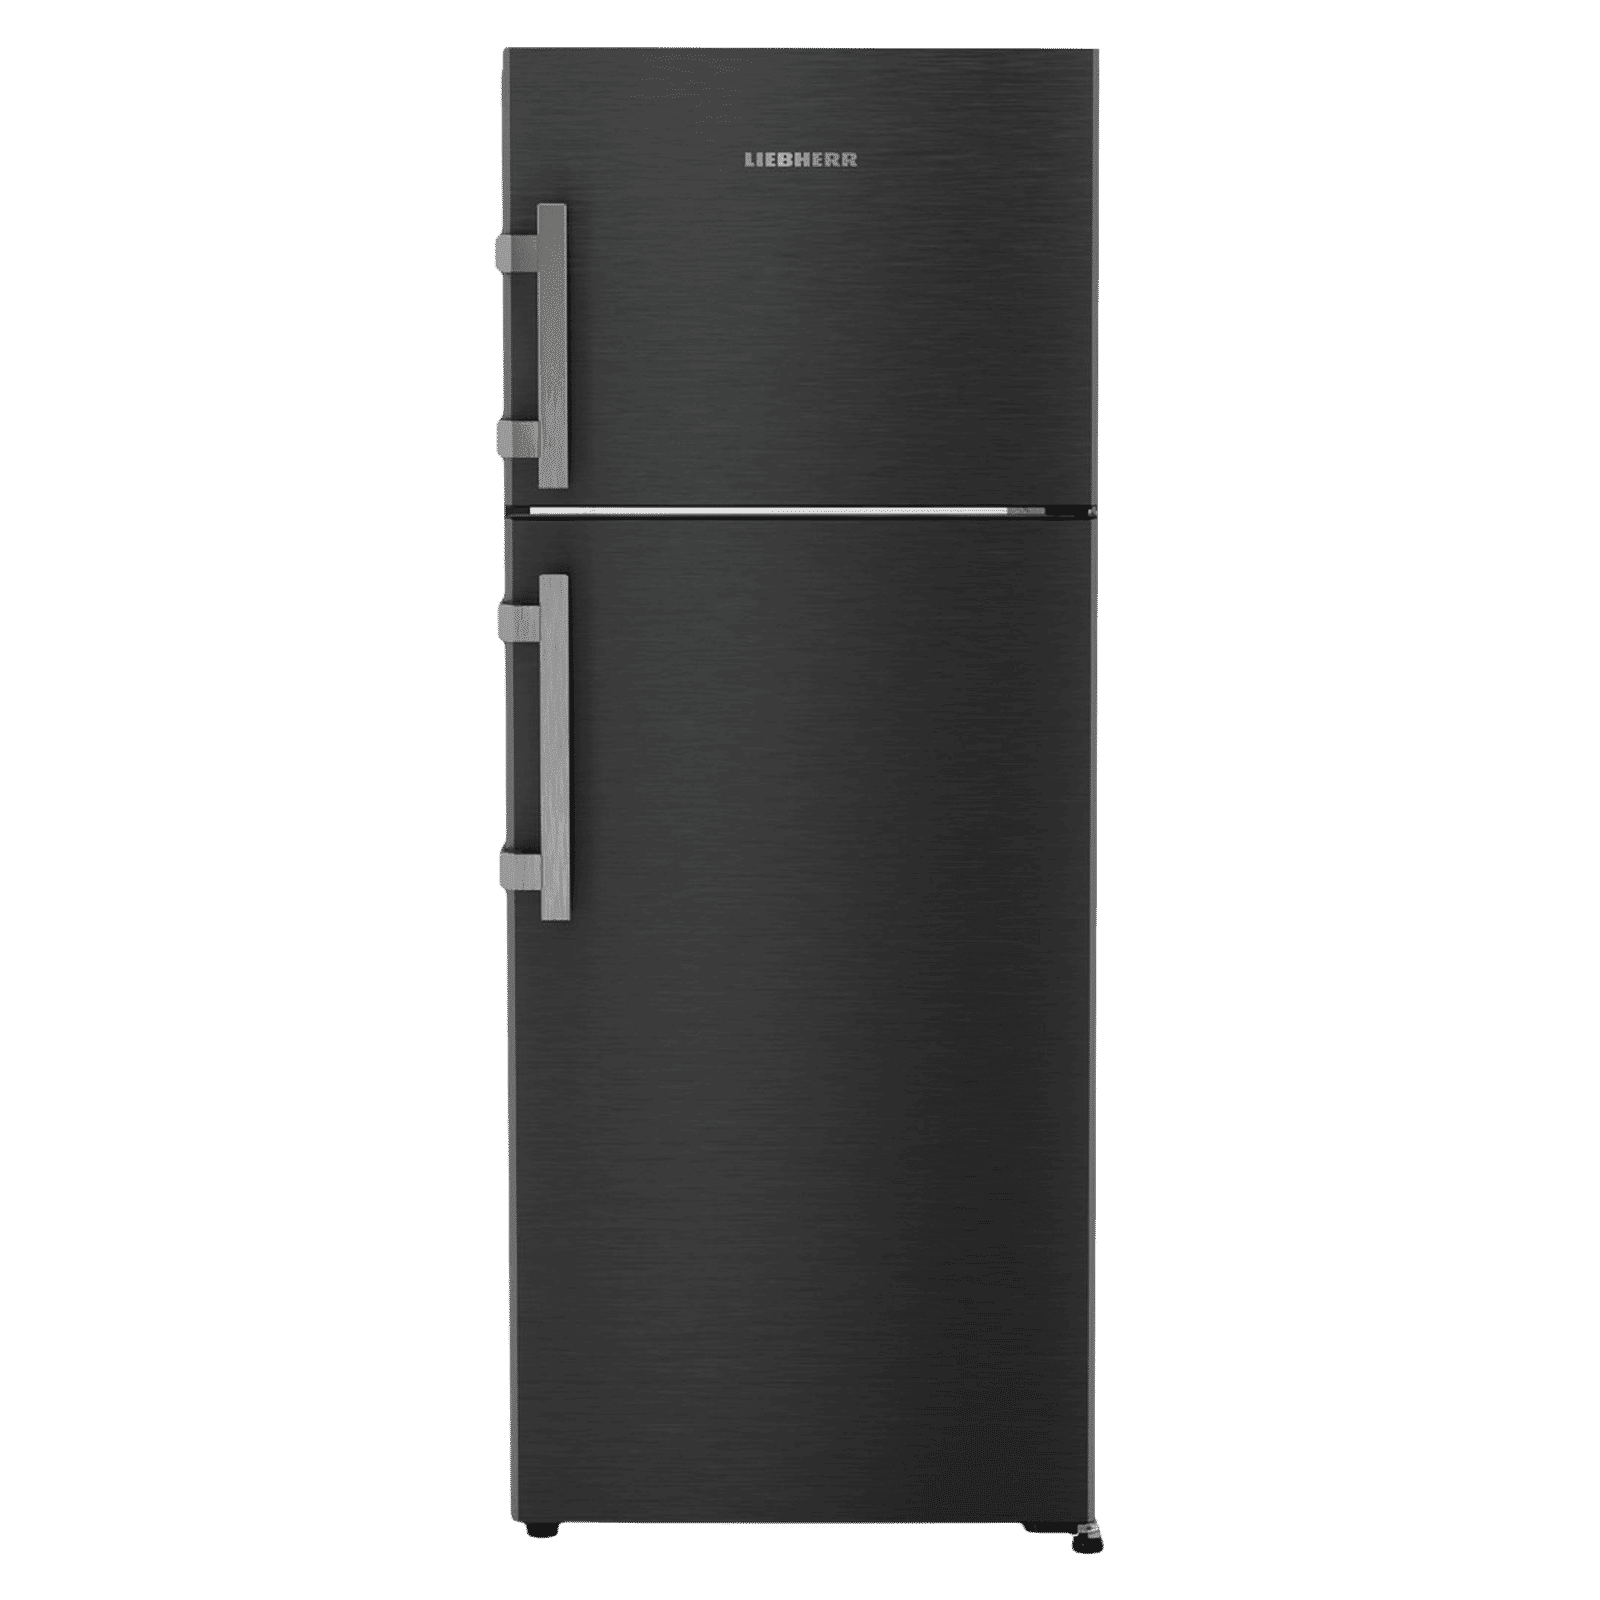
Buy LIEBHERR Pure 245 Litres 2 Star Frost Free Double Door Refrigerator with Anti-Bacterial Gasket (TCLbsB 2411, Black Steel) online at best prices from Croma. Check product details, reviews & more. Shop now!
Have you ever wished you could repurpose your fridge into a freezer for extra cold storage? This practical DIY project not only helps you save money and reduce waste but also gives you the freedom to customise your home appliances to suit your needs. In this guide, you will learn every step of a fridge to freezer conversion, from understanding the differences in cooling systems and temperature settings to installing a freezer conversion kit and fine-tuning your fridge compressor settings. Let’s delve into the process of repurposing a refrigerator to open up new possibilities for storage and efficiency.
A fridge to freezer conversion involves modifying your existing refrigerator so that it operates at freezer-level temperatures. This process requires adjusting the refrigerator temperature settings and making some electrical and mechanical tweaks so that the cooling system can maintain temperatures below 0°F. While a fridge is designed to keep food at cool temperatures between 35°F and 40°F, freezers are built to preserve food for longer periods by freezing it. By learning the difference between the two systems, you will be better equipped to customise and control your appliance.
There are many benefits to converting your appliance. For instance, if you need extra space for storing bulk frozen food or if you have a small kitchen with limited appliance options, this conversion enables you to make the most of your space. Moreover, repurposing a refrigerator into an energy-efficient freezer can help reduce your electricity consumption over time. This DIY fridge to freezer conversion is an attractive option for DIY enthusiasts who enjoy home appliance customisation and want to explore energy-efficient solutions without the expense of buying a new freezer.
Before embarking on your fridge freezer modification project, it’s important to gather the necessary tools and materials. Essential items include a freezer conversion kit that is compatible with your appliance, a reliable thermometer for monitoring temperatures, a screwdriver for adjusting settings and installing components, and insulation materials to improve efficiency. Choosing the right freezer conversion kit for your specific fridge model is critical to ensure that your modifications are both effective and safe.
Safety should always be your first priority when working with electrical appliances. Make sure to unplug your appliance and follow the manufacturer's guidelines while adjusting the refrigerator temperature settings. Be aware of common risks like overheating or incorrect temperature adjustments that might cause damage to the compressor. Always wear protective gear and work in a well-ventilated area to minimise potential hazards. Take your time and double-check each step to avoid any complications.

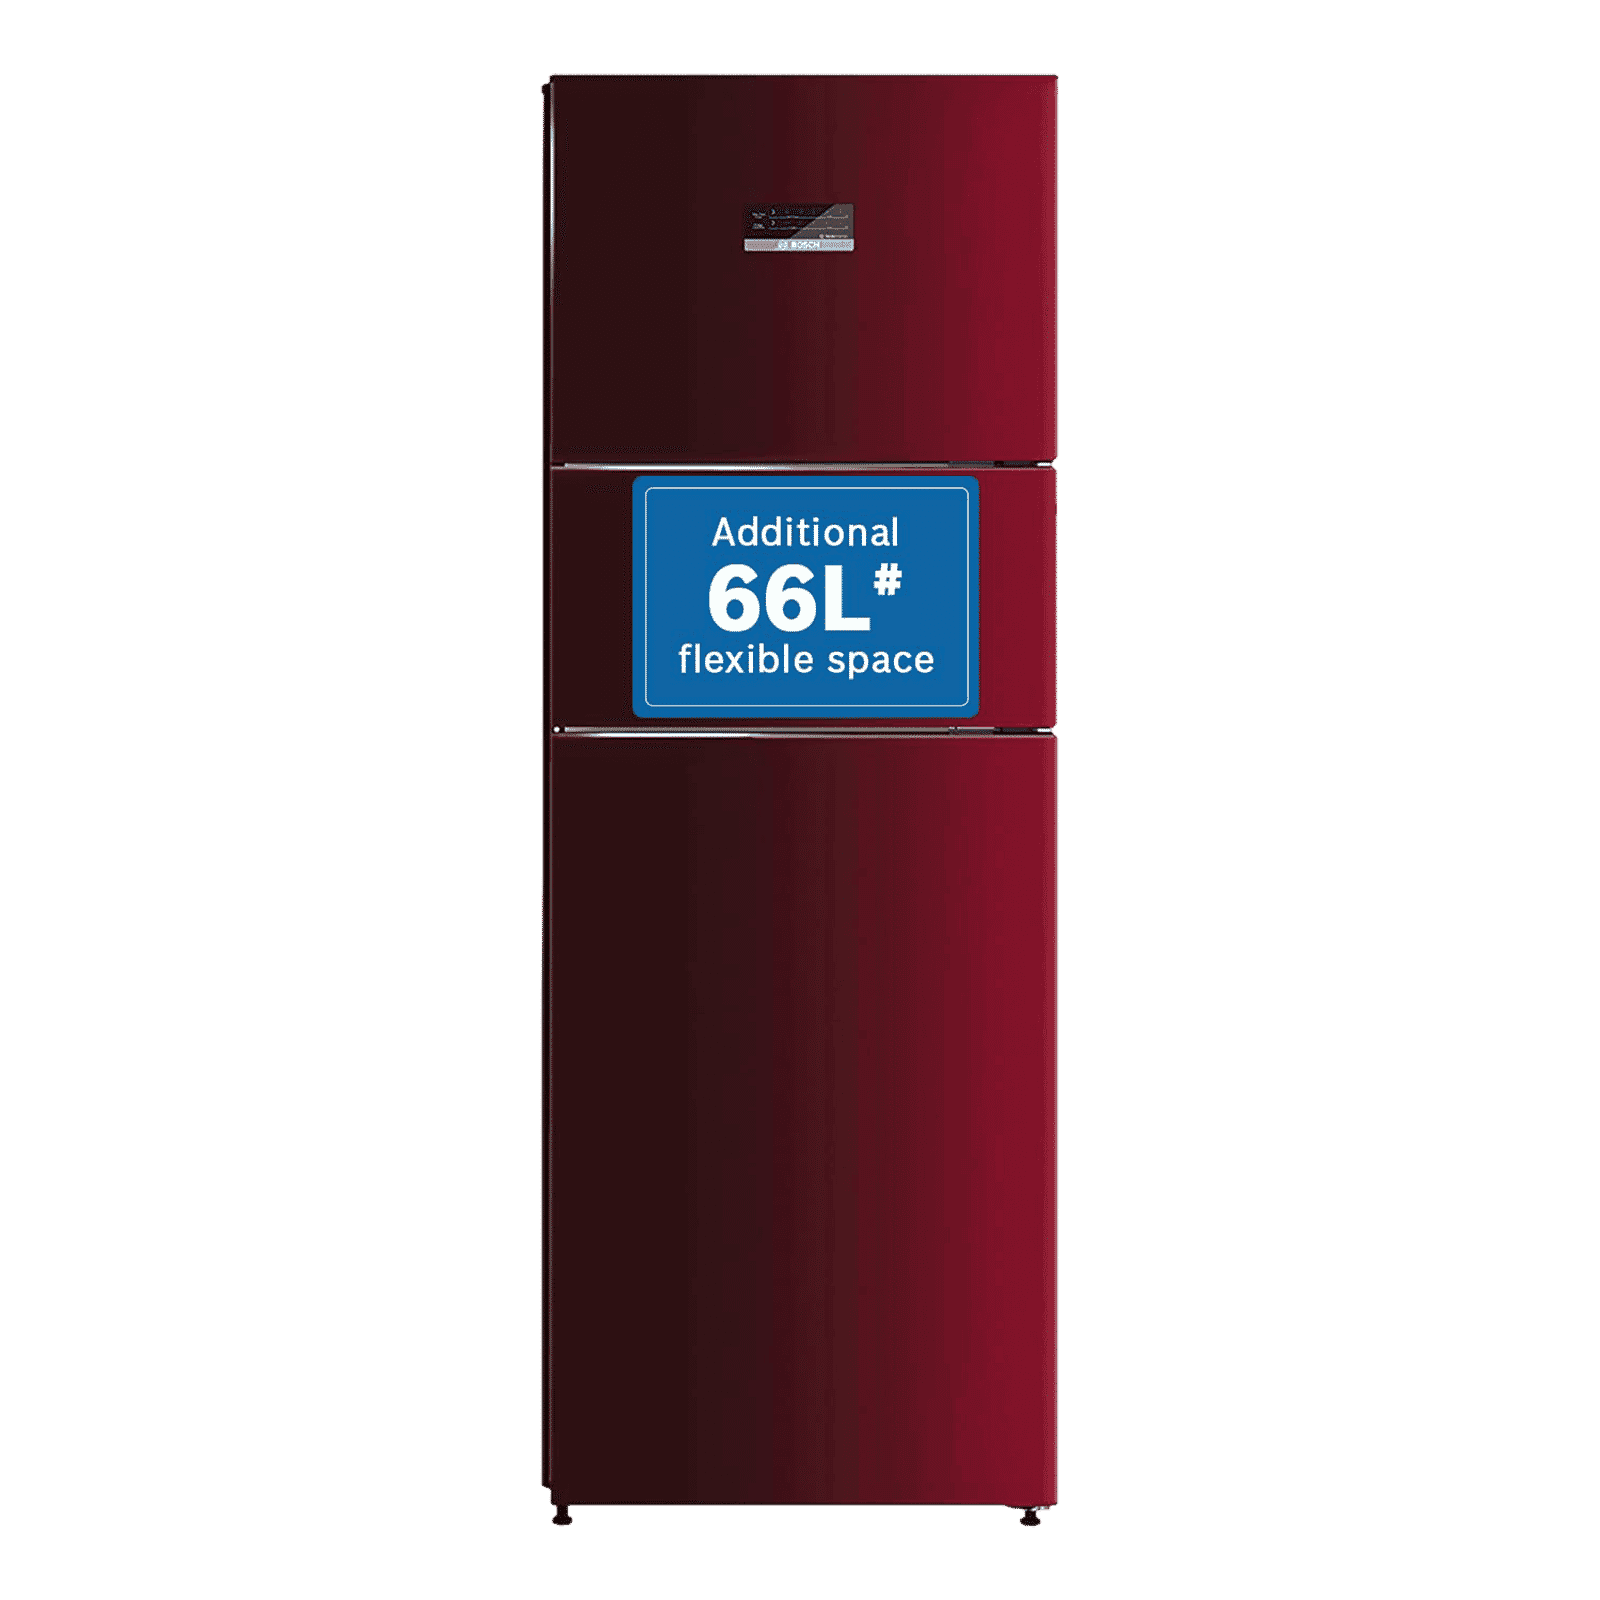
Buy BOSCH Series 4 335 Litres Frost Free Triple Door Convertible Refrigerator with Temperature Display (CMC36WT5NI, Transition Wine) online at best prices from Croma. Check product details, reviews & more. Shop now!
The first step in converting your appliance involves reconfiguring the thermostat. Begin by setting your refrigerator to a much lower temperature than normal operating levels. This adjustment is vital for starting the transformation into a freezer. Monitor the temperature closely with a thermometer as the appliance gradually adapts to the new settings. This stage is an example of refrigerator temperature adjustment that requires patience and precision to avoid overcooling or damaging the system.
After your temperature adjustment, the next step involves installing the freezer conversion kit. Follow the detailed kit instructions, which typically include repositioning sensors, rewiring components, and ensuring that every connection is secure. Careful installation will ensure that the components work harmoniously to create the colder environment you need. The installation process might vary slightly depending on your fridge model, so always refer to the provided guidelines for correct wiring and sensor placement. This DIY fridge to freezer conversion is not just about performance, but also about enhancing energy efficiency.
Once the kit is in place, it’s important to adjust the fridge compressor settings to optimise performance. Modifying the cooling system may also involve upgrading the insulation to maintain consistent cold temperatures, reduce frost buildup, and enhance overall energy efficiency. Simple tweaks in the compressor settings can significantly affect how well your newly converted appliance performs over time. With these modifications, your appliance will be well on its way to being a fully functioning freezer.
Pro Tip from Tata Neu
Did you know that using a freezer conversion kit designed for your specific refrigerator model can improve energy efficiency by up to 30%? Always check compatibility before starting your DIY fridge to freezer conversion project.
After all modifications have been successfully completed, it’s time to test your converted freezer. Use a reliable thermometer to monitor the internal temperature, ensuring that it maintains levels below 0°F. Testing should be done over a period to confirm that the appliance quickly cools to the desired temperature and remains stable. Benchmarks for ideal performance include consistent cooling without major fluctuations, which guarantees that your energy-efficient freezer conversion is working as intended.
Occasionally, you might encounter issues such as uneven cooling, frost accumulation, or even stress on the compressor. If you notice uneven cooling, check that the sensors are installed correctly and verify that the wiring is secure. Excessive frost buildup may indicate that adjustments to the insulation or temperature settings are needed. Additionally, pay close attention to compressor strain indicators; an overworked compressor can lead to higher energy consumption. By diagnosing and addressing these issues early, you can maintain a steady and efficient operation.

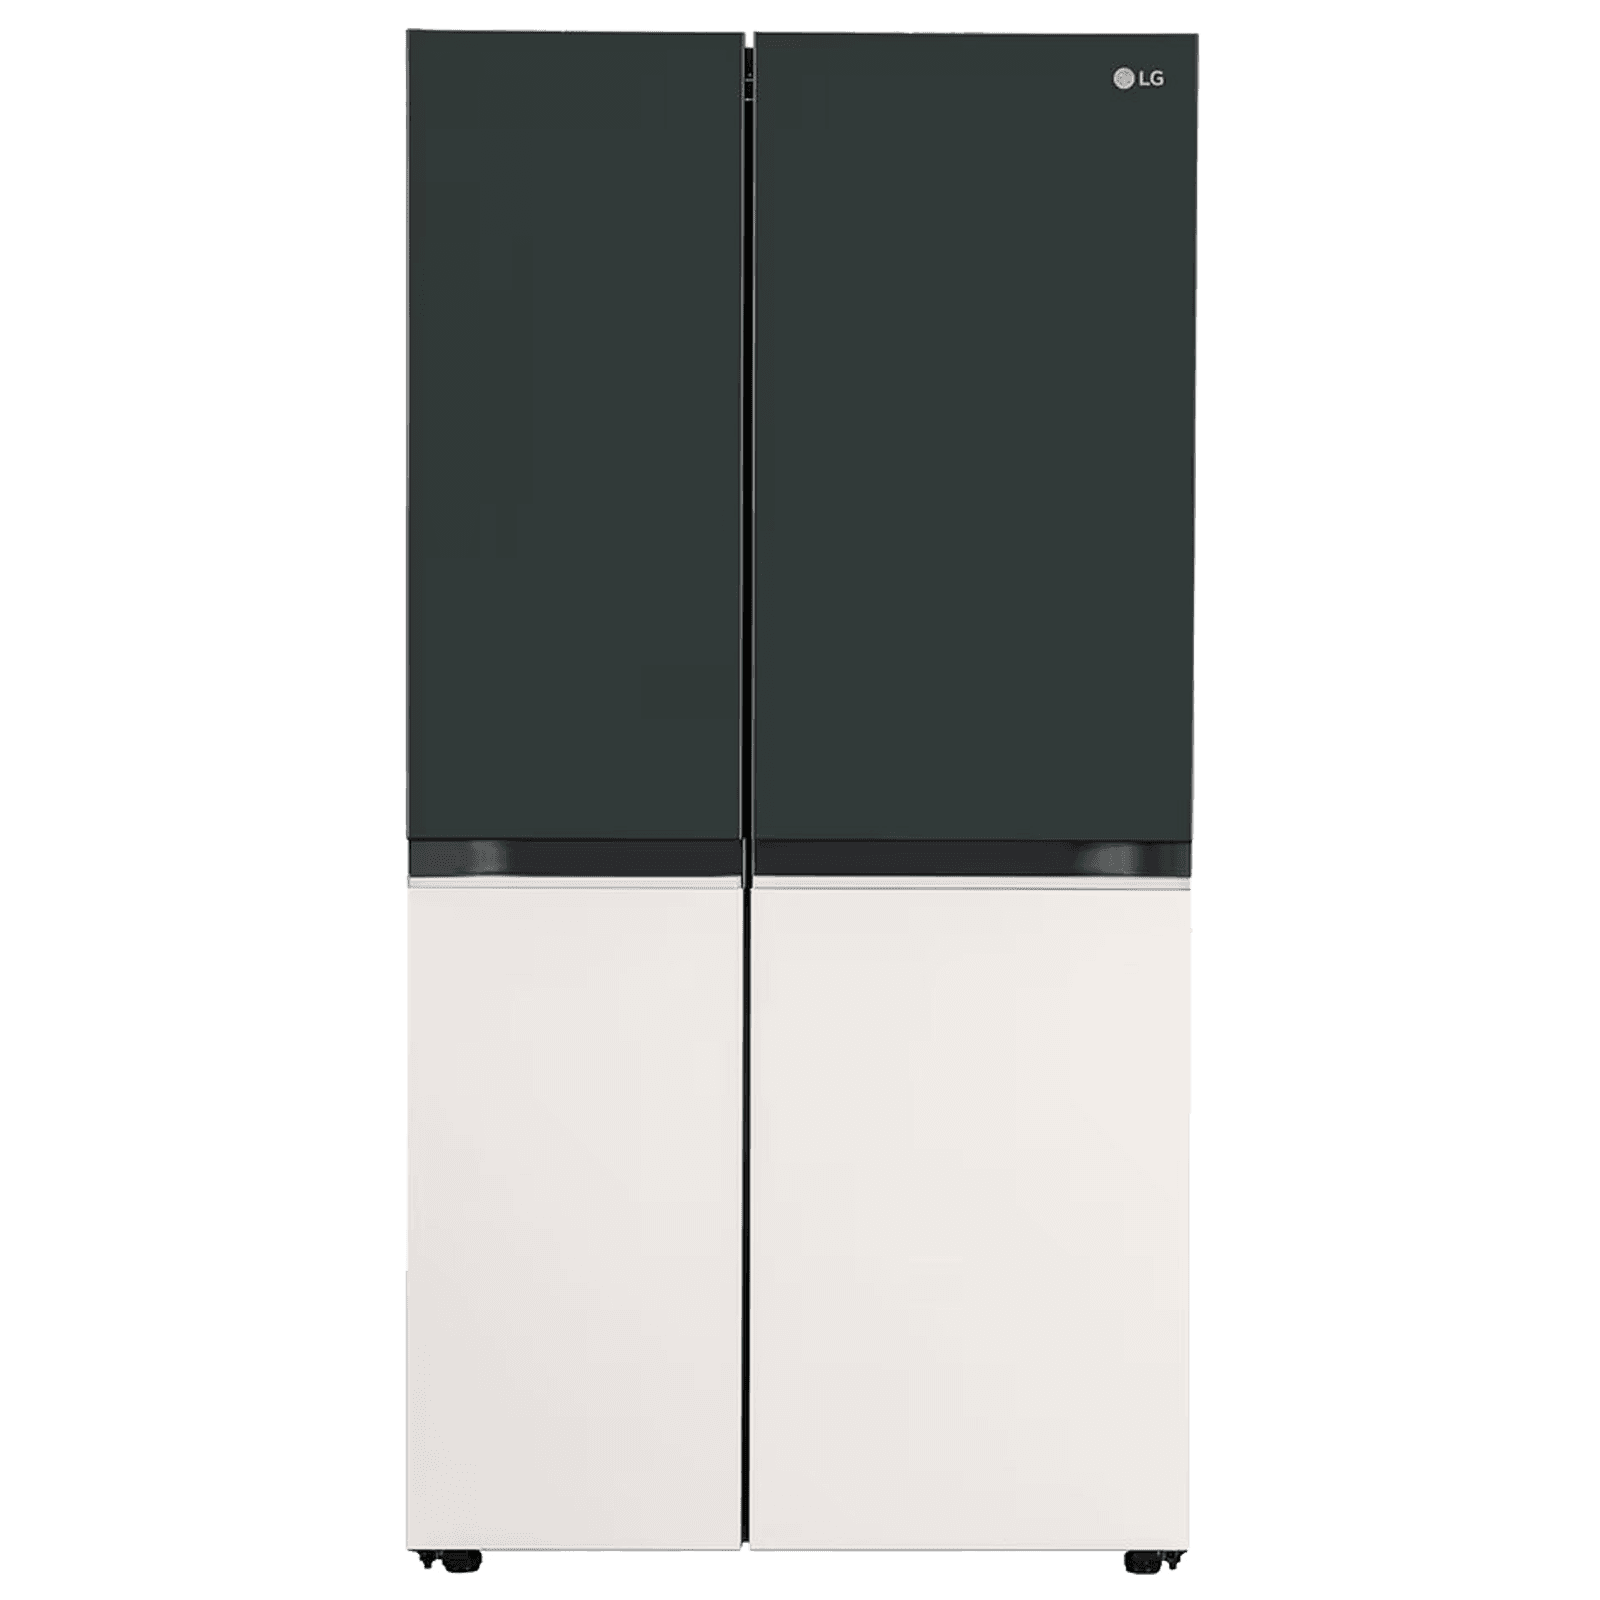
Buy LG 650 Litres 3 Star Frost Free Side by Side Smart Wifi Enabled Convertible Refrigerator with Multi Air Flow (GL-B257EET3, Emerald Green Tango) Online - Croma
Keeping your converted freezer energy-efficient requires a bit of ongoing maintenance. Regularly inspect and replace any worn insulation and check the seals on your appliance doors. Ensuring that the conversion kit remains intact and the sensor connections are secure will help sustain its performance over time. Regular maintenance not only prolongs the lifespan of your appliance but also ensures that your energy savings continue beyond the initial conversion.
If you ever need to revert the appliance to its original function, the process can be reversed. Begin by disconnecting the freezer conversion kit and readjusting the thermostat back to standard refrigerator settings. This process should restore the appliance’s original cooling range, allowing you to satisfactorily modify it again in the future should your needs change. This flexibility makes repurposing a refrigerator an adaptable solution for varied household needs and storage requirements.
Yes, you can convert most refrigerators into freezers using a freezer conversion kit along with proper adjustments to the temperature settings.
Four hours in the fridge is not equivalent to four hours in the freezer, as freezers maintain environments below 0°F while fridges are generally warmer, between 35°F and 40°F.
The ratio varies by model, but typically the freezer compartment makes up around 20-30% of the total storage space in the appliance.
For such models, use a compatible freezer conversion kit and adjust the settings following the manufacturer’s guidelines provided in the user manual.
For LG models, the process is similar: install the conversion kit, adjust the thermostat, and then test until the desired temperature range is achieved.
Converting a fridge into a freezer is a rewarding DIY project that not only increases your storage capacity but also allows for personalised energy-efficient management of your appliance. Through careful planning, proper tool selection, and systematic adjustments, you can achieve a seamless fridge cooling system modification that meets your storage needs while ensuring optimal performance. By following this guide, you have gained clear insights into each step—from initial adjustments to long-term maintenance. With reliable testing and troubleshooting methods, you can ensure the longevity and efficiency of your converted freezer. For those who appreciate home appliance customisation and the perks of energy efficiency, this step-by-step guide provides a clear path forward to transform everyday appliances into versatile, functional tools.