Home Appliances
•04 min read
Buy elica WD TFL HAC 90 MS NERO 90cm 1425m3/hr Ducted Auto Clean Wall Mounted Chimney with Motion Sensing Technology (Black) online at best prices from Croma. Check product details, reviews & more. Shop now!
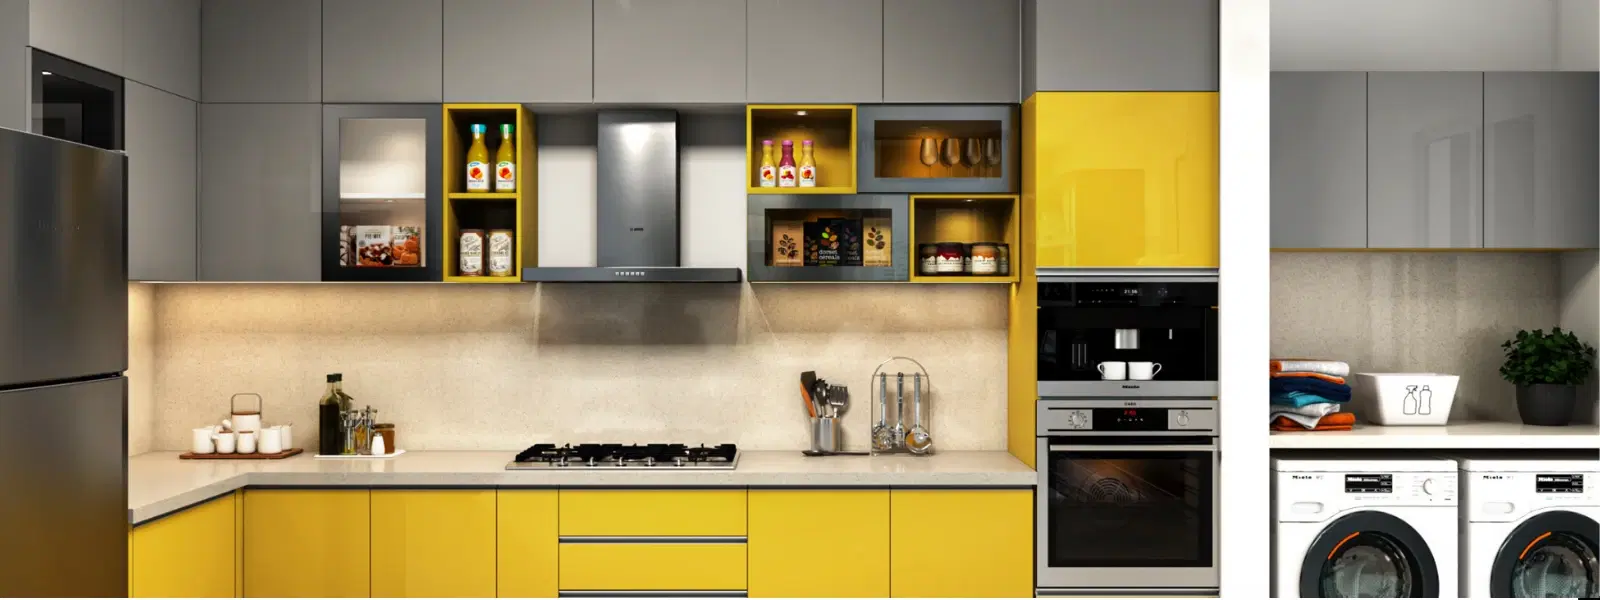
Installing a Kitchen Chimney can transform your cooking space into a cleaner, healthier, and more efficient environment. For beginners, this process may seem daunting, but with careful planning and by following a comprehensive checklist, you can ensure proper Kitchen Chimney installation while optimising ventilation and safety.
The first step in a smooth kitchen chimney installation is evaluating your kitchen’s layout. Consider factors such as ceiling height, the proximity of the chimney to your cooktop, and your overall cooking habits. A well-assessed kitchen space ensures that you choose the best spot for maximum suction efficiency and ventilation. This thoughtful process sets the foundation for a successful chimney setup.
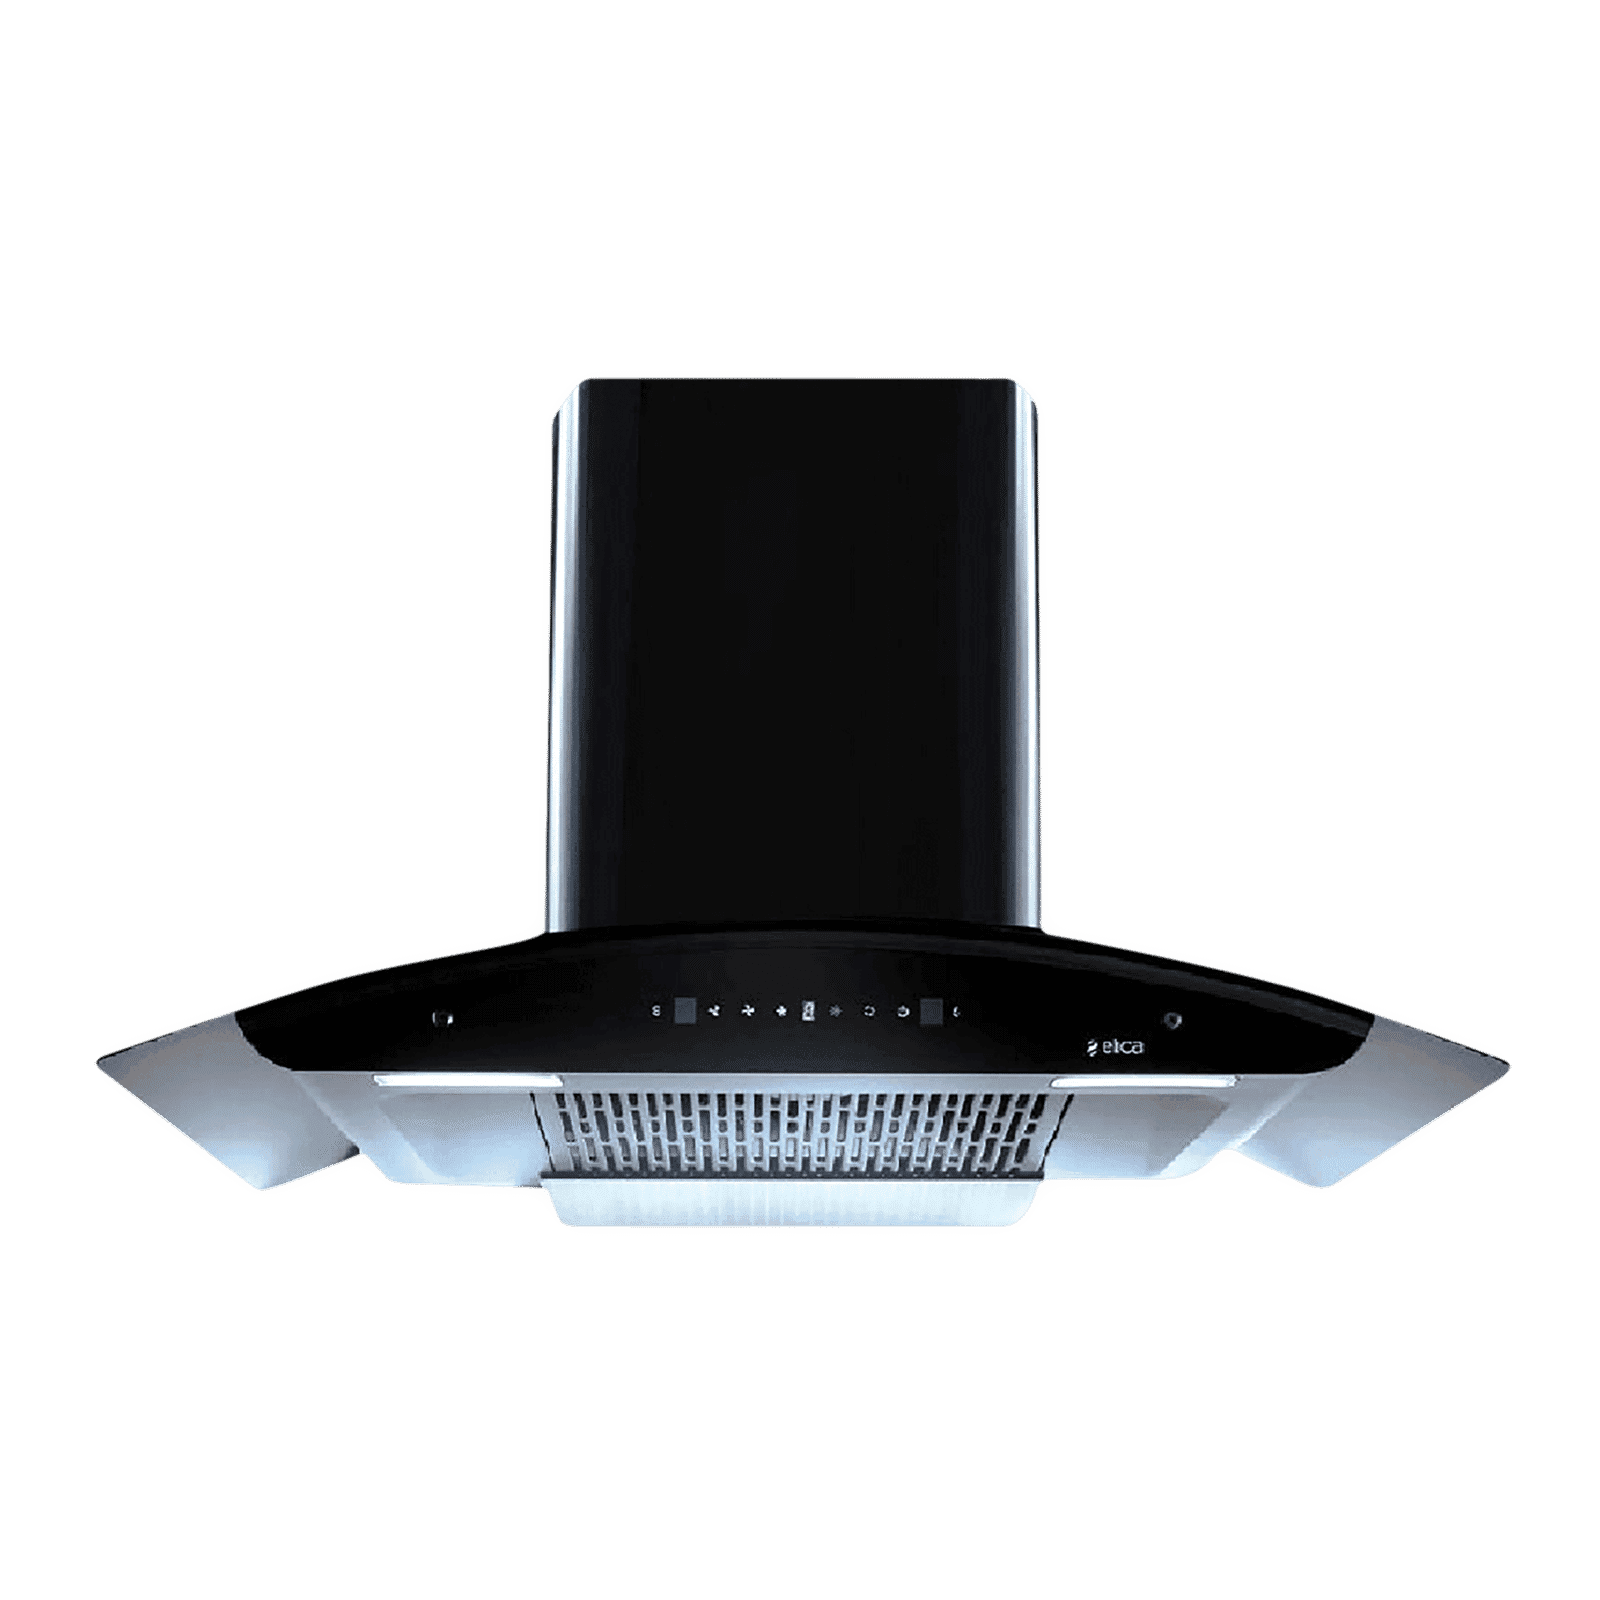
When it comes to selecting the ideal appliance, understanding the types of kitchen chimneys is essential. The two main variants are ducted and ductless chimneys. Ducted systems use external ducts to expel fumes and moisture, whereas ductless models rely on filters to purify and recirculate air. Consider aspects such as filter types, suction power, and how each option complements your overall kitchen design. Making the right choice will not only enhance air quality but also improve the performance of your kitchen exhaust system installation.
Before starting the installation, ensure that you have a complete set of tools and materials at hand. Essential items include duct pipes, mounting brackets, screws, a measuring tape, and other installation accessories. Being prepared with all necessary items can save time across the installation process and prevent unexpected interruptions later.
The positioning of your chimney is vital for optimal performance. Ideally, place the chimney directly above your cooktop while keeping a safe distance to ensure effective suction and capture of airborne grease and smoke. This best practices for chimney installation guarantee that cooking fumes are efficiently managed, contributing to better indoor air quality and reducing the risk of lingering odors.
Good kitchen ventilation is indispensable. Deciding between ducted versus ductless options plays a crucial role. Ducted systems often offer superior performance by expelling contaminants outdoors, whereas many ductless models highlight convenience in installation. Choosing the right kitchen ventilation solutions ensures a balance between efficient airflow management and the practicalities of your kitchen’s physical layout.

Buy Electrolux UltimateTaste 500 90cm 1200m3/hr Convertible Wall Mounted Chimney with Touch Control Panel (Black) online at best prices from Croma. Check product details, reviews & more. Shop now!
Begin by carefully measuring and marking the wall or ceiling where the appliance will be mounted. Accuracy is critical for aligning the chimney above the designated cooktop area. When preparing the space for chimney duct installation, use a pencil and measuring tape to mark precise cutting points for making openings for the duct pipes.
Following your measurements, proceed to securely mount the chimney. Use mounting brackets and screws to firmly attach the appliance to the wall or ceiling. Make sure the chimney is aligned correctly with your cooktop to facilitate efficient suction. This step is pivotal for ensuring the durability and safety of the installation.
Once the chimney is securely in place, attach the duct pipes. Selecting the right chimney pipe size and ensuring an airtight connection is crucial. Seal all joints properly to prevent any leakage of air or grease. This segment of the process enhances the overall efficiency of your kitchen chimney installation, contributing directly to superior performance.
If your chimney comes with built-in lights or fans, proper electrical wiring is the next step. It is advisable to follow strict safety precautions and consult a professional electrician if you are unsure about the wiring intricacies. Safety should always be the top priority during any home appliance installation.
Pro Tip from Tata Neu:
Did you know? Regular cleaning of your kitchen chimney filters can improve suction power and extend the lifespan of your appliance. Make it a habit to clean filters every 2-3 weeks for optimal performance.
After completing the installation, it is important to check the performance. Test the suction power, listen for any unusual noise levels, and ensure all electrical components function as intended. A thorough test run will help confirm that your chimney has been fitted correctly and meets your expectations in terms of performance.
Once your kitchen chimney installation is confirmed to be working effectively, focus on the final adjustments. Clean the chimney exterior, tighten any loose fittings and set up a maintenance routine. Regular upkeep is key to extending the appliance’s longevity and ensuring it continues to perform optimally.

Buy elica EFL 3V 601 HAC LTW MS NERO 60cm 1325m3/hr Ducted Auto Clean Cabinet & Hob Mounted Chimney with Motion Sensor (Black) online at best prices from Croma. Check product details, reviews & more. Shop now!
An oversight that many beginners make is neglecting proper ventilation checks. Overlooking this step can lead to reduced efficiency and subpar performance. Ensuring you have the right ventilation in place is as important as the physical setup of your chimney.
Placing the chimney too far from the stove or too near windows can lead to ineffective suction and increased grease accumulation. This common error can compromise the overall efficiency of your system.
During installation, it is vital to adhere to safety guidelines. Avoid skipping steps related to electrical wiring and the securing of ductwork. Safety is paramount not just for the appliance, but for your household as well.
The cost of installation can vary based on the type of chimney, necessary ductwork, and professional labour. On average, installation fees may range between ₹100 and ₹300.
Chimneys are installed by first marking the area, securely mounting the hood, connecting the duct system, and then wiring the appliance. Following a systematic chimney fitting guide ensures a smooth process.
Yes, proper exhaust is required to effectively remove smoke, grease, and cooking odours. Ducted chimneys expel these contaminants outside, whereas ductless types use filters to clean the air.
The overall cost includes the price of the chimney itself, generally varying from ₹150 to ₹1,000, along with installation charges. Additional expenses may apply for ducting and electrical work.
In summary, a well-planned kitchen chimney installation requires a careful assessment of your kitchen layout, an informed selection of the chimney type, and strict adherence to safety and positioning guidelines. Following this checklist—from pre-installation preparation to final adjustments—will enhance the appliance’s performance and longevity. With a clear, step-by-step approach, even beginners can achieve a professional setup that ensures optimal cooking hygiene and effective ventilation.
Explore more expert installation tips and enjoy the added benefits like earning NeuCoins with every purchase on Tata Neu. Enjoy the convenience of express delivery and trusted after-sales support that is designed to keep your home running smoothly.
