Home Appliances
•05 min read
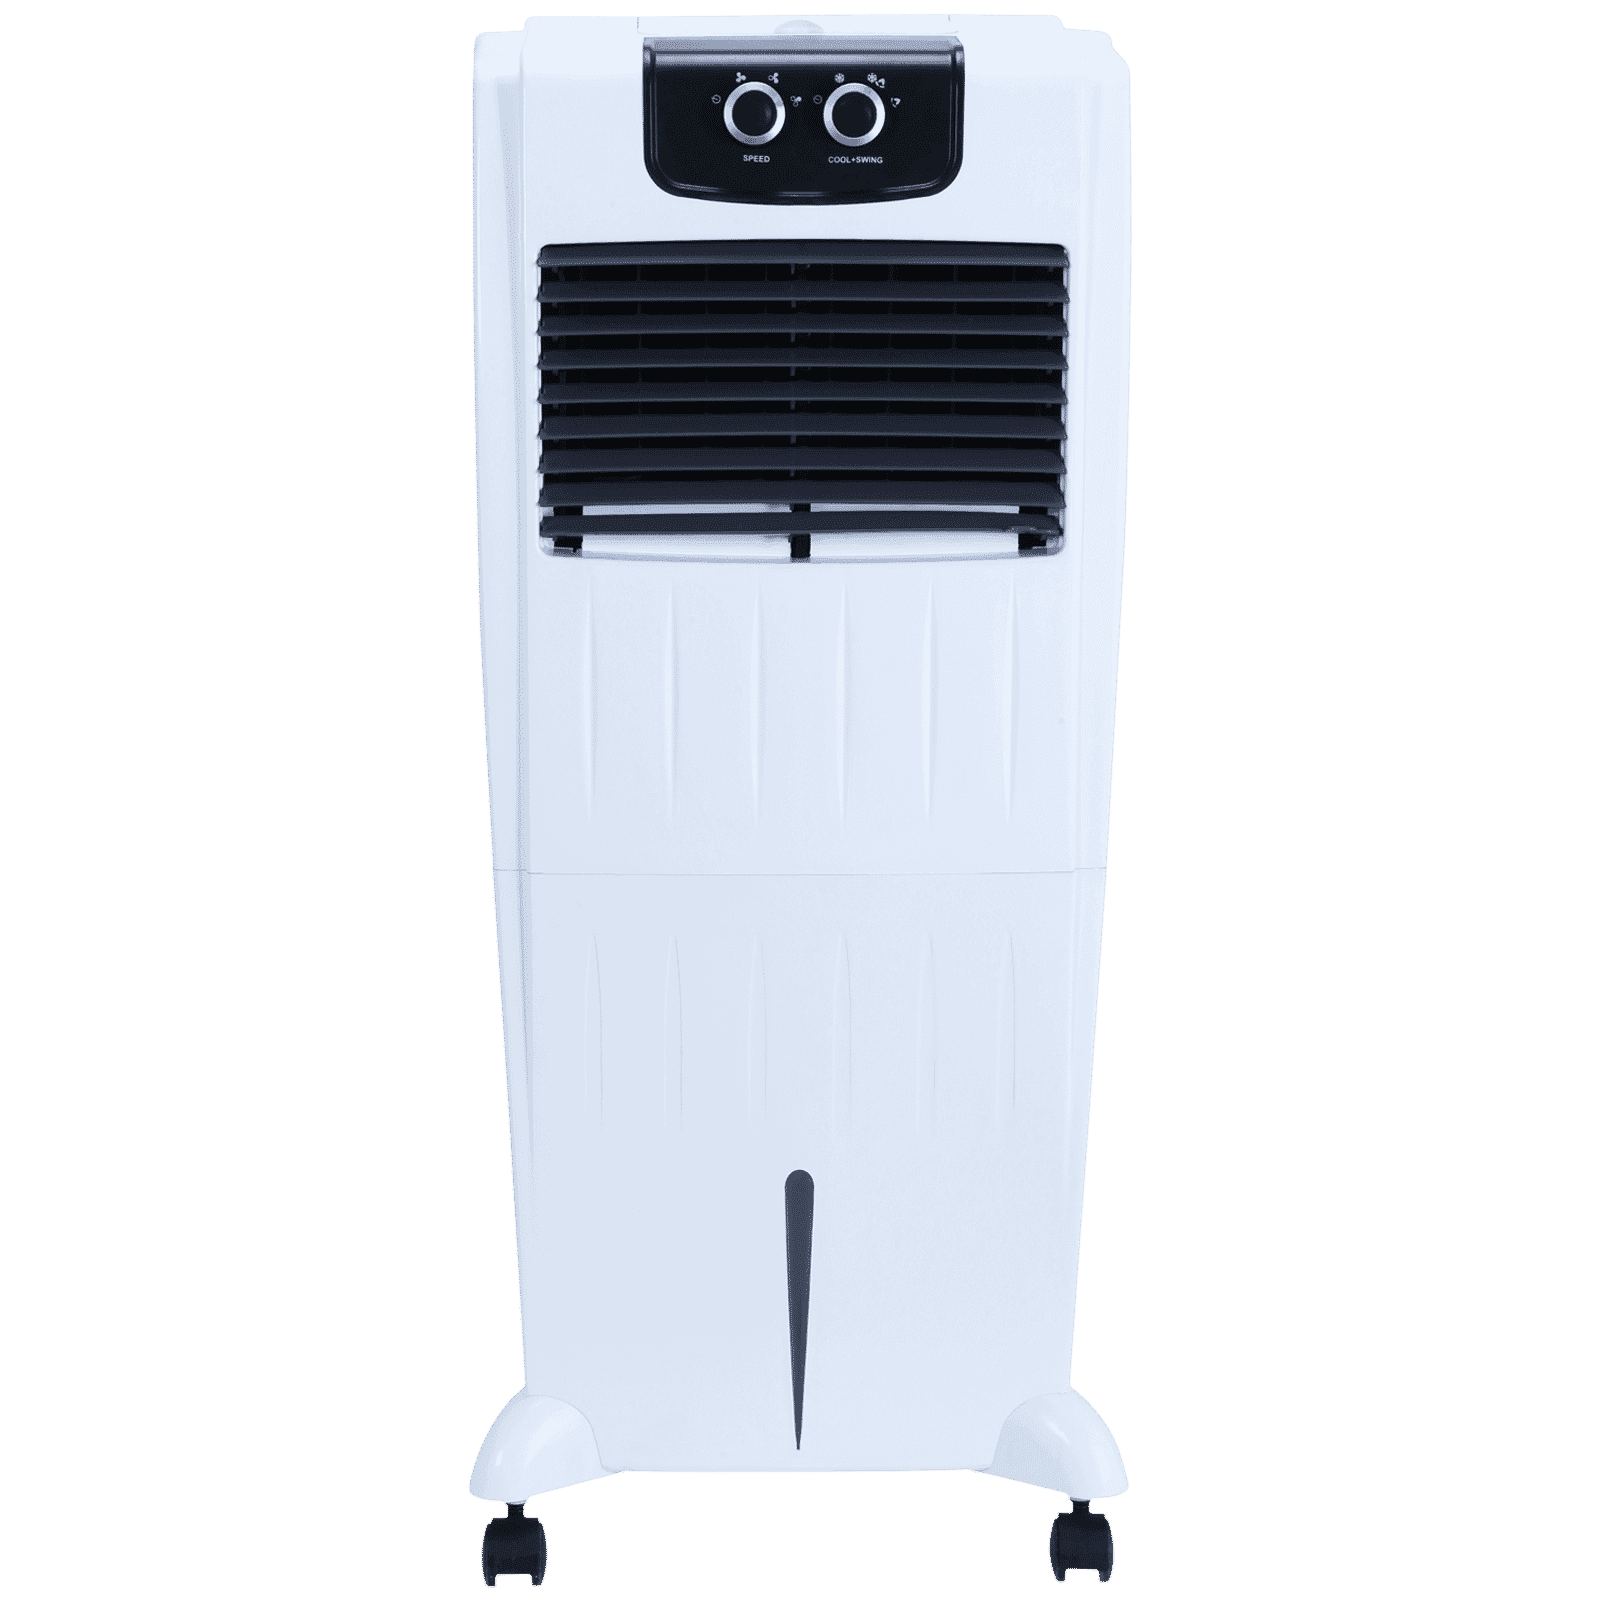
Buy ONIDA Aero 22 Litres Personal Air Cooler with Ice Chamber (Water Level Indicator, White) online at best prices from Croma. Check product details, reviews & more. Shop now!
Are you ready to beat the heat without breaking the bank? Crafting your own DIY air cooler is not just an affordable cooling solution but also a smart, eco-friendly way to enjoy a cool breeze on hot summer days. This guide walks you through every stage of your air cooler project, from understanding its working principle to assembling the components and maintaining your creation. By following this step-by-step checklist, you'll be equipped to build a homemade cooling system that is both portable and energy-efficient, offering a customised cooling experience right within your home.
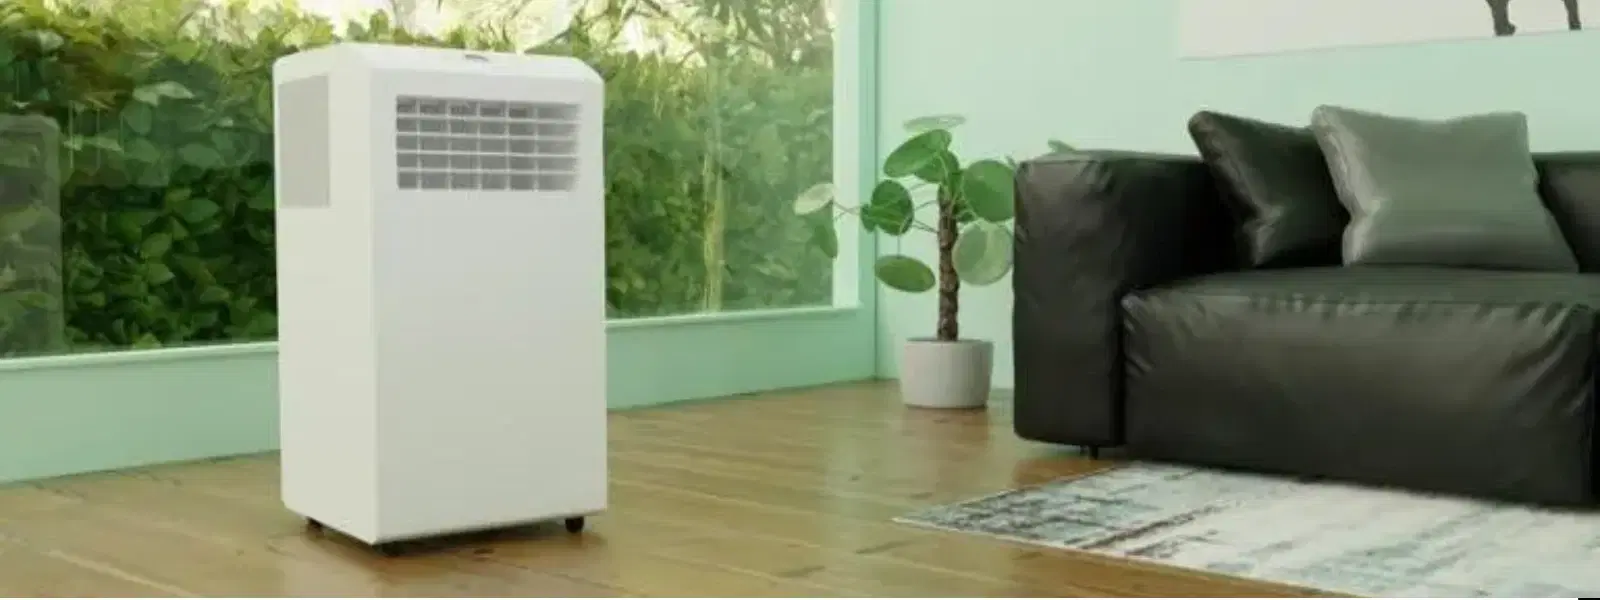
An air cooler harnesses the power of evaporative cooling to lower the ambient temperature. The working principle is simple: it draws warm air over a wet cooling pad, causing water to evaporate, which in turn cools the air. This process is energy efficient and often more cost-effective than traditional air conditioning systems, making it a popular approach for those looking to save on energy bills. The cooling effect produced relies on evaporation, which naturally absorbs heat from the air, thus providing a steady, cool breeze.
Building your own DIY air cooler offers numerous benefits compared to purchasing a portable air cooler from a store. Not only is it a budget-friendly option, but you also get the flexibility of a custom design that caters to your specific cooling needs. With the chance to incorporate energy-efficient components, you can create an affordable cooling solution that uses less power while providing effective cooling. Moreover, this project is an excellent way to understand the air cooler working principle, making it both a learning exercise and a practical enhancement for your living space.
Before you start, gather all necessary materials to ensure a smooth project execution. You will need:
A fan for airflow, cooling pads to absorb water, a water pump to circulate liquid, a container to serve as the base, and insulation material to enhance efficiency. Consider sourcing recycled or eco-friendly items wherever possible to keep your project environmentally friendly and budget-conscious.
The design of your DIY air cooler is critical. A compact air cooler design is ideal for urban settings with space limitations. You can explore custom air cooler ideas that let you incorporate additional features such as LED accents or adjustable vents. This flexibility allows you to build a portable air cooler that can easily be moved from one room to another while catering to your cooling needs.
Start by setting up your workspace and preparing the materials. Cut slots in the container for the fan and ensure the cooling pads are ready to be fitted. Make sure that all components, including the water pump and insulation materials, are clean and ready for assembly. This initial step is crucial to avoid interruptions during the assembly process.
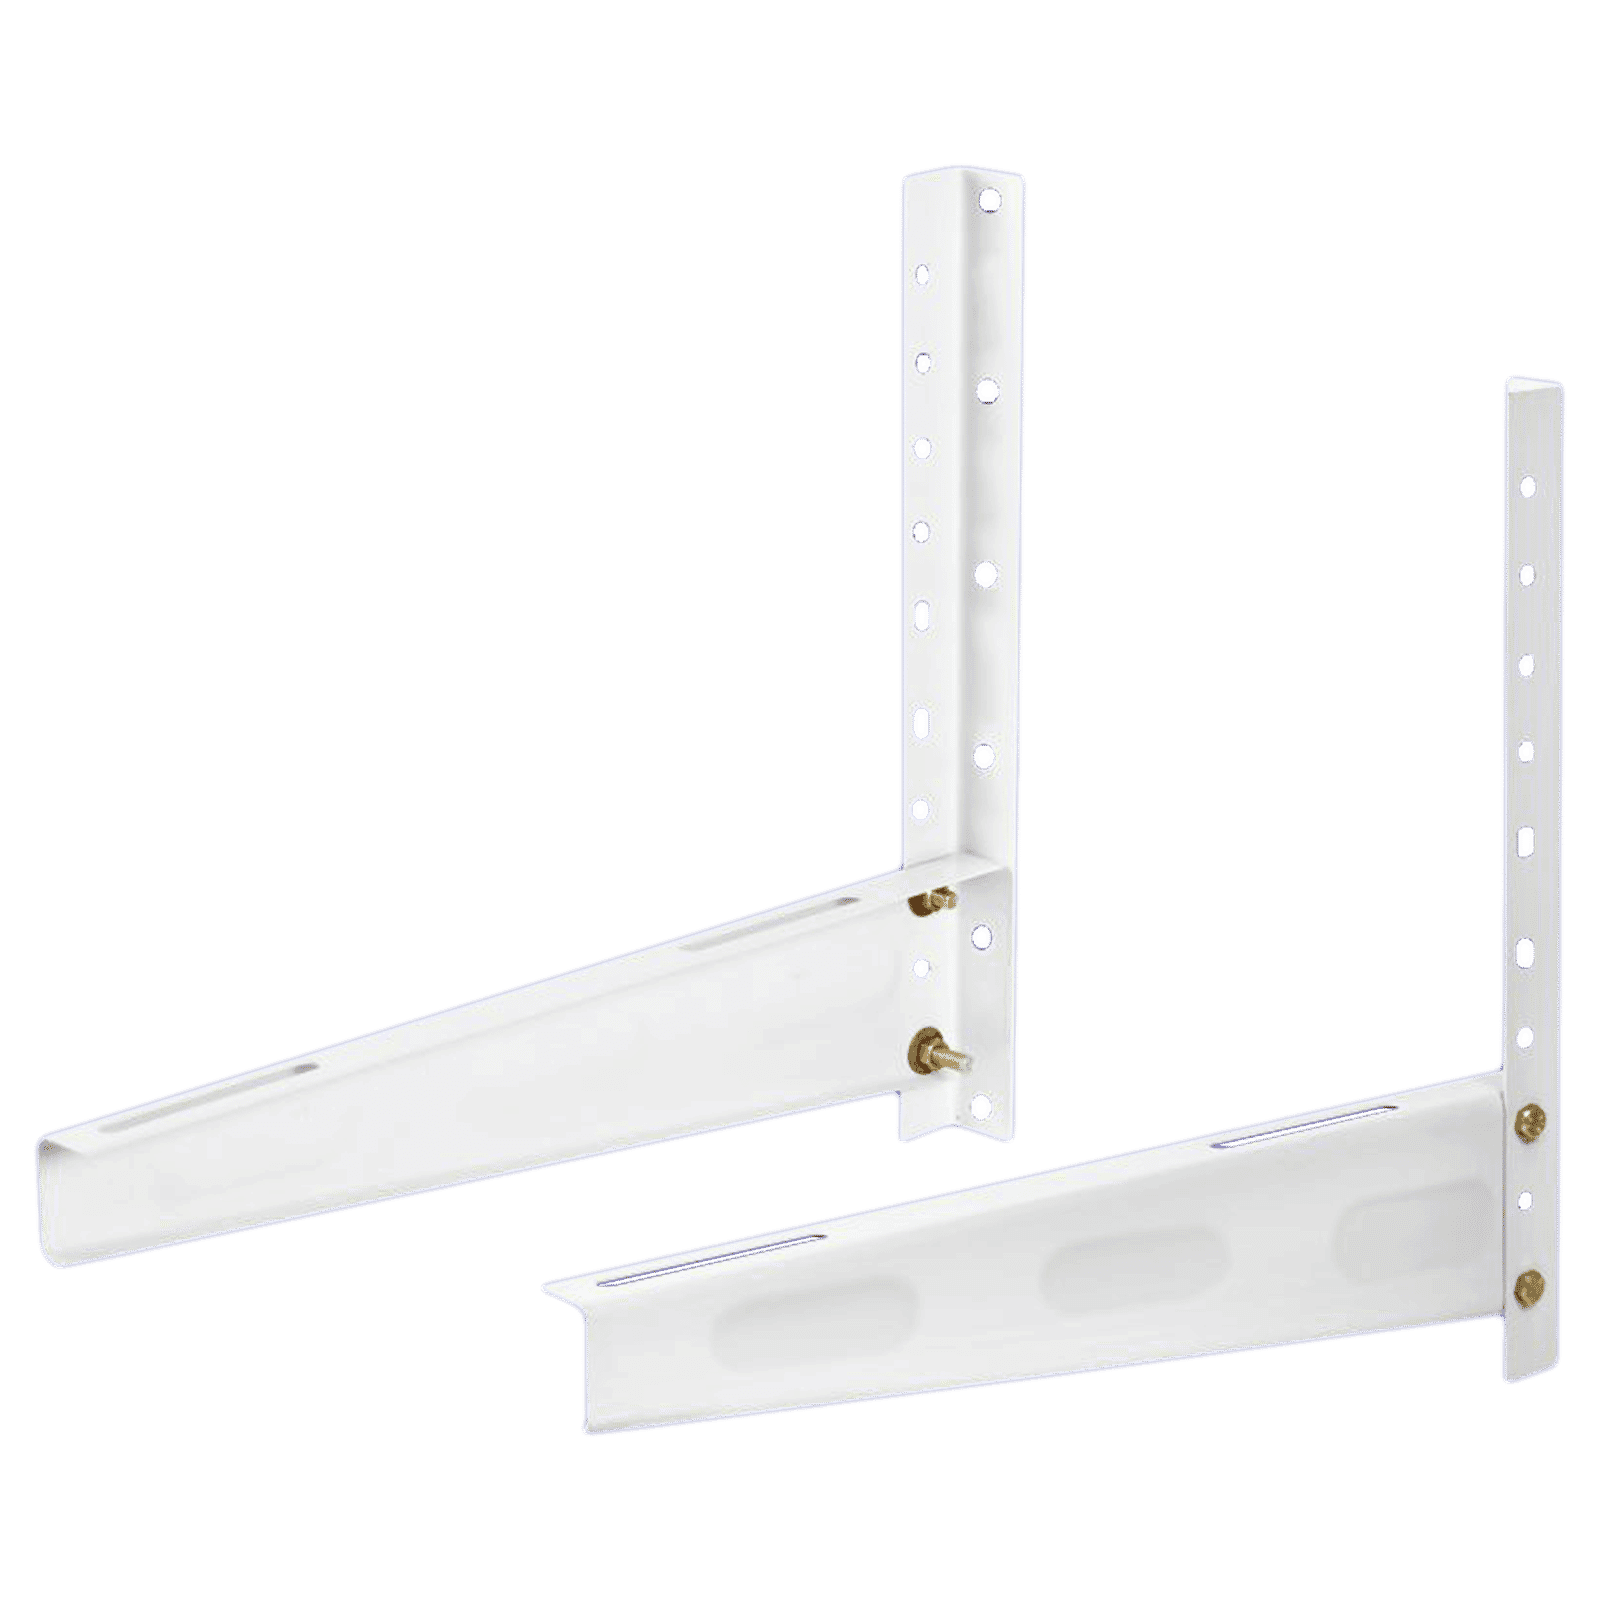
Buy Promounts Bracket For Air Conditioner (Texture Finish, SACWMB23P, Grey) online at best prices from Croma. Check product details, reviews & more. Shop now!
Carefully mount the fan onto the container, ensuring it is positioned to draw air efficiently through the cooling pads. Connect the water pump and attach the cooling pads securely. It’s important to follow a systematic approach during assembly, aligning all elements to maximise airflow and cooling performance. This methodical process ensures that your DIY air cooler works seamlessly once powered up.
After assembly, testing the air cooler is a must. Switch on the device and observe the airflow dynamics. Check for even water distribution on the cooling pads and adjust the fan direction if necessary to optimise performance. Some trial and error may be needed to achieve the most effective setup. Remember, fine-tuning during this phase is key to ensuring that your homemade cooling system will operate consistently in the long run.
Did You Know? DIY air coolers can reduce energy consumption by up to 80% compared to traditional air conditioning systems, making them an affordable and eco-friendly cooling solution for households.
Maintenance is vital to prolong the lifespan of your DIY air cooler. Clean the cooling pads, fans, and water pump regularly to prevent dust and debris from affecting performance. Regular cleaning not only ensures optimal operation but also sustains the energy-efficient cooler's ability to deliver consistent and effective cooling.
If you encounter issues such as reduced airflow or water leakage, first check for blockages in the cooling pads or misalignments in the fan assembly. Often, adjusting the components can restore the efficiency of your homemade cooling system. Keeping a maintenance schedule helps in identifying problems before they escalate, ensuring that your DIY air cooler remains an affordable cooling solution over time.
Embrace eco-friendly practices by using biodegradable cooling pads and energy-efficient components. Such practices not only enhance your air cooler’s performance but also contribute to a sustainable lifestyle, making your DIY project a win-win for both your wallet and the environment.
Once your basic DIY air cooler is up and running, you might consider adding personal touches to boost both functionality and aesthetics. Experiment with custom air cooler ideas, such as integrating LED lights to create a relaxing ambience or designing unique shapes that reflect your personal style. These customisations turn a simple cooling device into a statement piece in your home.
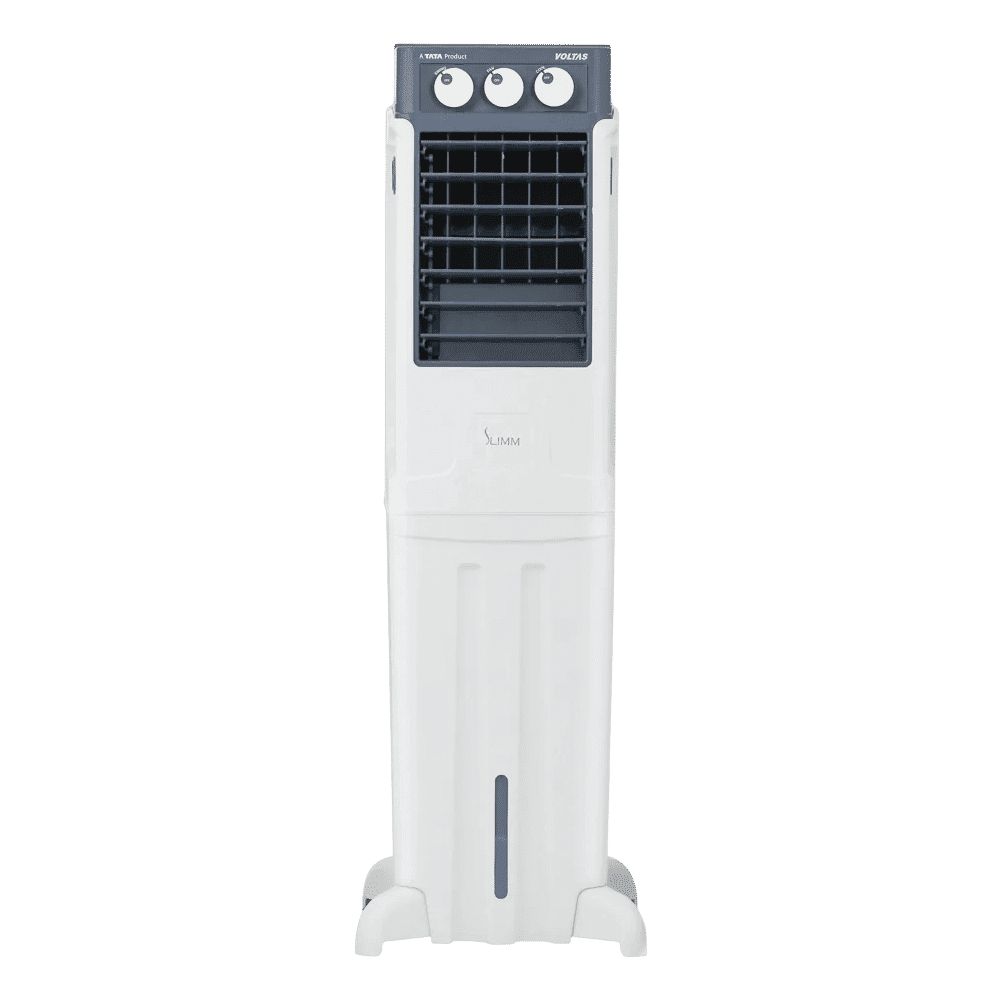
Buy VOLTAS Slimm 35 Litres Tower Air Cooler with Ice Chamber (Auto Swing, White & Grey) online at best prices from Croma. Check product details, reviews & more. Shop now!
Enhancing portability can dramatically improve your user experience. Think of ways to simplify your design so that your DIY air cooler is lightweight and easy to move between rooms. A portable air cooler is especially beneficial for those who value flexibility and need a cooling solution that fits dynamic living spaces.
For those looking to take efficiency to the next level, consider upgrades such as solar-powered fans or advanced cooling pads. These energy-efficient components help decrease power consumption even further, ensuring that your eco-friendly air cooler remains a viable solution during peak summer months while keeping operating costs low.
An air cooler uses evaporative cooling to lower the temperature of the air. It passes warm air through water-saturated pads, absorbing heat and releasing cooler air.
To create a homemade air cooler, gather a container, fan, cooling pads, and water pump. Assemble these components to channel air through the cooling pads, allowing the evaporative process to cool your space.
While air coolers are effective for smaller areas and work best in dry climates, they do not cool a room as intensely as an air conditioner.
For a school project, use readily available materials such as a cardboard box, small fan, and cooling pads to demonstrate the principle of evaporative cooling in a simple, engaging format.
Building a DIY air cooler is a rewarding project that blends creativity, utility, and sustainability. By following the checklist provided, you can create a custom, energy-efficient cooler that not only eases the heat but also contributes to a greener lifestyle. With proper design and regular maintenance, your homemade cooling system will be a reliable ally in combating rising temperatures, all while ensuring affordable cooling solutions that do not compromise on performance. Explore more innovative DIY projects and practical solutions that can enhance your home appliances journey, all while reaping the benefits of modern, energy-efficient design.
