Consumer Electronics
•07 min read
Picture this: You’re about to deliver a crucial presentation, yet your laptop refuses to connect to the projector. We all know how nerve-wracking that situation can be, especially when every second counts. In this guide, we walk you through everything you need to successfully set up your laptop-to-projector connection. By following our comprehensive checklist, you’ll gain peace of mind knowing you’re prepared with the right cables, adapters, and settings to make your presentation or movie night a success.
Your first step is to determine what video output ports your laptop offers. Most modern laptops are equipped with HDMI, VGA, or even the versatile USB-C port. Some devices may also support wireless connectivity options that can be very convenient for quick setups. Locate these ports on your device; check the sides or back, and look for symbols indicating the type of connection. Knowing what your laptop has is key to choosing the right cables and adapters.
Next, examine your projector’s available input options. Many projectors support multiple connection types such as HDMI, VGA, USB, and even wireless connections. Matching the video output on your laptop with an appropriate projector input ensures you have a reliable connection method. This not only simplifies the process but also helps avoid any last-minute hassles.
No connection setup is complete without the right accessories. Compile a checklist that includes HDMI cables, VGA cables, USB-C to HDMI adapters, and any other connectors you might require. Quality cables can make a significant difference by providing a stable and high-quality link between your laptop and the projector. This ensures your content is displayed clearly, enabling a smooth transition whether you’re in a meeting or a classroom environment.
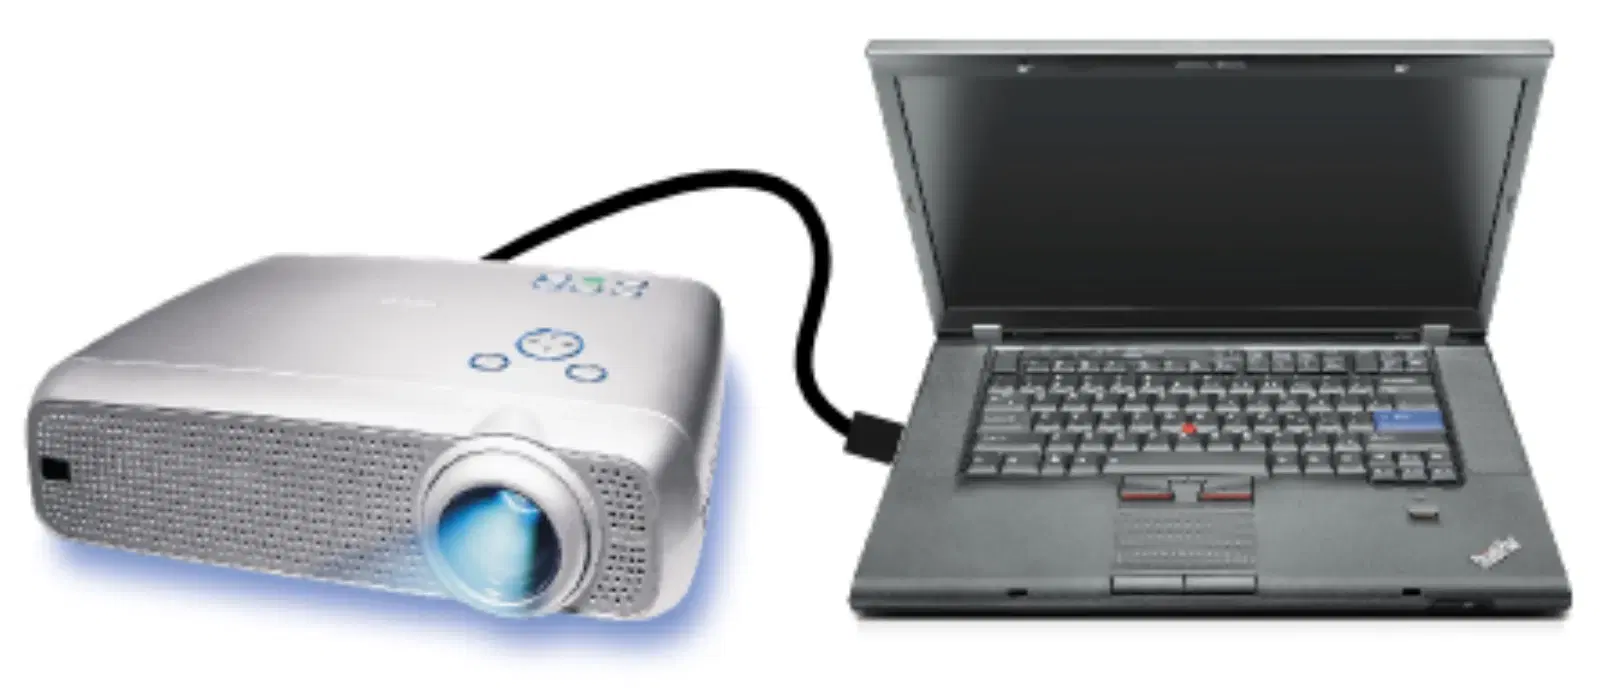
HDMI is one of the most straightforward ways to connect a laptop to a projector. Simply plug one end of the HDMI cable into your laptop and the other into the projector. The benefits of HDMI are many – it transmits both high-quality video and audio, offering a seamless and crisp display. Just ensure your laptop is set to the correct output mode, and you should be guided by its on-screen instructions to duplicate or extend your display, depending on your needs.
If you are using an older laptop or projector, a VGA connection may be your only option. This method involves connecting your VGA cable from the laptop’s port to the projector. Although VGA connections are reliable, they do have limitations, particularly in terms of image quality compared to HDMI. Nevertheless, by following the steps carefully and ensuring all connections are secure, you can still enjoy a professional setup for your presentation.
For those who appreciate the convenience of a cable-free setup, wireless connections are an excellent option. Many modern laptops and projectors support wireless technologies such as Bluetooth, Miracast, or Wi-Fi. These methods allow you to connect your devices without the clutter of physical cables. Wireless connectivity is particularly ideal in situations where ease and speed are of the essence, though always check availability and compatibility of your devices before you begin.
Sometimes, a USB connection can be used to link your laptop to a projector, particularly if traditional video cables are lacking. Ensure that both your laptop and the projector support USB connectivity and follow the specific instructions provided by your projector’s manufacturer. USB connections might require additional software drivers to be installed for optimal performance.
Once you have established the physical connection, the next step is configuring your laptop’s display settings. For Windows users, you can quickly access the display options by pressing the Windows key + P. This brings up options for screen mirroring or extending your screen, giving you flexibility depending on your presentation requirements. Fine-tune settings to ensure that your image is displayed correctly on the projector. Small adjustments can enhance clarity and ensure that every detail is visible.
Mac users, worry not. The process on macOS is equally intuitive. Head over to System Preferences > Displays to adjust your settings. Here, you can optimise the resolution, adjust the orientation of the display, and choose whether you want to duplicate your screen or extend it. These settings help ensure that your presentation looks as intended, providing a professional experience for your audience.
When the projector is set up, you might need to adjust the keystone correction to fix any distortions in the displayed image. This feature allows you to align the image perfectly, even if your projector is placed at an angle. Additionally, take a moment to fine-tune the brightness, contrast, and picture mode settings. These adjustments help deliver the best possible visual quality during your presentation, be it in a dark room or a well-lit conference hall.
Did You Know?
Most modern projectors support multiple connection methods, including HDMI, VGA, and wireless. Choosing the right method depends on your laptop’s capabilities and the type of presentation or content you are displaying. HDMI is ideal for high-quality visuals, while wireless connections offer unmatched convenience.
Utilising dual-screen configurations can significantly boost productivity. When you set up your laptop to work in tandem with your projector, you have the option of treating them as two separate screens. This is beneficial for multitasking – you can have your presentation on one screen while keeping your speaker notes or additional resources on the other. This approach provides a smooth and organised workflow, particularly useful during detailed or complex presentations.
Don’t forget about sound. While visual display is paramount, ensuring the audio is directed to the correct output—whether that’s the projector’s internal speakers or a connected external sound system—is equally critical. Investigate your laptop’s audio settings and make adjustments so that your audience receives a complete sensory experience. Clear audio is an essential part of effective communication in any presentation.
Screen mirroring can occasionally lead to lag or resolution issues, especially with wireless connections. To avoid these problems, ensure that your devices are updated with the latest software and drivers. Maintain a strong Wi-Fi signal if you are using a wireless connection, and routinely check that all cables and adapters are in excellent condition. These small yet vital steps will pay off when you’re in the middle of presenting.
One common issue is your laptop not recognising the projector. Possible reasons include outdated drivers, a wrong cable connection, or an incorrect input selection on the projector itself. Confirm that your cables are firmly connected and that you have selected the correct input source on your projector. If problems persist, updating your laptop’s drivers often resolves the issue.
If you see no signal or encounter a blank screen, double-check all physical connections. Ensure that your cables and adapters are securely attached and that the projector is powered on. It may also help to switch to a different cable or port if you suspect damage or wear in your current set.
Wireless connections can sometimes be affected by interference or signal strength issues. Should you experience lag or connection failures, take steps to minimise interference by keeping devices close to each other. Checking for the latest updates on both your laptop and projector’s firmware can also improve performance. Clear, steady Wi-Fi signals are fundamental to a smooth wireless experience.
At Tata Neu, your tech setup journey is more rewarding than ever. Not only can you master the art of connecting your laptop to a projector with ease, but each transaction on Tata Neu can also earn you NeuCoins. These digital rewards are a means to shop smartly across your favourite brands, giving you the added benefit of extra savings. Whether you’re shopping for the latest tech gadgets or essential accessories for a perfect presentation setup, NeuCoins bring an extra edge of convenience and value into your daily tech ventures.
For tech enthusiasts, families, and young professionals alike, these rewards are designed to make every purchase more gratifying. Enjoy your shopping experience with Tata Neu, where seamless online shopping meets reliability, advanced technology, and top-notch after-sales support. Our customer-first philosophy means we truly care about your experience, and every small win, like mastering your laptop-to-projector connection, is a step towards an enriched digital lifestyle.
By following this checklist and optimising your settings, you ensure a smooth and efficient laptop-to-projector setup every time. Whether you’re preparing for an important meeting or hosting a movie night, the simple steps outlined above empower you to confidently manage any connection scenario.
You can display your laptop on a projector by connecting it via HDMI, VGA, USB, or wirelessly. Once connected, adjust your laptop’s display settings to mirror or extend the screen.
This issue could be caused by an incorrect input selection on the projector, outdated drivers on your laptop, or loose cable connections. Check all connections and settings to resolve the problem.
To connect wirelessly, use technologies like Miracast, Bluetooth, or Wi-Fi. Ensure both your laptop and projector support these options, and then follow the on-screen pairing instructions.
For Windows, press Windows + P to access projector mode. For macOS, navigate to System Preferences > Displays and choose your preferred display mode such as duplicate or extend.
Simply plug the HDMI cable into your laptop’s HDMI port and connect the other end to the projector’s HDMI input. Then, select HDMI as the source on your projector and adjust your display settings accordingly.
Connecting your laptop to a projector need not be complicated. With this step-by-step checklist, you’re now equipped to tackle any connection method, troubleshoot common issues, and fine-tune your display settings for an optimal experience. Enjoy a seamless setup whether you are presenting, streaming, or simply making the most of your technological investments. With Tata Neu, every transaction not only brings convenience to your tech needs but also adds rewarding NeuCoins, enhancing your journey towards a smarter, more connected lifestyle.
