Consumer Electronics
•06 min read
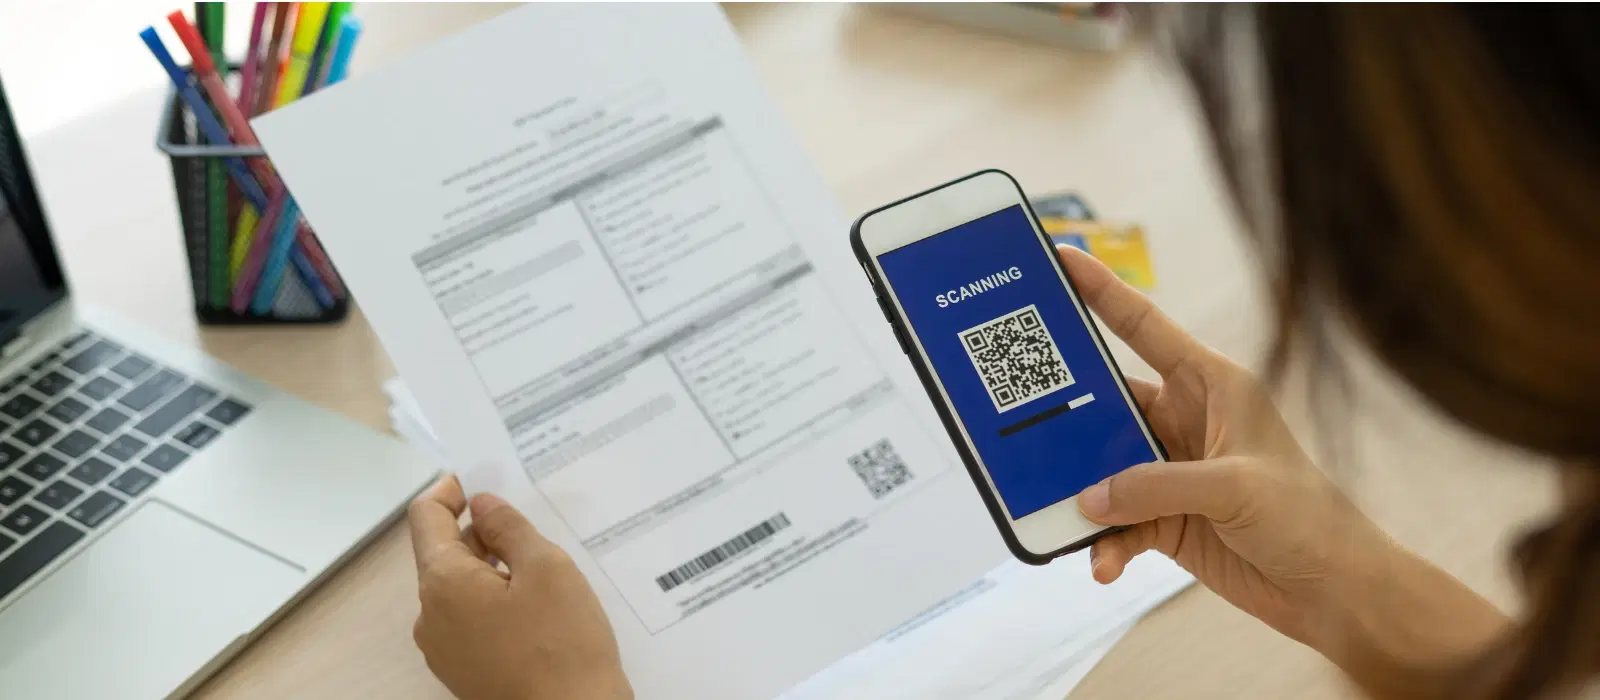
(15)-937aaf4b-b214-4ac3-a81c-a828a88960b9.png&w=3840&q=75)
Imagine you're at a crucial meeting, and you need to quickly scan and share an important document. Instead of running to find a scanner, you can simply use your iPhone camera. The convenience and efficiency of using your iPhone for scanning documents cannot be overstated. With just a few taps, you can have a high-quality scan ready to share or save. Let's dive into how to scan with iPhone camera, making your life a whole lot easier.
In today's fast-paced world, having the ability to scan documents on the go is invaluable. Whether you're a student needing to submit assignments, a professional handling business documents, or a family member preserving important papers, your iPhone can be a powerful tool. The built-in scanning capabilities of the iPhone ensure that you have a reliable and efficient way to manage your documents without the need for additional hardware.
To begin, you'll need an iPhone with iOS 11 or later. The built-in Notes app and Files app are equipped with scanning features that make the process seamless. These apps are readily available on your iPhone, eliminating the need for additional software. The Notes app is particularly user-friendly, offering a straightforward interface that even beginners can navigate with ease.
Before you start scanning, ensure that your document is placed on a flat surface with good lighting. Remove any creases or folds to get a clear scan. This preparation step is crucial for achieving the best results. Good lighting helps in capturing all the details of the document, ensuring that the scan is clear and readable. If you're scanning multiple pages, make sure they are aligned properly to maintain consistency.
To scan a document using the Notes app, follow these steps:
Open the Notes app and create a new note.
Tap the camera icon and select “Scan Documents.”
Position the document within the frame and capture the image.
Adjust the corners if needed and save the scan.
The Notes app also allows you to add annotations to your scanned documents. This can be particularly useful for students and professionals who need to highlight important sections or add comments.
The Files app also offers a straightforward way to scan documents:
Open the Files app and tap the three dots.
Select “Scan Documents” and follow the same steps as the Notes app.
(14)-e040417b-ae03-474d-80a9-a83ec2362672.png&w=3840&q=75)
The Files app is ideal for organizing your scanned documents. You can create folders and subfolders to keep your documents neatly arranged, making it easy to find what you need when you need it.
Once you've scanned your document, you can save it as a PDF or image. Sharing is just as easy. You can send your scanned document via email, messaging apps, or save it to cloud storage for future access. The integration with cloud storage services like iCloud, Google Drive, and Dropbox ensures that your documents are always accessible, no matter where you are.
To avoid blurriness, use a tripod or steady your hand while scanning. Adjust the brightness and contrast settings to enhance the clarity of your scanned document. The iPhone's camera is equipped with advanced features that can automatically enhance the quality of your scans, but taking a few extra steps can ensure the best results.
Keep your scanned documents organized by creating folders in the Notes or Files app. Use tags for easy retrieval, ensuring you can find your documents quickly when needed. This is especially useful for professionals who need to manage a large number of documents efficiently.
While the built-in apps are highly efficient, there are several third-party apps that offer additional features. Some popular options include Adobe Scan, CamScanner, and Scanner Pro. These apps provide unique functionalities such as OCR (Optical Character Recognition) and cloud integration. OCR is particularly useful for converting scanned documents into editable text, making it easier to work with the content.
Each third-party app has its own set of benefits. For instance, Adobe Scan offers excellent OCR capabilities, while CamScanner provides robust cloud storage options. Many of these apps offer both free and paid versions, allowing you to choose one that fits your needs and budget. Scanner Pro, for example, offers advanced editing tools that can enhance the quality of your scans even further.
(16)-b4b39a44-edf8-416a-b384-6e381a6aa60a.png&w=3840&q=75)
Use the Notes or Files app’s multi-page scan feature. This feature allows you to scan multiple pages and save them as a single PDF, making it easier to manage multi-page documents.
Yes, using built-in markup tools or third-party apps. The markup tools in the Notes app allow you to add text, signatures, and drawings to your scanned documents.
PDF is recommended for its compatibility and security. PDFs are universally accepted and can be easily shared and viewed on any device.
Follow the same steps as document scanning, using the Notes or Files app. Scanning receipts can help you keep track of your expenses and organize your financial records.
Ensure to read privacy policies and choose reputable apps. It's important to use apps from trusted developers to ensure the security of your scanned documents.
Yes, you can use the same scanning features to digitize old photos. This is a great way to preserve your memories and share them with family and friends.
Third-party apps often offer additional features such as OCR, advanced editing tools, and better cloud integration. Depending on your needs, these features can enhance your scanning experience.
In conclusion, scanning documents with your iPhone camera is a quick and efficient way to manage your paperwork. Whether you use the built-in Notes and Files apps or opt for third-party apps, the process is straightforward and highly effective. Explore Tata Neu for the latest iPhones and accessories, and enjoy the rewards and seamless shopping experience that comes with it. With Tata Neu, you can earn NeuCoins on every purchase, enjoy exclusive savings with the Tata Neu HDFC Bank credit card, and benefit from express delivery and expert guidance. Make the most of your iPhone's scanning capabilities and streamline your document management today.
