Consumer Electronics
•05 min read

We've all been there – that heart-stopping moment when your phone slips from your hand and lands screen-first on the ground. As you pick it up, you see the dreaded cracks spider-webbing across the display. But don't worry, we're here to help you through the process of fixing a broken phone display at home. With the right tools and guidance, you can save money and extend the life of your device.
First, let's understand the different types of screen damage:
Minor cracks: Small, superficial cracks that don't affect the phone's functionality.
Major cracks: Larger cracks that may affect touch sensitivity and visibility.
Complete shattering: The screen is completely shattered, making the phone difficult to use.
Addressing screen damage promptly is crucial to prevent further damage and maintain your phone's functionality. Ignoring minor cracks can lead to more severe damage over time, potentially affecting the internal components of your device.
Before you start, assess the extent of the damage. Check if your phone is still functional. If the display is responsive and the phone turns on, you can proceed with the repair. However, if the screen is completely unresponsive or the phone doesn't turn on, it might be best to seek professional help.
You'll need the following tools:
Screwdrivers
Suction cup
Plastic picks
Replacement screen (available at Croma)
Tweezers
Adhesive strips
Ensure you have a clean, well-lit workspace to perform the repair. Organize your tools and materials beforehand to make the process smoother.
Ensure your phone is turned off to avoid any electrical damage during the repair. If possible, remove the battery to eliminate any risk of short-circuiting.
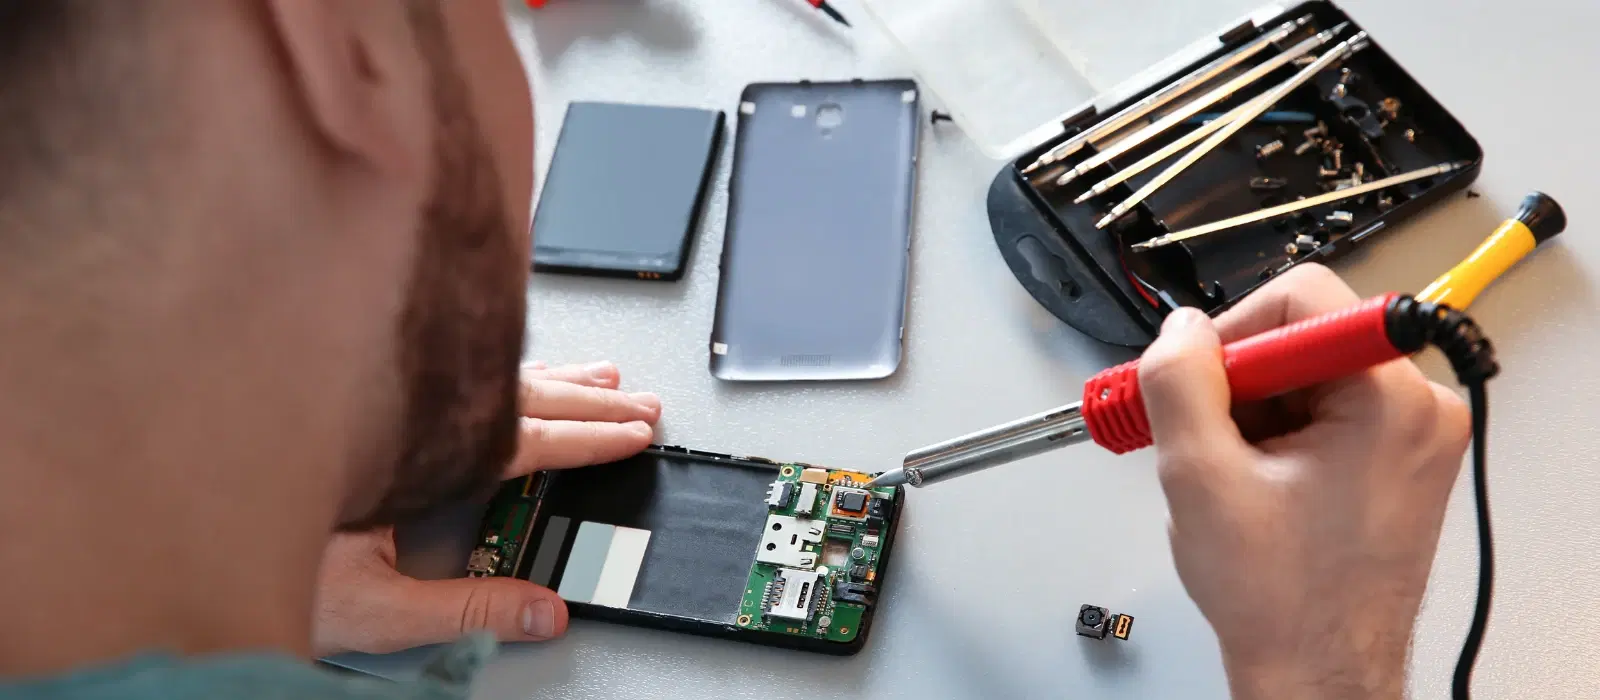
Use the appropriate screwdriver to remove the screws from the phone's frame. Keep them safe as you'll need them later. It's helpful to use a magnetic mat to keep the screws organized and prevent them from getting lost.
(37)-22d23aad-2fc4-4c73-9e58-b76aa4bd7fab.png&w=3840&q=75)
Place the suction cup on the screen and gently lift it to create a gap between the screen and the phone body. If the screen is severely cracked, you may need to use adhesive tape to secure the suction cup.
Use plastic picks to carefully disconnect the screen from the phone's body. Be gentle to avoid damaging internal components. Take your time and work slowly to prevent any accidental damage.
Carefully align the new screen with the phone's body and connect it. Ensure all connectors are securely in place. Use adhesive strips to secure the new screen, ensuring it is firmly attached to the phone's frame.
Reattach the screws and ensure everything is securely fastened. Double-check that all components are in place and that there are no loose parts.
Power on your phone and check the new screen's functionality and responsiveness. If everything works fine, you've successfully repaired your phone! Test all features, including touch sensitivity, display brightness, and any sensors that may have been affected by the repair.
DIY repairs may not always be advisable. Seek professional help if:
The damage is severe.
You lack the necessary tools or expertise.
The phone is still under warranty, and DIY repair may void it.
Consider Tata Neu's ZipCare services for professional assistance:
Protect: Coverage for accidental damage.
Maintain: Regular upkeep and maintenance.
ZipCare offers unmatched after-sales support, ensuring your device remains in top condition. With Tata Neu and Croma, you can trust that your phone is in good hands.
(42)-dfebdeee-0a6a-4596-a876-863a67acc572.png&w=3840&q=75)
Use a screen protector to prevent future damage.
Invest in a sturdy phone case.
Avoid placing your phone in risky environments.
Keep your phone away from extreme temperatures and direct sunlight.
Regularly clean your phone screen with a microfiber cloth to remove dust and fingerprints.
Did You Know?
Using high-quality replacement parts can extend the life of your phone. Croma offers express delivery for urgent needs, ensuring you get your replacement parts quickly. Additionally, Croma provides a wide range of gadgets and accessories, making it a one-stop shop for all your tech needs.
Yes, with the right tools and instructions, minor cracks can be fixed at home. However, for major damage, professional repair is recommended.
The cost varies depending on the phone model and where you purchase the replacement screen. Croma offers competitive prices on replacement screens and other phone accessories.
Yes, repairing can be cost-effective compared to buying a new phone. It also helps reduce electronic waste, making it an environmentally friendly choice.
DIY repairs can take 1-2 hours, while professional services may vary. ZipCare offers quick and reliable repair services, ensuring minimal downtime for your device.
Consider investing in a high-quality screen protector and a sturdy phone case. Additionally, avoid placing your phone in risky environments and handle it with care.
Fixing a broken phone display at home is possible with the right tools and guidance. Remember to assess the damage, gather the necessary tools, and follow the step-by-step process. If in doubt, seek professional help from Tata Neu's ZipCare services. Explore Tata Neu and Croma for quality replacement parts and expert services. Leave your comments or questions below for further assistance.
