Consumer Electronics
•06 min read
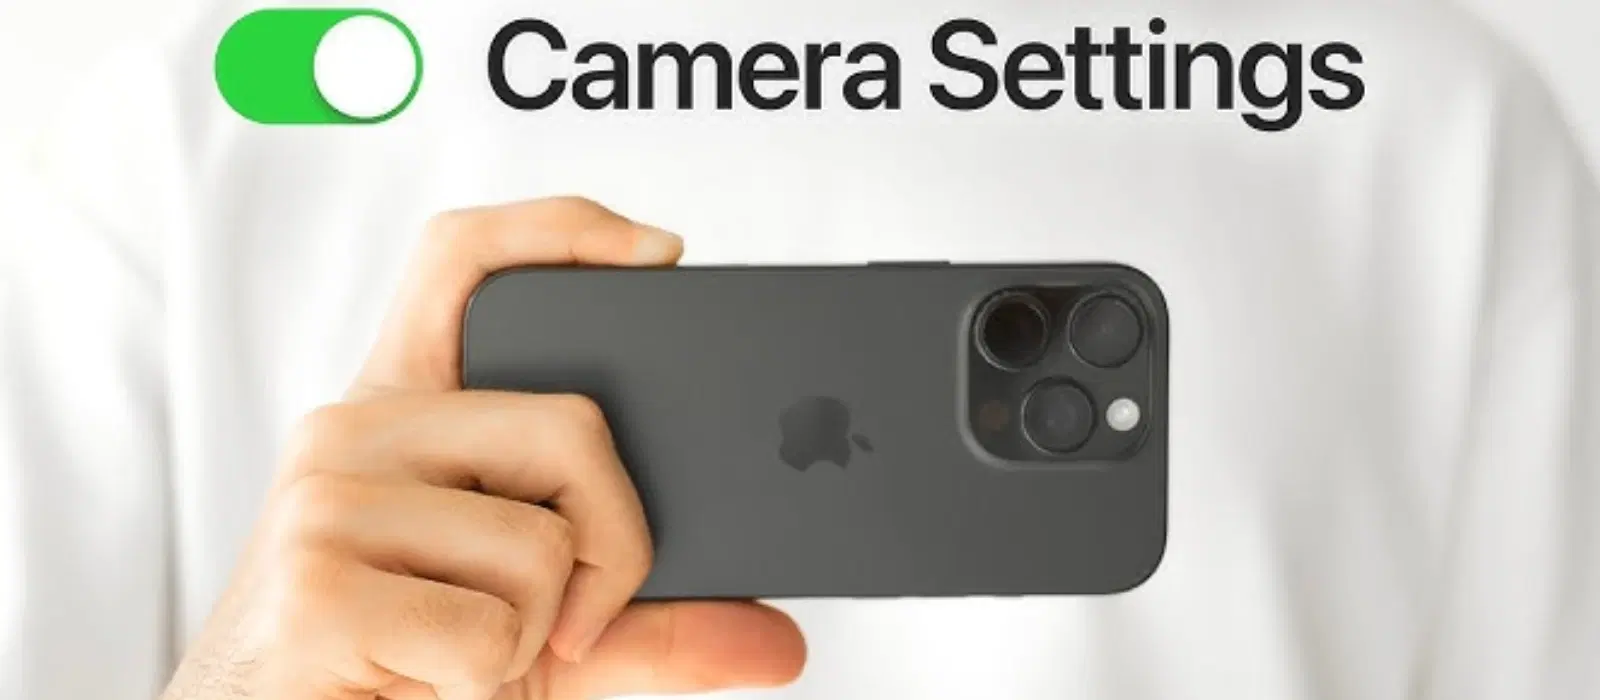
Imagine you’re at a beautiful sunset spot, ready to capture the perfect moment with your iPhone, but the default camera settings just aren’t doing justice to the scene. Knowing how to change camera settings on your iPhone can make a significant difference in enhancing your photography skills. In this complete guide, we’ll walk you through the essential steps to adjust iPhone camera settings, ensuring you capture stunning photos every time.
Accessing Camera Settings: To begin, open the Settings app on your iPhone. Scroll down and tap on ‘Camera’. Here, you’ll find various options to customize your camera settings.
Adjusting Camera Modes: The iPhone offers multiple camera modes such as Photo, Video, Portrait, and more. You can switch between these modes by swiping left or right on the camera screen. Each mode has its unique features designed for different photography needs.
For example, the Portrait mode is perfect for capturing people with a beautiful depth-of-field effect, while the Video mode allows you to record high-definition videos with ease. Exploring these modes can help you find the best settings for different scenarios.
Resolution and Frame Rate: Adjusting the resolution and frame rate is crucial for capturing high-quality photos and videos. In the Camera settings, you can select the desired resolution and frame rate under the ‘Record Video’ and ‘Record Slo-mo’ options.
For instance, choosing 4K resolution at 60 fps will give you ultra-clear videos, ideal for professional use or high-quality content creation.
HDR and Live Photos: High Dynamic Range (HDR) and Live Photos are features that enhance your photos. HDR helps in capturing better details in high-contrast scenes, while Live Photos add a short video clip to your photos. You can enable or disable these features in the Camera settings.
HDR is particularly useful in situations with varying light conditions, such as a sunset, where it helps in balancing the exposure between the bright sky and the darker foreground.
Manual Focus: For sharper images, you can manually adjust the focus by tapping on the screen where you want to focus. A yellow box will appear, indicating the focus area.
Utilizing manual focus can be particularly beneficial when capturing close-up shots or macro photography, ensuring that the subject is in sharp detail.
Exposure Control: To control the exposure, tap on the screen and swipe up or down to adjust the brightness. This helps in achieving better lighting in your photos.
Proper exposure control can make a significant difference in low-light conditions, helping you to avoid overly dark or washed-out images.
Night Mode: Night Mode is perfect for low-light photography. It automatically activates in dark environments, but you can also manually enable it by tapping the Night Mode icon.
Night Mode is a game-changer for capturing clear and vibrant photos in low-light conditions, such as during nighttime events or indoor settings with limited lighting.
Burst Mode: Burst Mode is ideal for capturing action shots. Simply hold down the shutter button, and your iPhone will take a series of photos in quick succession.
Burst Mode is particularly useful for capturing fast-moving subjects, such as sports events or playful pets, ensuring you don’t miss the perfect moment.
Portrait Mode Settings: Portrait Mode is designed for taking stunning portrait photos with a blurred background effect. You can adjust the lighting effects by swiping through the options available in Portrait Mode.
Experimenting with different lighting effects, such as Natural Light or Studio Light, can help you achieve professional-looking portraits with your iPhone.
Depth Control: Depth Control allows you to adjust the background blur after taking a photo. Tap on the ‘Edit’ button and use the slider to increase or decrease the blur effect.
This feature is especially useful for fine-tuning the background blur to match your artistic vision, making your subject stand out even more.
Wide-Angle Lens: The wide-angle lens is great for capturing expansive landscapes. Simply switch to the 0.5x option on the camera screen to use the wide-angle lens.
The wide-angle lens allows you to capture more of the scene in a single shot, making it perfect for breathtaking landscape photos or large group shots.
Panorama Mode: To capture wide shots, use Panorama Mode. Tap on the ‘PANO’ option and follow the on-screen instructions to move your iPhone steadily from one side to the other.
Panorama Mode is ideal for capturing sweeping vistas or cityscapes, providing a wide-angle view that standard photos can’t achieve.
Expert Tip:
Did You Know? Using the grid feature can help you align your shots better, following the rule of thirds for more visually appealing photos.
Go to Settings > Camera > Reset Settings.
Yes, you can use the ‘Preserve Settings’ option in the Camera settings to save your preferred modes and filters.
Enable Night Mode and adjust the exposure for better results in low-light conditions.
Go to Settings > Camera and toggle on the ‘Grid’ option.
While iPhone doesn’t offer direct shutter speed control, you can use third-party apps for more advanced settings.
Practice regularly, explore different camera modes, and experiment with manual settings like focus and exposure. Additionally, consider using accessories like tripods or external lenses available at Croma for enhanced photography.
Yes, several third-party apps like ProCamera, Halide, and Camera+ offer advanced features such as manual controls, RAW shooting, and more, allowing you to take your iPhone photography to the next level.
In summary, knowing how to change camera settings on your iPhone can significantly enhance your photography skills. From adjusting basic settings to exploring advanced features, this guide has covered everything you need to capture stunning photos. Don’t forget to explore Tata Neu for the latest iPhone models and accessories available at Croma, where you can enjoy benefits like NeuCoins, express delivery, and expert support. Share your photography experiences and tips in the comments section below!