Consumer Electronics
•03 min read

Buy Insta360 Dual-Lens 360 Mod Lens Protector for One R (Reinforced Lens Shields, IN.00000001.06, Black) online at best prices from Croma. Check product details, reviews & more. Shop now!
Protecting your camera lens is not just about preserving image quality – it's an investment in preserving the integrity of your device. With over 80% of smartphone and digital camera users experiencing minor scratches or dust disruption, a camera lens protector is a simple yet effective solution to ensure longevity and clarity. This guide offers an easy, yet detail-rich process to apply a camera lens protector, ensuring that every shot you take remains crystal clear.
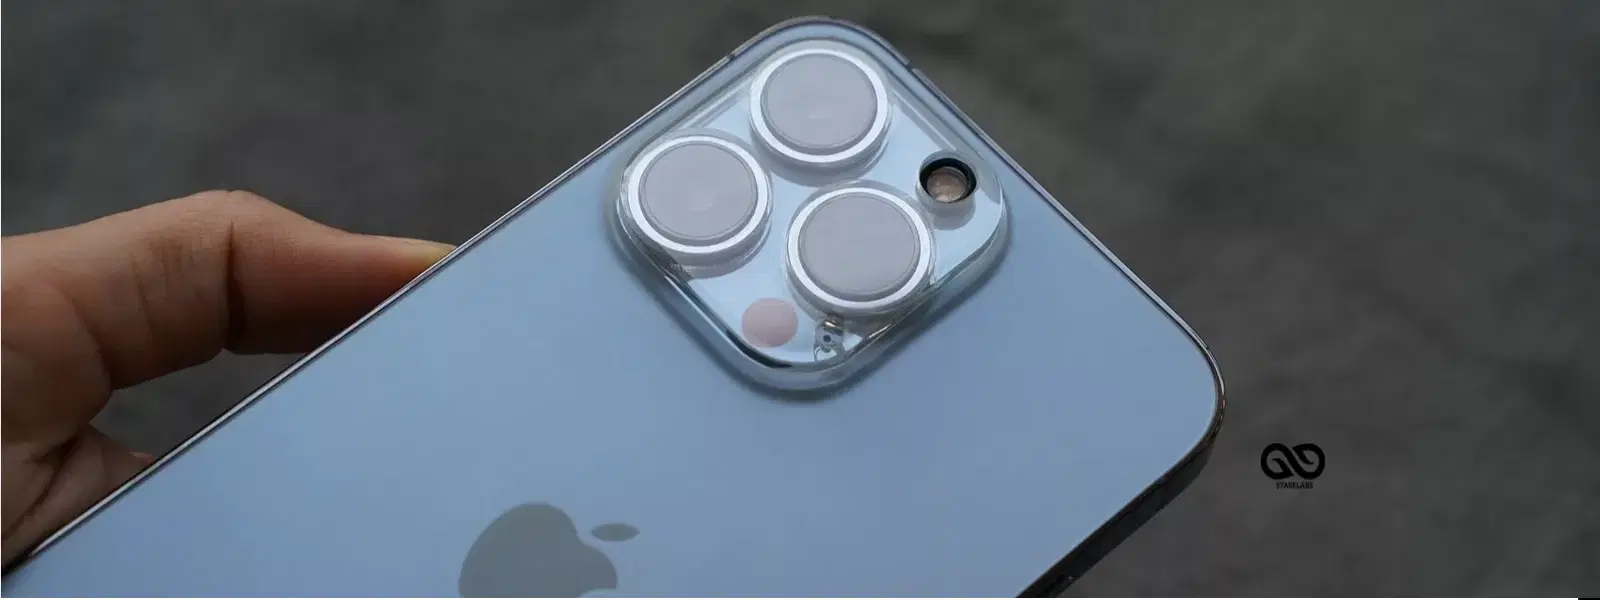
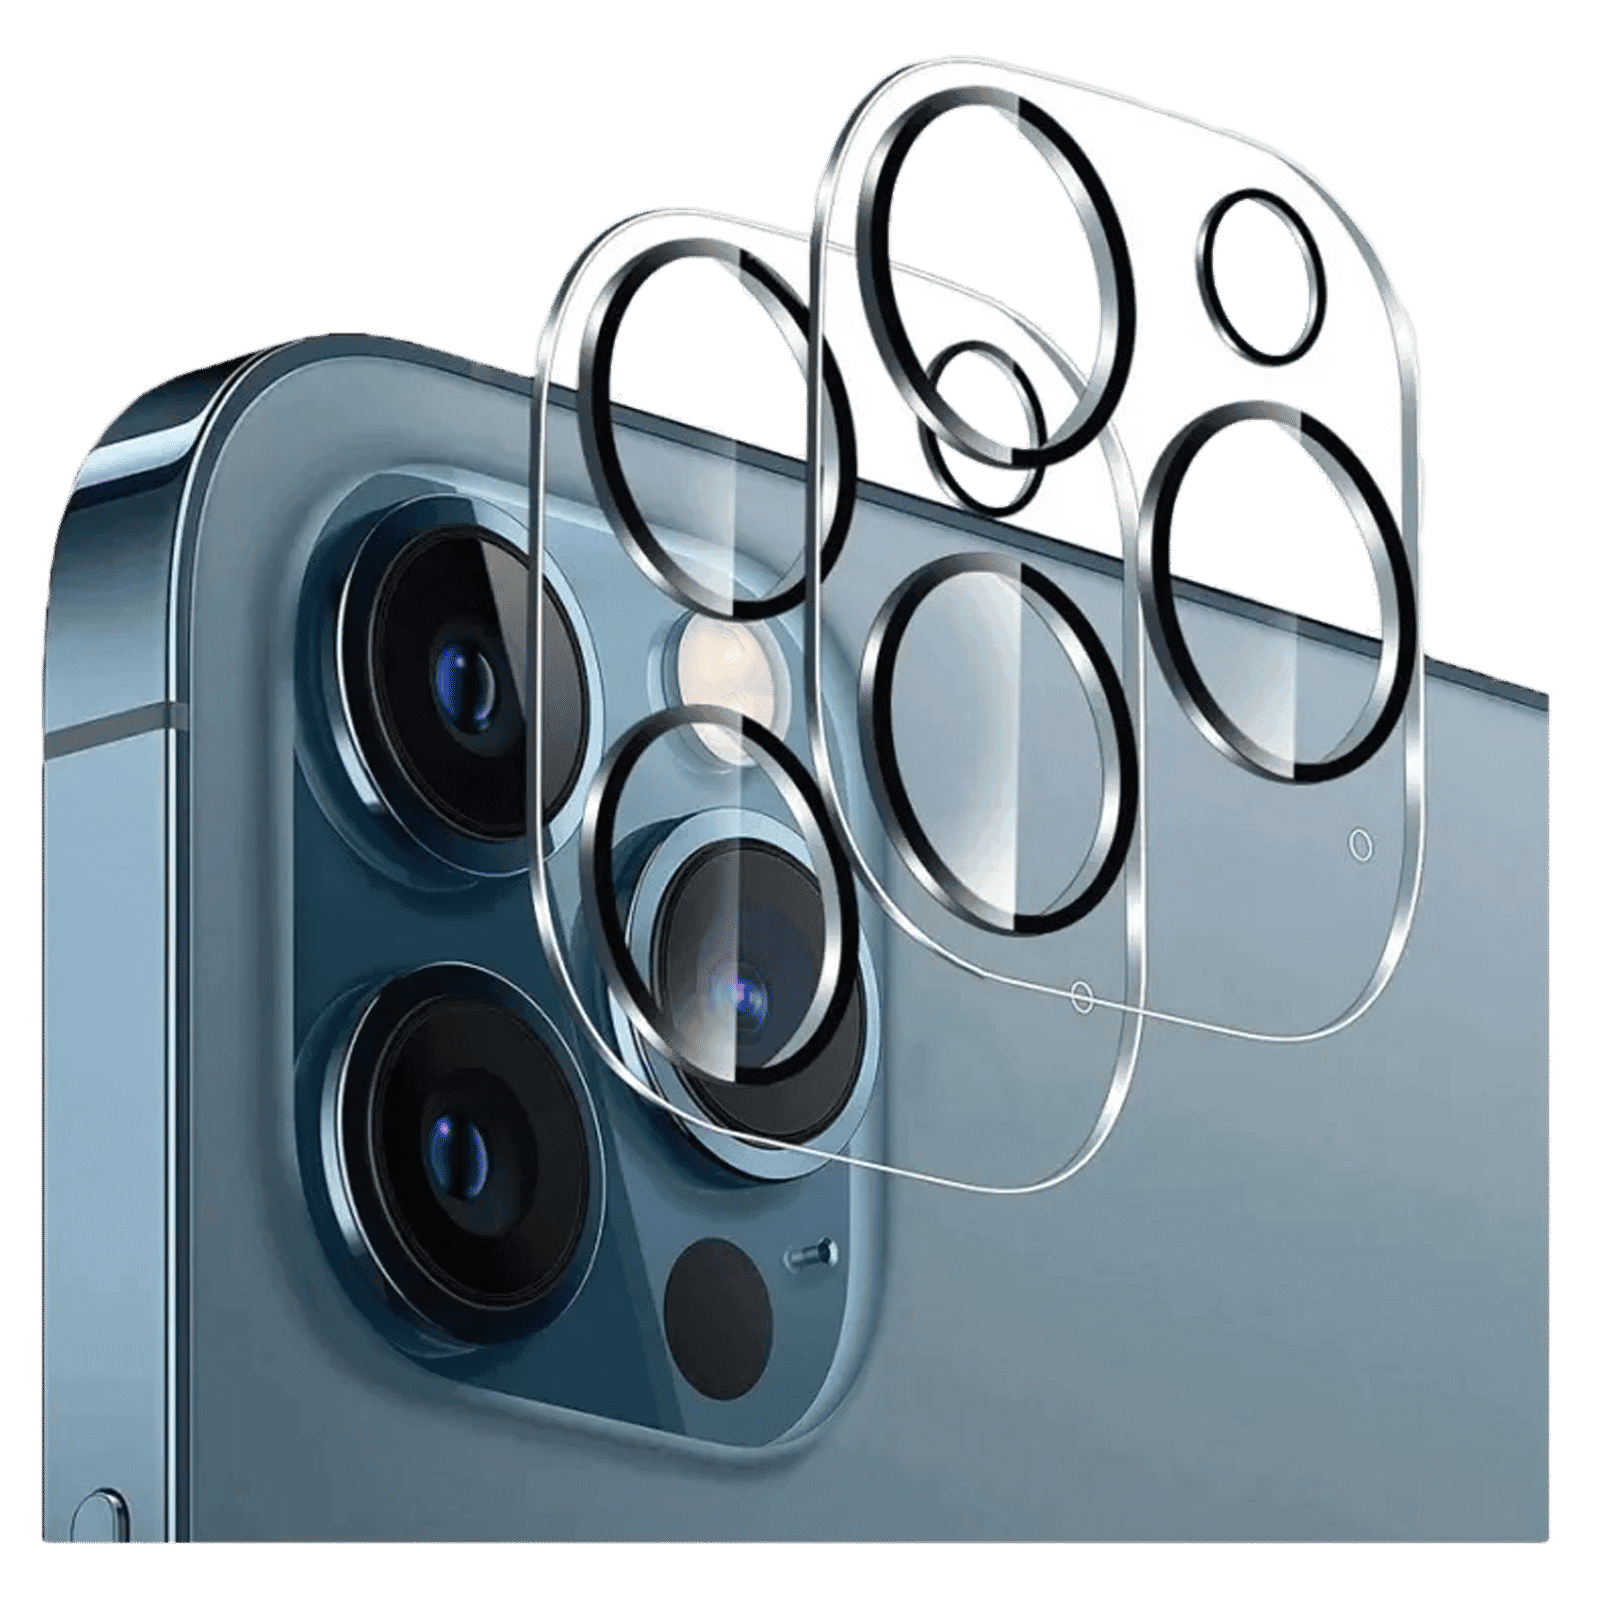
A camera lens protector is a thin, transparent layer designed to shield the lens from scratches, dust, and minor impacts. Common variations include the lens cover, camera lens film, and camera lens cap, each offering a slightly different level of protection. Whether aiming to guard against everyday wear or accidental knocks, these protectors serve as a fundamental part of your camera accessories.
Using a camera lens protector not only prevents scratches and dust from marring your lens but also keeps your images crisp and clear. A scratch-free lens results in enhanced image quality by ensuring that no unwanted distortions obscure your photographs. Moreover, protecting your lens enhances the overall durability of your device, thus preserving its long-term value and making it an essential investment for anyone serious about camera safety.
Before you begin applying your camera lens protector, make sure you have all required materials at hand. Typically, this includes the camera lens protector itself, a microfiber cleaning cloth, and the cleaning solution provided with it. Some kits might also offer additional tools such as tweezers or a dust blower, which can come in handy to ensure a precise and bubble-free application.
Cleaning your camera lens is a critical step. Start by gently using a microfiber cloth to remove dust. If fingerprints or smudges remain, apply some of the provided cleaning solution. The aim here is to have a perfectly clean surface since any particles left behind can disrupt the application process and lead to air bubbles or misalignment. A clean lens not only ensures a smooth application but also contributes to optimum camera protection and performance.

Buy Quix Lens Protector For Apple iPhone X / XS / XS Max (9H Tempered Glass, QLPAS0001SR, Clear) online at best prices from Croma. Check product details, reviews & more. Shop now!
After preparing your lens, careful alignment is the next step. Position the protector above the lens, ensuring it lines up perfectly with the edges. Patience is key here; making sure that the protector sits centred on the lens will minimise the need for reapplication later.
Begin by slowly peeling off the backing from the lens protector. As you lower it onto the lens, gently press starting from the centre and moving outwards. This technique helps in avoiding any air bubbles from forming. Should you notice any bubbles, use a soft cloth to smooth them out, or lightly lift the edge and reapply.
Pro Tip from Tata Neu:
"Did you know that using a camera lens protector can significantly enhance the resale value of your device? Keeping your lens in pristine condition ensures that your camera performs at its best, making it more attractive to potential buyers."
Once applied, take a moment to inspect the protector. Check that it is completely aligned with no visible air bubbles or misplacements. In case you identify any issues, you might decide to lift it gently and reapply. A neat installation ensures that your lens enjoys complete protection, thus maintaining both clarity and longevity.
Maintaining your protector is as essential as applying it. Clean it lightly with a dry microfiber cloth to remove dust without affecting its adhesive nature. If you notice scratches, peeling edges, or cracks, it could be time to replace the protector to continue enjoying optimal camera protection. Such diligence not only ensures your camera lens remains in top-notch condition but also underlines the importance of camera care as an ongoing process.
Gently press the bubbles towards the edge using a soft cloth or a plastic card. If they persist, lift the edge of the protector slightly and reapply it carefully.
No, once removed the adhesive loses its stickiness, making it unsuitable for a second application.
When applied correctly, a high-quality camera lens protector remains crystal clear and should have no negative impact on image quality.
It is advisable to replace the protector if you notice any scratches, damage, or if it starts peeling off, ensuring continuous camera safety.
Yes, there are protectors available for various devices like smartphones, DSLRs, and mirrorless cameras. Just ensure that you choose the correct size and type to match your device.
From alignment and application to post-application maintenance, every step in the process of applying a camera lens protector is vital. Not only does this careful process ensure that your device remains in pristine condition, but it also contributes towards improving the longevity and performance of your camera. Explore more about camera accessories and the benefits they offer, like earning NeuCoins and enjoying services such as Express Delivery for orders placed before 6PM (Check availability in your region) on Tata Neu. This seamless and efficient shopping experience is designed to help you invest wisely while ensuring that you receive exceptional after-sales support. By following this guide, you're well on your way to safeguarding your camera lens, ensuring that every moment captured is as clear and meaningful as the last.